This came up in another thread and blawford asked information about this. Rather than continue discussion in that thread I thought I'd create a new one.
All the information is available here - https://github.com/universam1/iSpindel
Items needed
Also need a tray to hold it all, this was all the excuses I needed to get a 3D printer.
Most parts above are well worth getting from somewhere like AliExpress as UK stock prices are a bit stupid, e.g. ã4.99 for a single GY-521 from UK or ã9 for 10 from China (maybe work out a group buy or something?)
The petling containers are hard to come by. You can get them from geocaching websites from US or Germany but I decided to go for readily available Jumbo test tubes for kids.
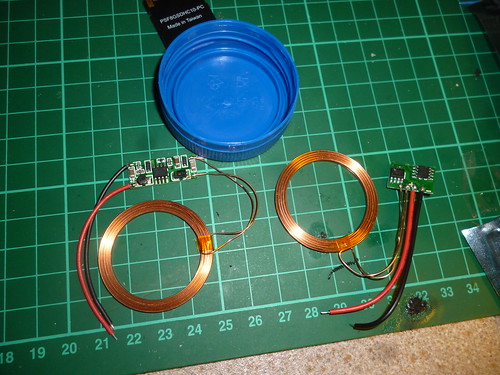
You'll also need some prototyping board and a soldering iron. I ended up getting PCBs printed to save a lot of hassle here, cost was about ã12 for 10 boards.
Will update this later with more photos and more information about my configuration.


All the information is available here - https://github.com/universam1/iSpindel
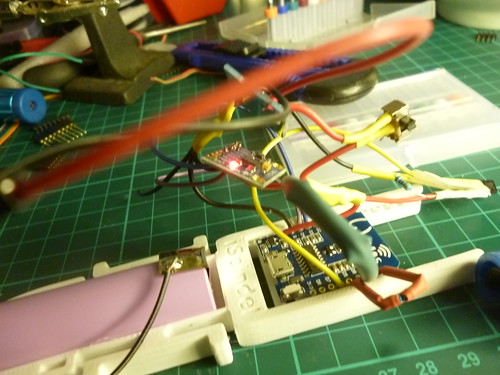
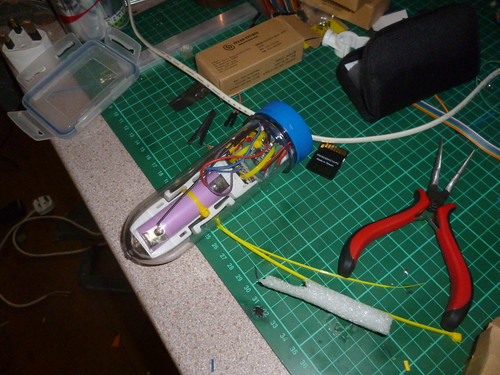
Items needed
- container (petling/Jumbo test tube)
- Wemos D1 Mini (WiFi controller)
- GY-521 (3 axis accelerometer/gyroscope)
- TP4056 (charger module)
- 18650 3.7v battery
- Resistors (1 each of 4.7K, 470 & 220K)
- DS18B20 temperature sensor
Also need a tray to hold it all, this was all the excuses I needed to get a 3D printer.
Most parts above are well worth getting from somewhere like AliExpress as UK stock prices are a bit stupid, e.g. ã4.99 for a single GY-521 from UK or ã9 for 10 from China (maybe work out a group buy or something?)
The petling containers are hard to come by. You can get them from geocaching websites from US or Germany but I decided to go for readily available Jumbo test tubes for kids.
You'll also need some prototyping board and a soldering iron. I ended up getting PCBs printed to save a lot of hassle here, cost was about ã12 for 10 boards.
Will update this later with more photos and more information about my configuration.


") i was planning on using a few layers of 3mm marine ply glued together as i could cut those with a stanley knife and SS ruler till a friendly 3d printer owner donated a few sleds..
i was planning on using a few layers of 3mm marine ply glued together as i could cut those with a stanley knife and SS ruler till a friendly 3d printer owner donated a few sleds..