Following on from myprevious post here are a few pics of todays brew.
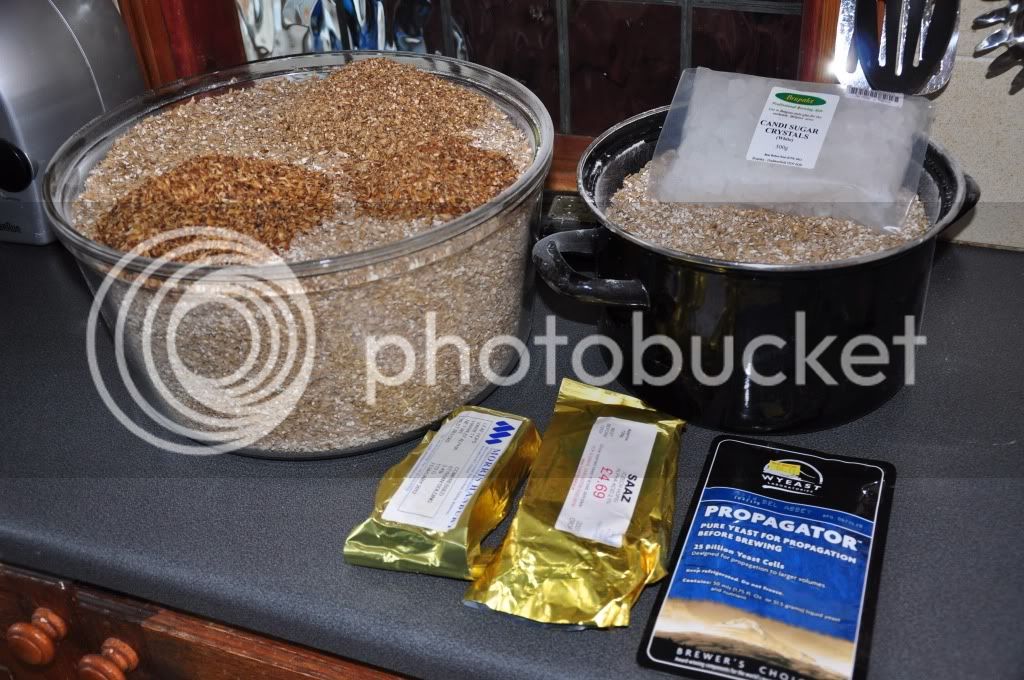
Ingredients as per the recipe on previous post.

Strike temp reached time to add the grain.

Mash temp slightly lower than the target of 66' close enough.
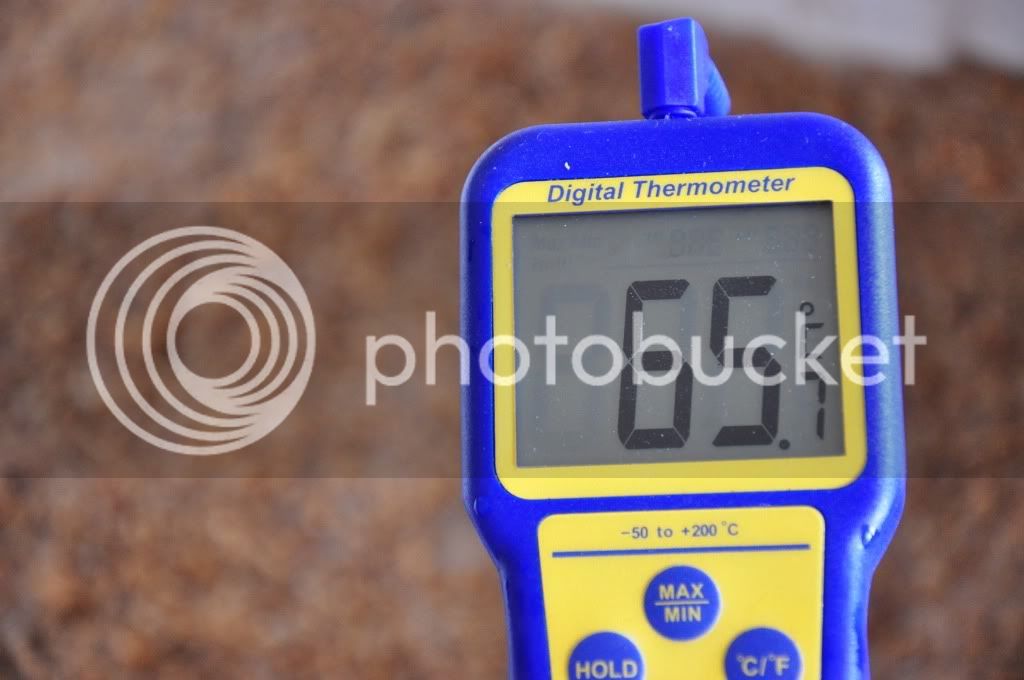
90 mins later no temp drop.
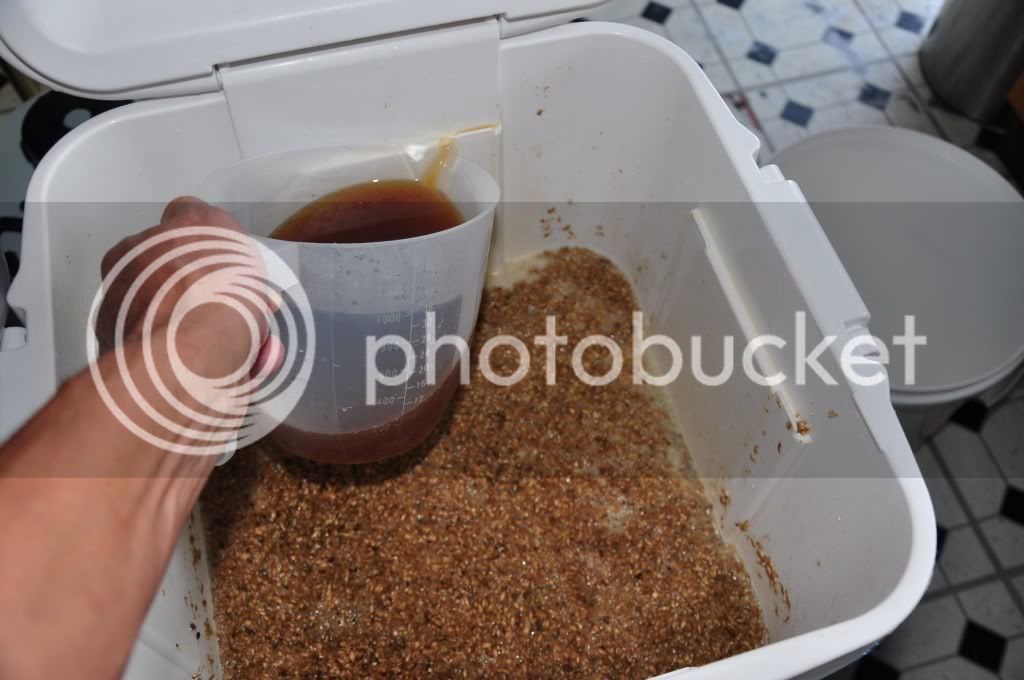
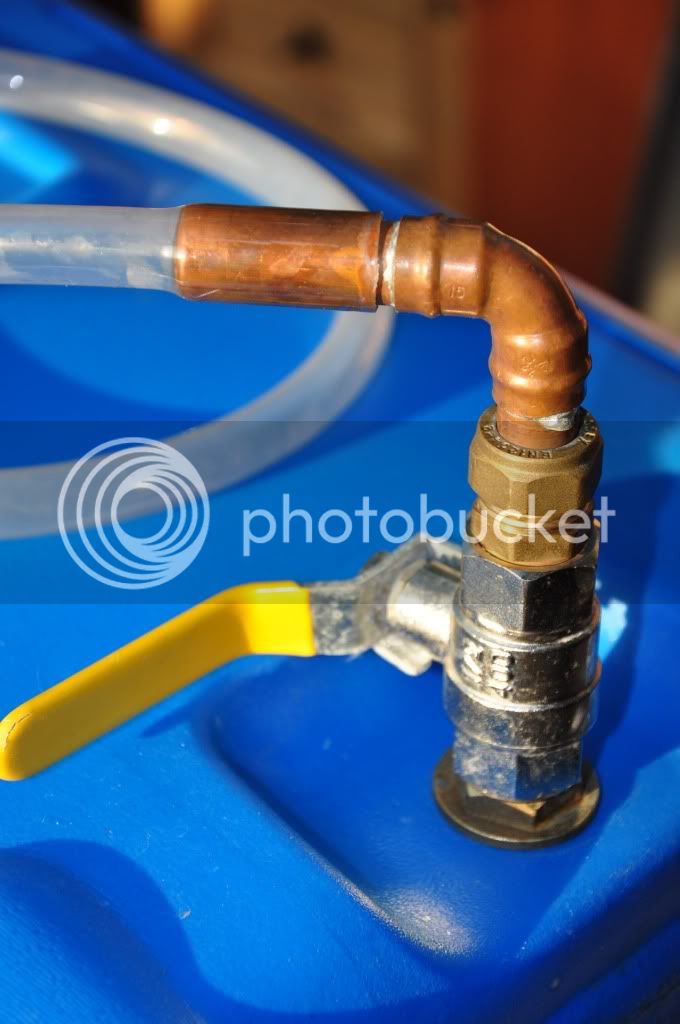
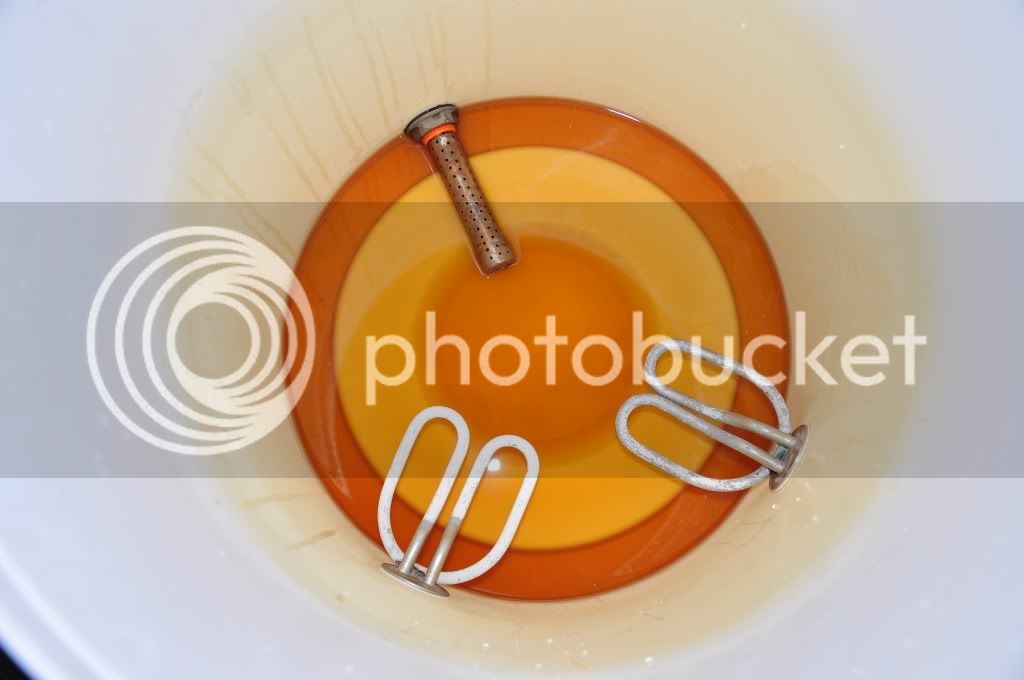
Recycling.
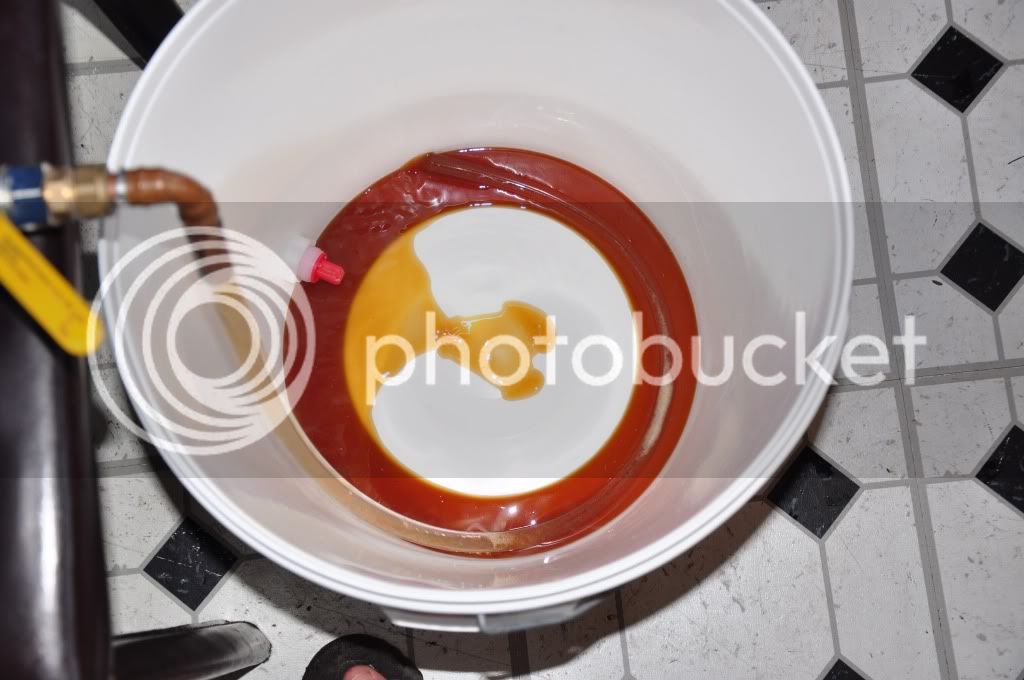
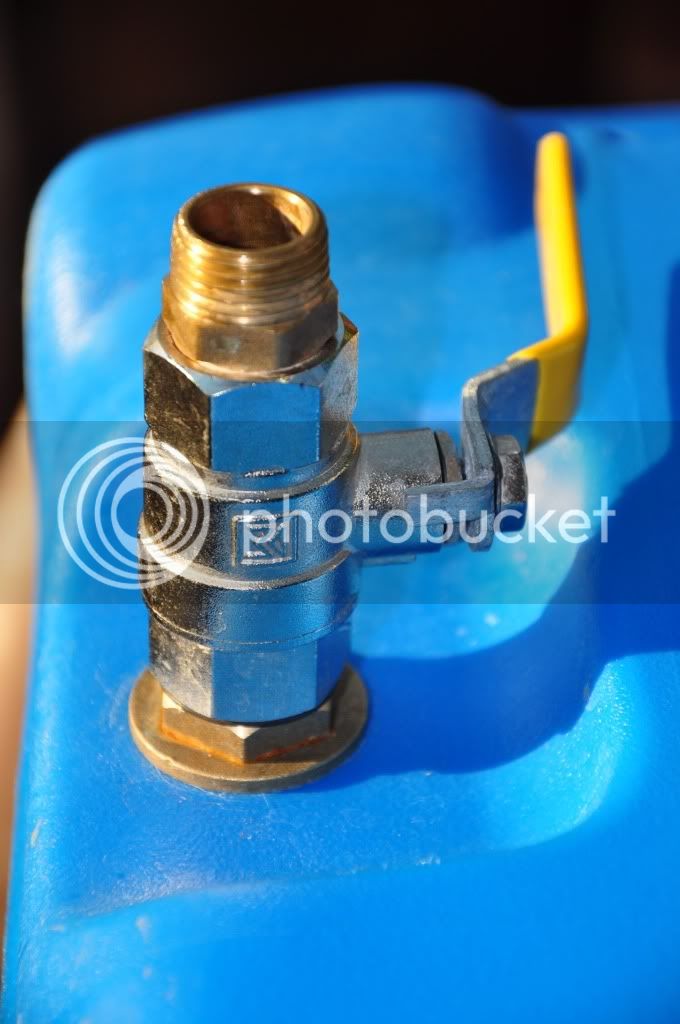
Early run off.
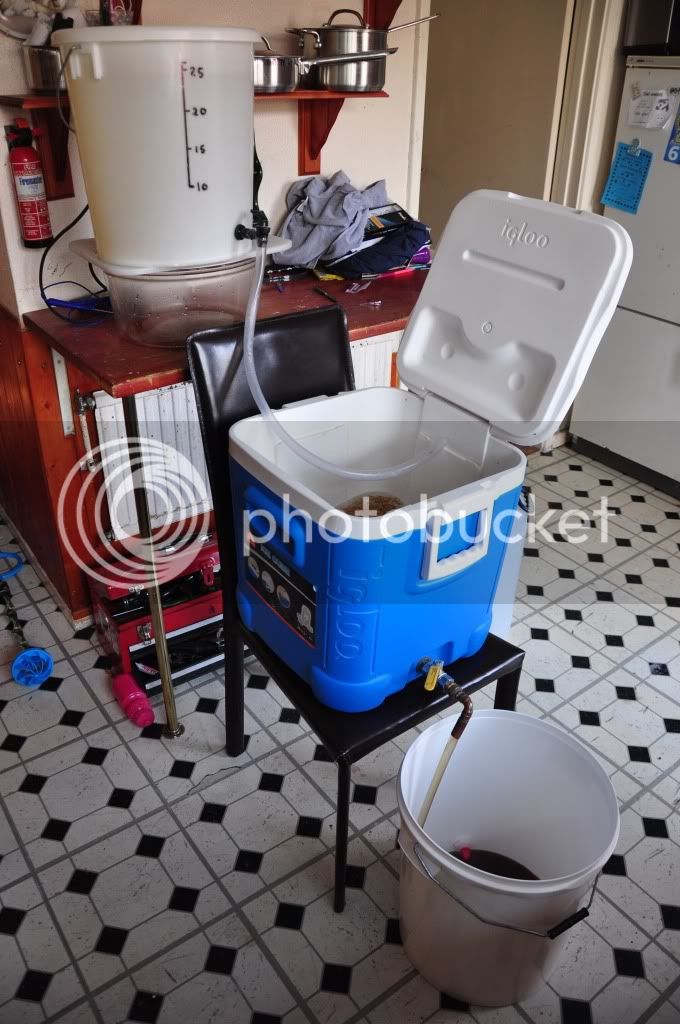
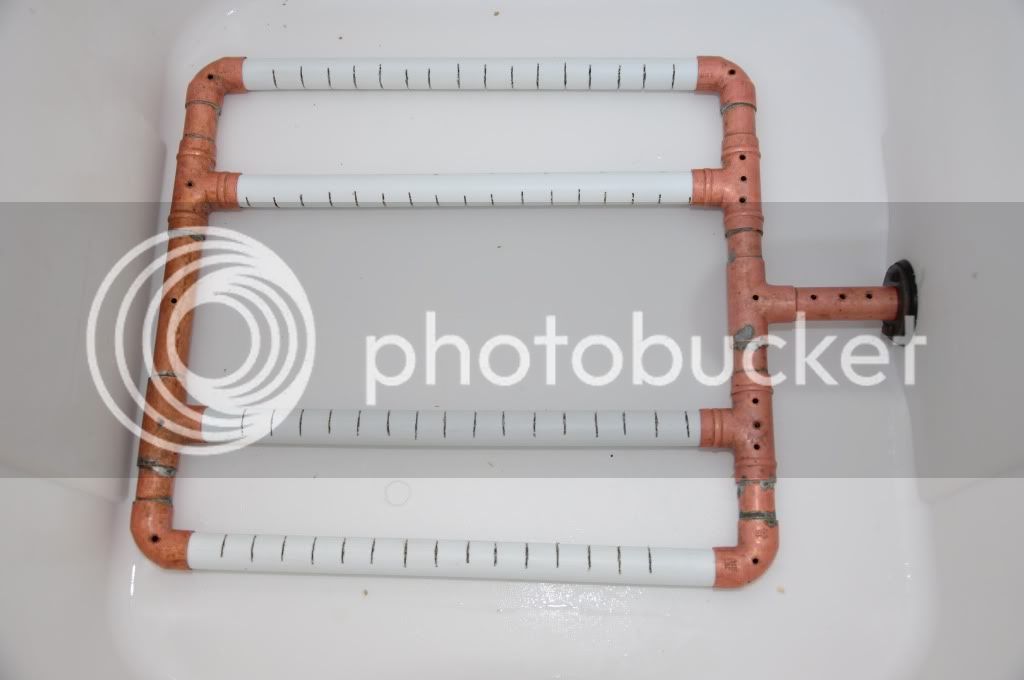
The fly sparge & collection system. Heath Robinson but it works.
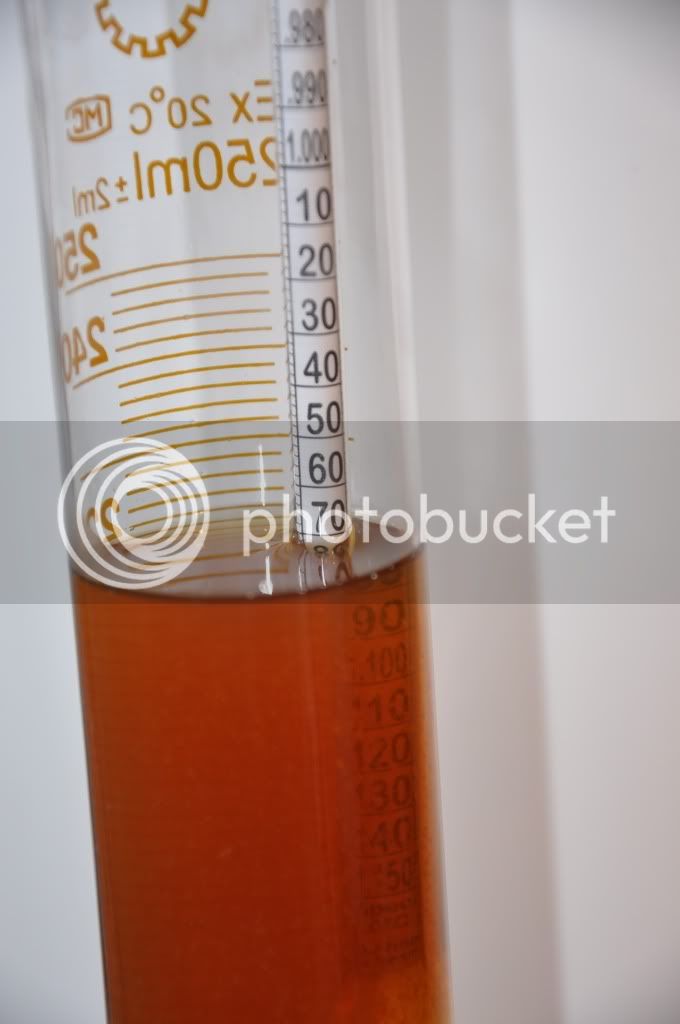
31 Lts of wort collected at a gravity of about 1035 befor the boil & adding the Candi sugar :party: . Into the boiler
a bit lighter than anticipated due to the substitution of amber malt instead of chocolate (thought I had some)
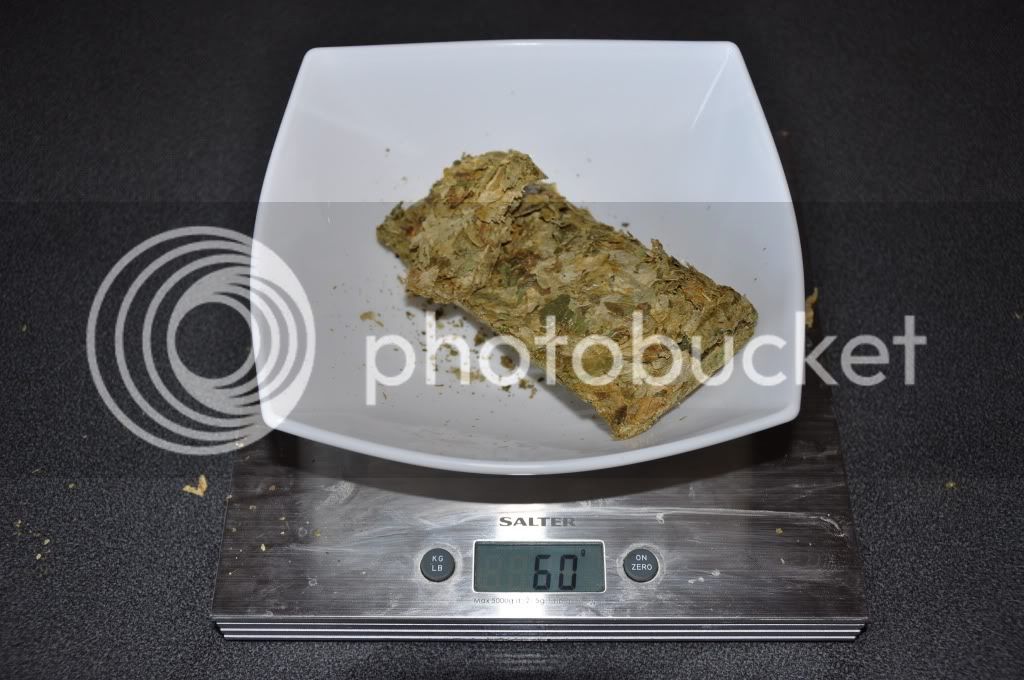
60 grams of styrian golding Bittering hops AA 3.4 for full boil target IBU 25 :pray: 10g each of Styrian G & halletau Hersbrucker flavour hop last 10 mins with irish Moss
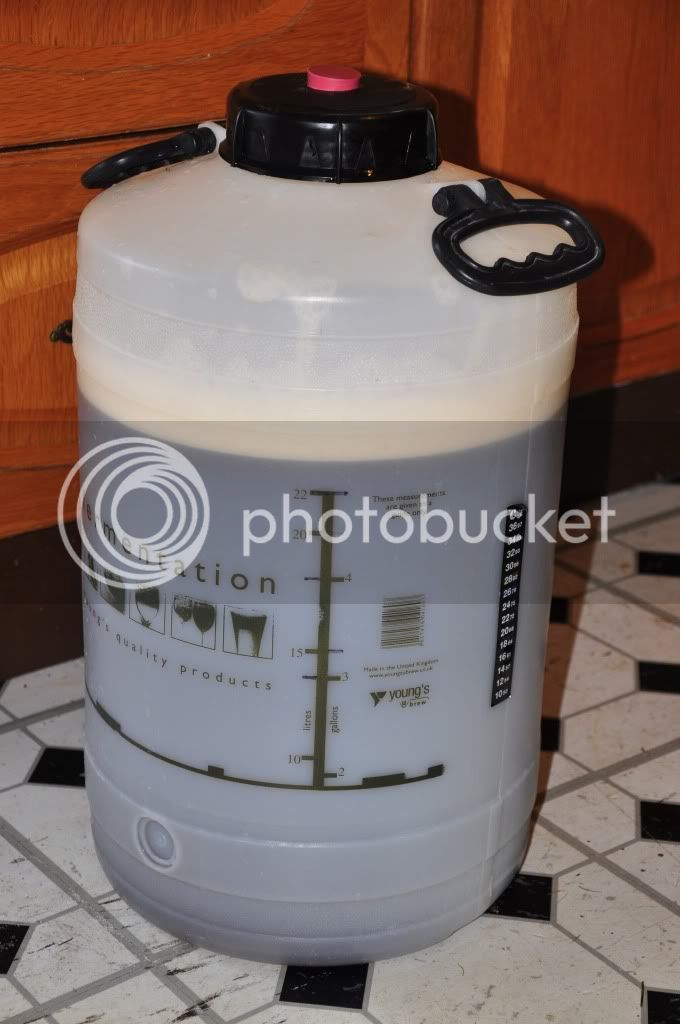
About 23.5 Lts in the FV slightly less than the target 25, extra 1.5 Lts of steam ?? :wha: :lol:
All done & dusted & cleaned up, OG 1071 right at the top end of my target hoping for an ABV of about 7% a nice Belgian strength :pray: :lol:
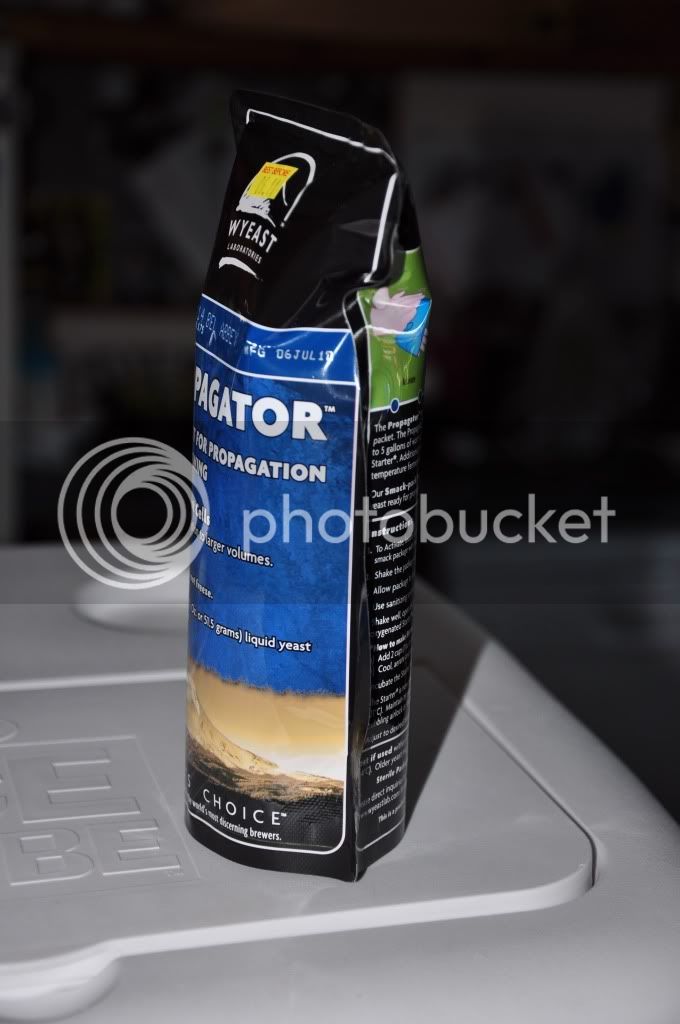
No question about the yeast activation; pitched a air lock fitted & put to bed.
I really enjoyed the day i hope you like the pics cant wait for the final transfer now from glass to mouth :drink: :lol: . If iv missed anything or any questions please feel free to ask. :lol:
Ingredients as per the recipe on previous post.
Strike temp reached time to add the grain.
Mash temp slightly lower than the target of 66' close enough.
90 mins later no temp drop.
Recycling.
Early run off.
The fly sparge & collection system. Heath Robinson but it works.
31 Lts of wort collected at a gravity of about 1035 befor the boil & adding the Candi sugar :party: . Into the boiler
a bit lighter than anticipated due to the substitution of amber malt instead of chocolate (thought I had some)
60 grams of styrian golding Bittering hops AA 3.4 for full boil target IBU 25 :pray: 10g each of Styrian G & halletau Hersbrucker flavour hop last 10 mins with irish Moss
About 23.5 Lts in the FV slightly less than the target 25, extra 1.5 Lts of steam ?? :wha: :lol:
All done & dusted & cleaned up, OG 1071 right at the top end of my target hoping for an ABV of about 7% a nice Belgian strength :pray: :lol:
No question about the yeast activation; pitched a air lock fitted & put to bed.
I really enjoyed the day i hope you like the pics cant wait for the final transfer now from glass to mouth :drink: :lol: . If iv missed anything or any questions please feel free to ask. :lol: