Many thanks, for the hints tips and information on this thread. It has all been very helpful.
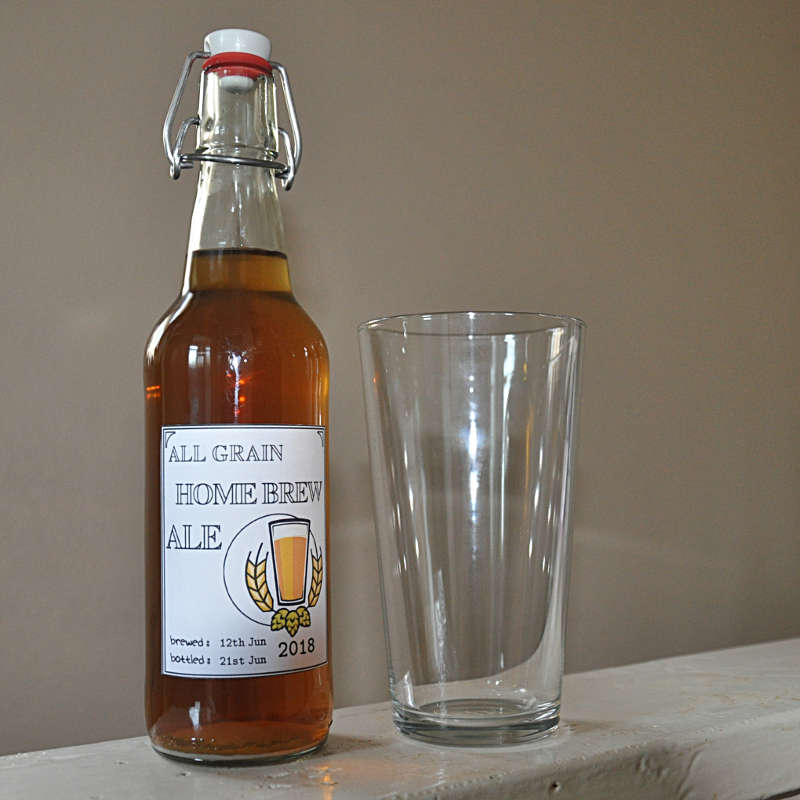
I've just bottled my first AG bitter, 'slightly hoppy', to quote my software of choice, but nevertheless a good looking and very drinkable pint on a lovely sunny afternoon.
I'm now getting a brown ale under way. [I'm an old fella with old tastes, indulge me and keep that nasty lager outta here

]
My first brew followed Clibits instructions very much to the letter, although I did use two malts rather than one.
I got myself a bag to mash in from my home brew shop and I'm impressed how tidy it makes the job. It is so easy to use, to clean and dry, so it is win, win, all around. I also recommend a long hop bag so that you can tie the top end to the pot handle and add further hops when required.
Before I started my second brew I bought 10M of 10mm copper microbore [online and delivered £17.34 - about £6 cheaper than in superstore] and made myself a cooling coil by wrapping it around a 5L paint can. I put an inch or two of 10mm syphon tube, as packing, around each end of the coil then put ordinary garden hose over that, fixing with jubilee clips. Wow!! It cools from boiling down to room temp in about 15 mins, no fuss, - that really was a worthwhile investment, - something else I would recommend.
Working from room temperature I found that boiling full kettles of water and pouring them into a 5L steel stock pot lined with my mash bag gave me a temperature about 70-75°C when I had added 3L of water. After adding the grain the temperature dropped below 70°C to more like 65°C, - ideal!! I put the lid on it, wrapped it in a duvet and watched an hours telly with the Missus.
When the hour was up I put the 5L stock pot next to a Wilko 12L pot on the stove top. I started boiling the kettle again, transferring 4L of hot water to the 12L pot, the temperature I was aiming for was 80C. I pulled the mash bag out of the 5L pot and tranferred it to the water in the 12L pot. I stirred the contents and dunked it a few times for ten minutes to persuade the remaining malt to get into solution.
I slowly lifted the bag wearing Marigold gloves [it was very hot] and squeezed it as best I could to get out any goodness that remained. I disposed of the grain and added the wort from the 5L pot to the spargings in the 12L pot. [you can get both pots from Wilko by the way]
Next I fired up the gas on the stove and brought the wort [around 6L of it] in the 12L pot up to boiling. I threw the bittering hops in a hop bag into the pot and went back for another 45 mins of telly with the Missus. Then back to the pot with ¼ of a tab of whirlfloc [unsure how much to use] and flavour hops into the hop-bag, followed by aroma hops 5 minutes before flame out.
Next step, fast cool with the chilling coil and much stirring. Then move 12L pot to a quiet spot, measure specific gravity, throw in yeast, lid it, put a cover over air hole in lid and put a bin bag over the lot.
48 hours later after vigorous fermentation had subsided, I siphon the brew into a demijohn with airlock and again cover with a bin bag [to keep out the light].
Ten to fourteen days later, measure sp.gr. again, if ready, prime with sugar syrup and bottle. Wait, wait, wait 14 days if you can and sample a delectable moreish pint.

My first recipe [I WAS flying blind] 1Kg Maris Otter, 50g Crystal Malt, 5g First Gold hops, bittering for 55 mins and 8g First Gold hops, aroma for 5 minutes, yielding 8 pints of very drinkable ale. On hindsight I'd adjust the hopping a little, maybe , but nothing drastic. It looked and tasted okay and will no doubt improve if I can only leave it in the bottle for a while... OG 1047 FG 1004
My second AG, a brown ale, is still processing: 1kg Maris Otter, 100g Crystal Malt, 20g Chocolate Malt and 10g Black Malt, 5g First Gold hops [55Min], 3g Fuggles hops [15min], ¼ tab Whirlfloc [15min] and 2g Fuggles hops [ 5min]
:UKflag: