


C
cnelsonplumber
Guest
This guide is based on my own experience of stripping, cleaning and servicing an old beer engine. The main focus will be on the cylinder and piston arrangement although I will highlight anything which is not straight forward on the rest of the process.
The engine is a Homark 1/3 pint clamp on engine.
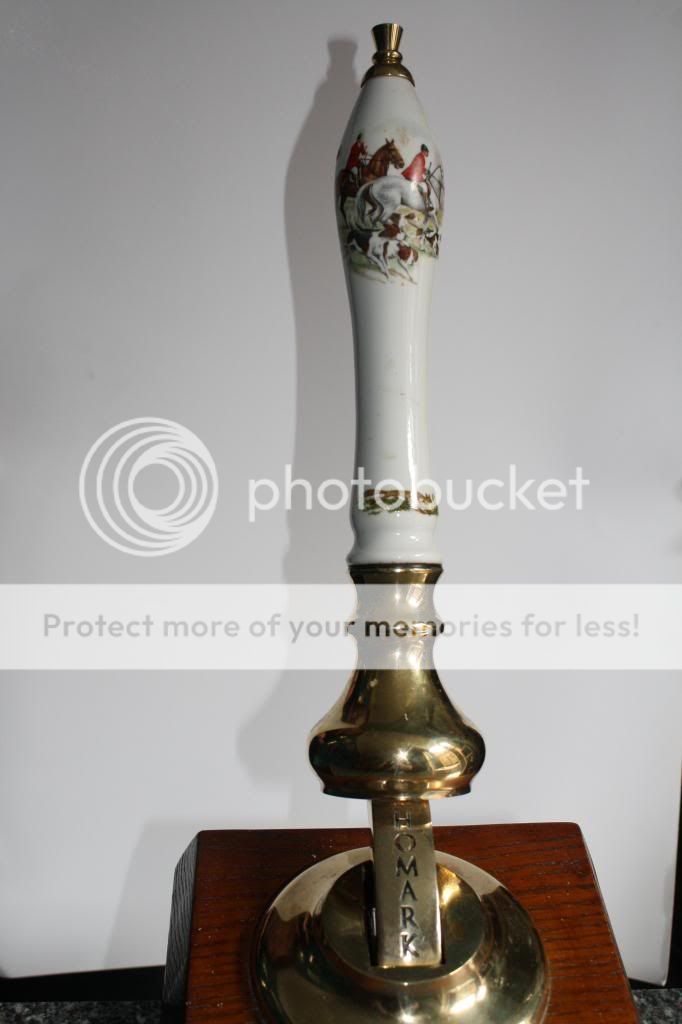
Here is a look at the front of the engine with the old style short spout and adjustable sparkler or brightener.
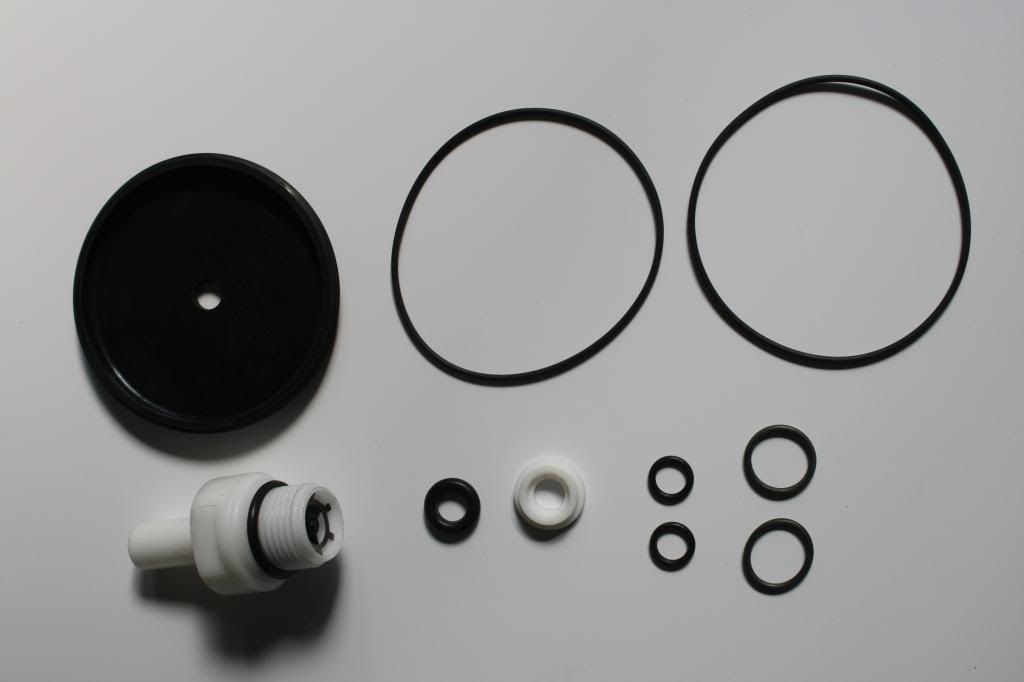
This is the spares kit I will be using for the refurb. Available from Colin Farrar Brewery Services
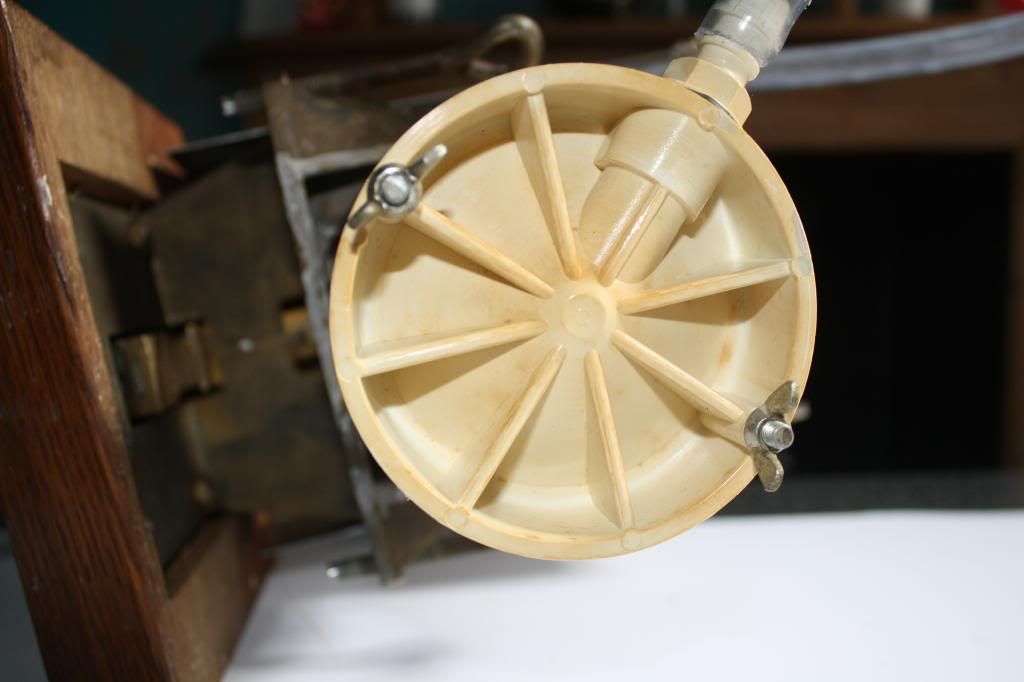
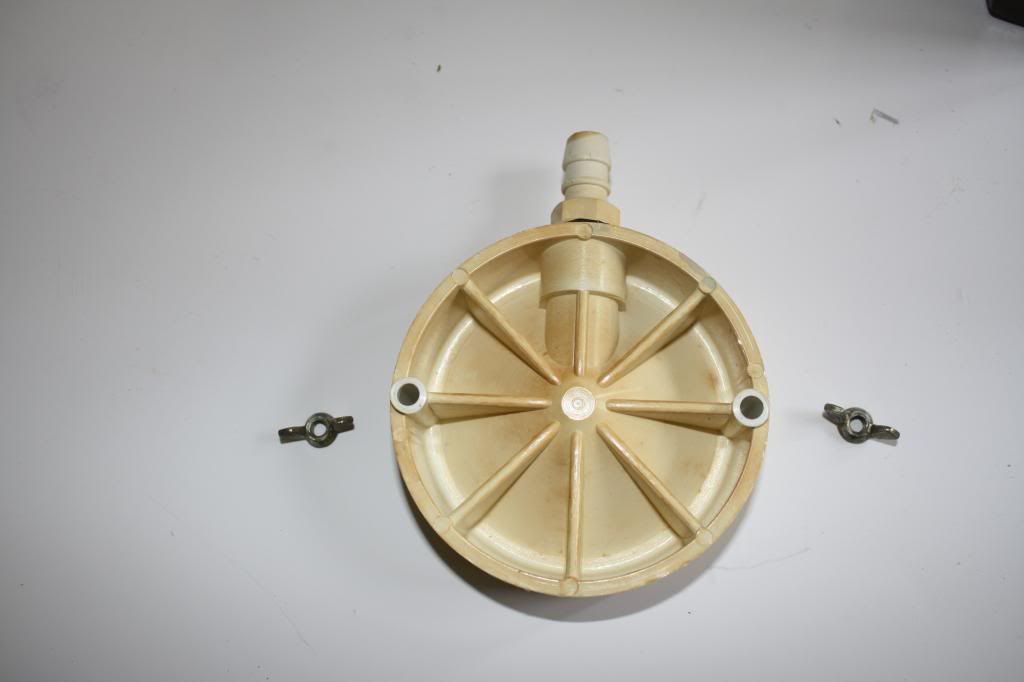
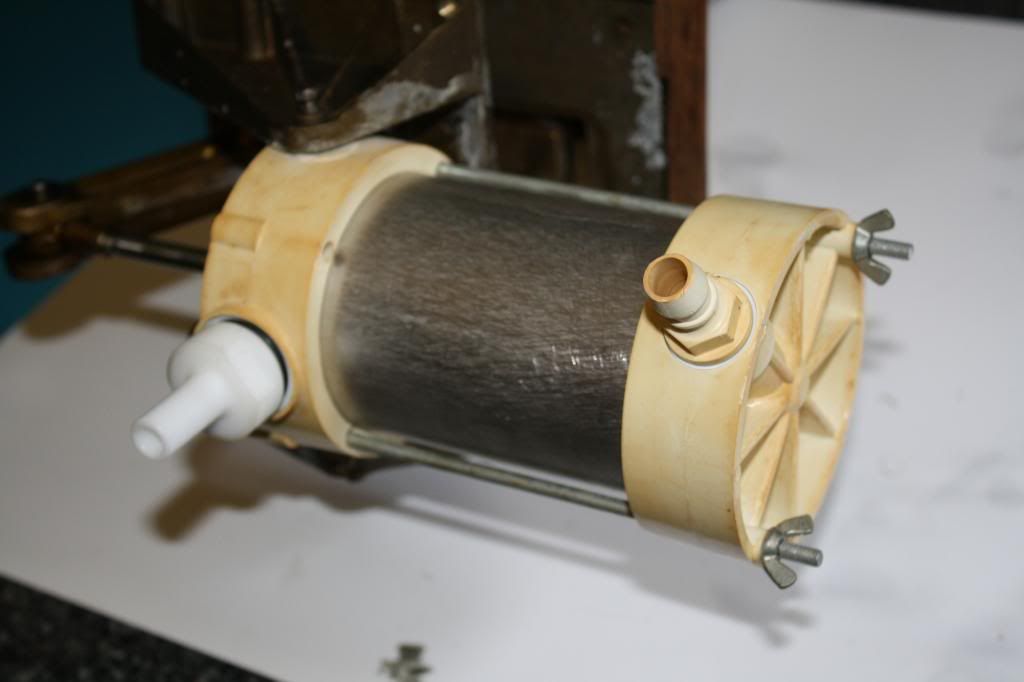
The end of the cylinder viewed from underneath showing the two wing nuts which hold the end pieces on to the barrel.
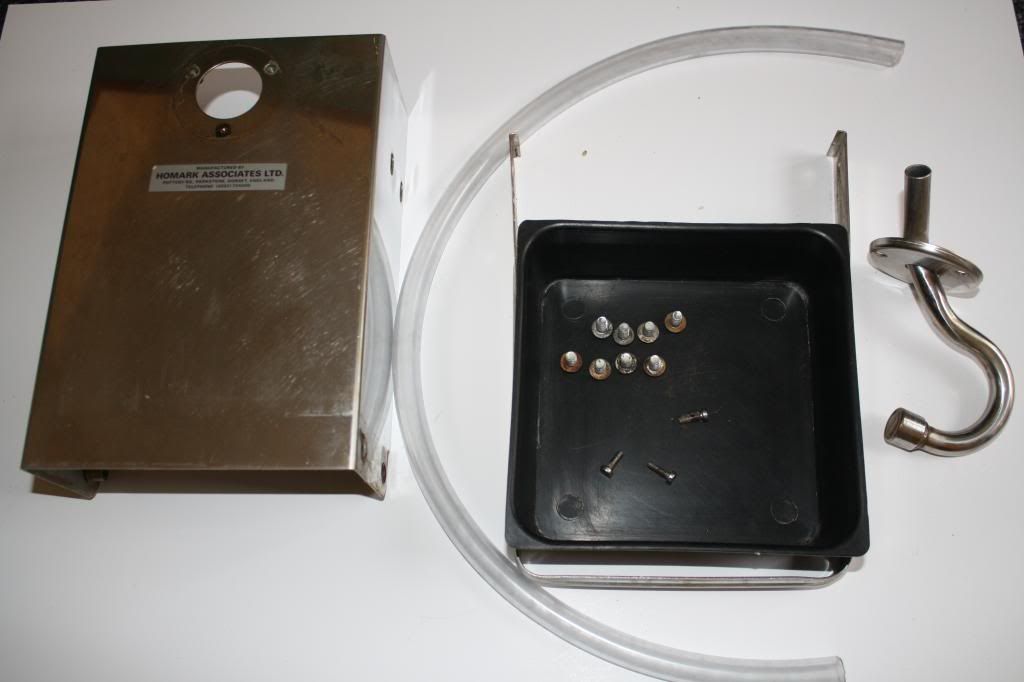
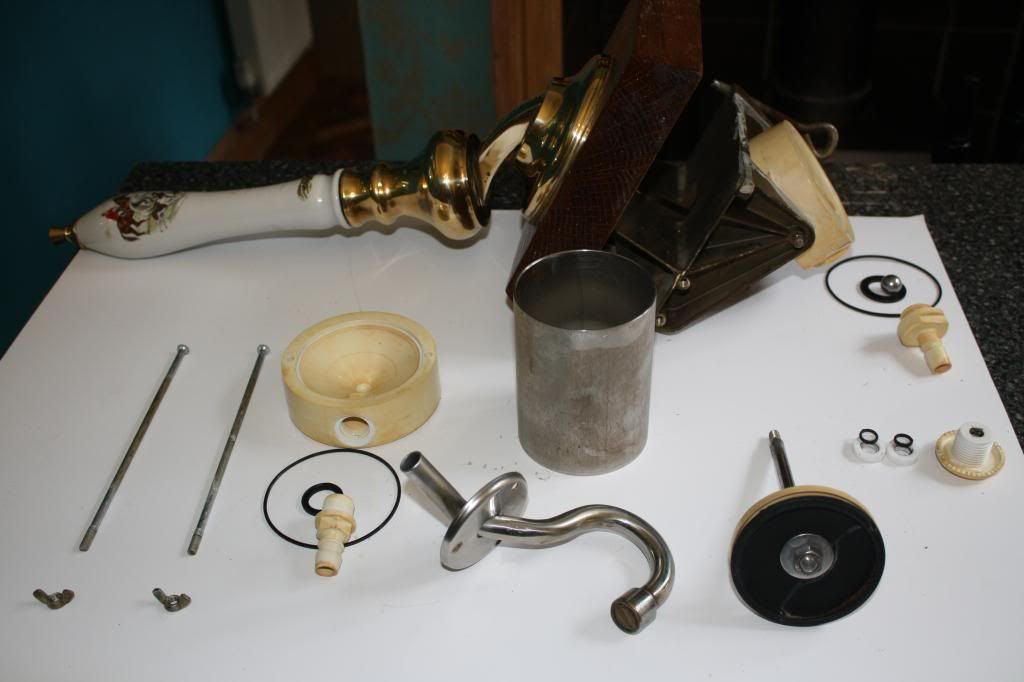
I like to work on a large tray as some of the parts are quite small and easy to loose on the floor if not contained. Any house hold tray will be fine or flat surface, a piece of white card to work on will also help.
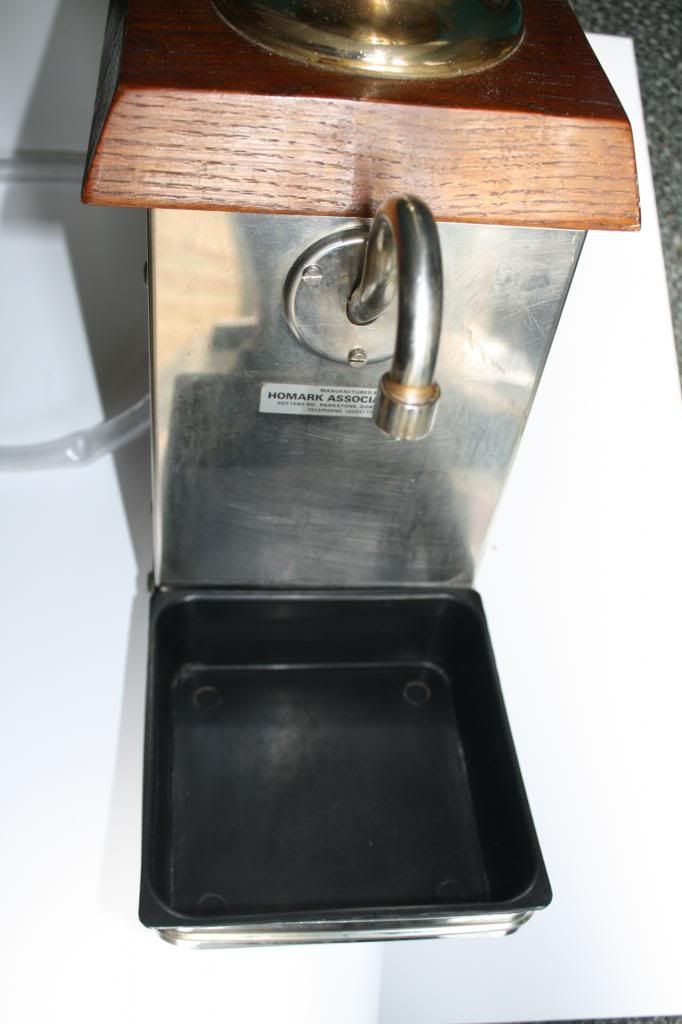
The first stage is to start removing some of externals to access the cylinder. The drip tray comes in handy to hold any fixings removed. The parts shown are all disassembled by removing their securing screws.
Now we get to have a look inside the cylinder and check on condition. Unscrew the two wing nuts and gently tap the end cap until it separates from the barrel. A rubber mallet is useful here as many of these engines are more than 20 years old and the plastic pieces are likely to be brittle and may break if not handled with reasonable care.
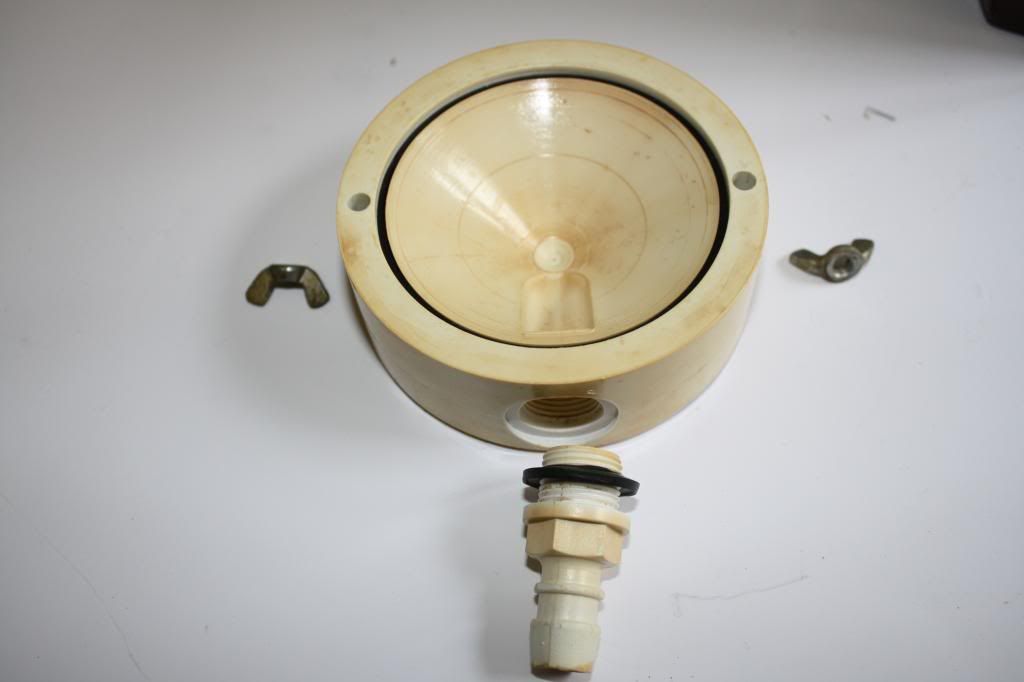
This is a view of the end cap inside showing the tail pipe removed.
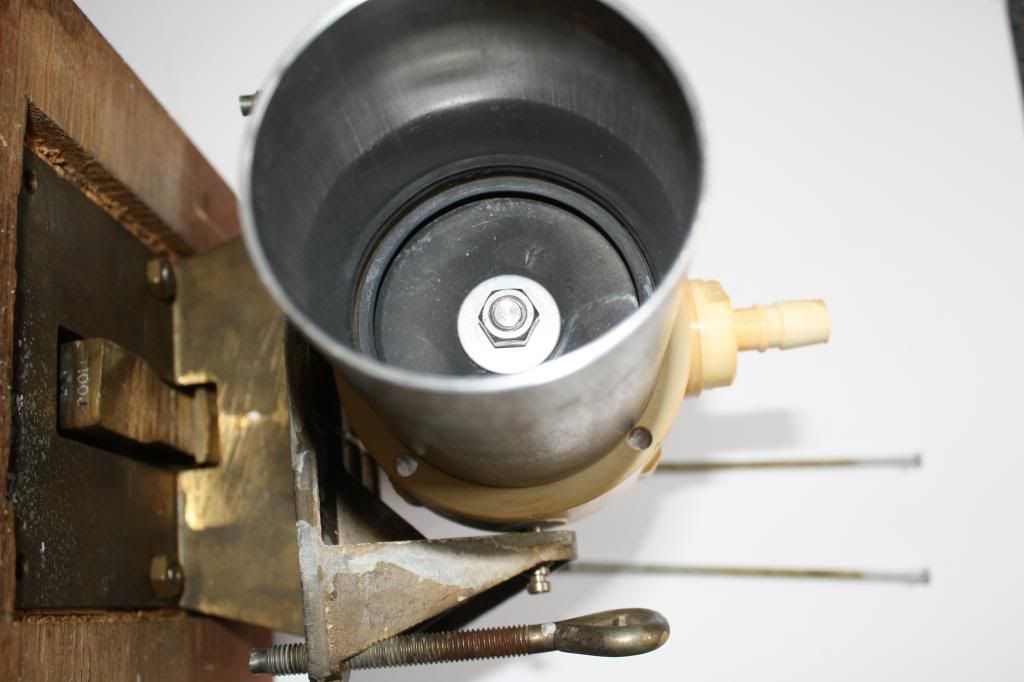
The cylinder is still in its original position on this project as the pivots were seized fast due to an interference fit. Attempts to remove them and the cylinder were likely to result in destroying the engine. Later models have bolts which can be unscrewed to allow removal of the cylinder.
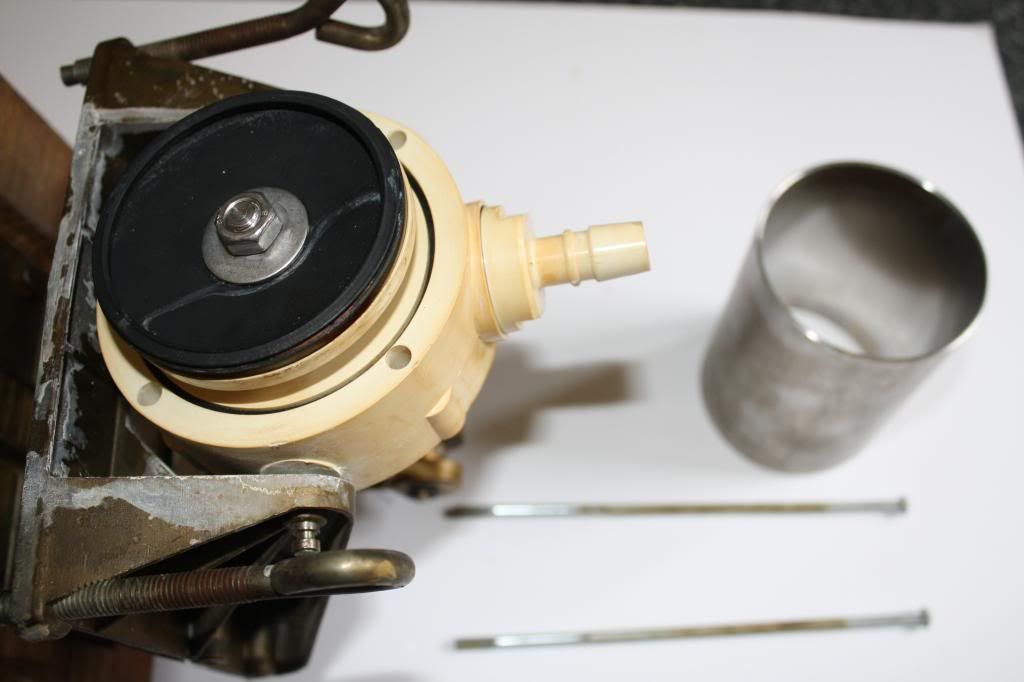
The long bolts have been removed and the barrel slides easily off the piston.
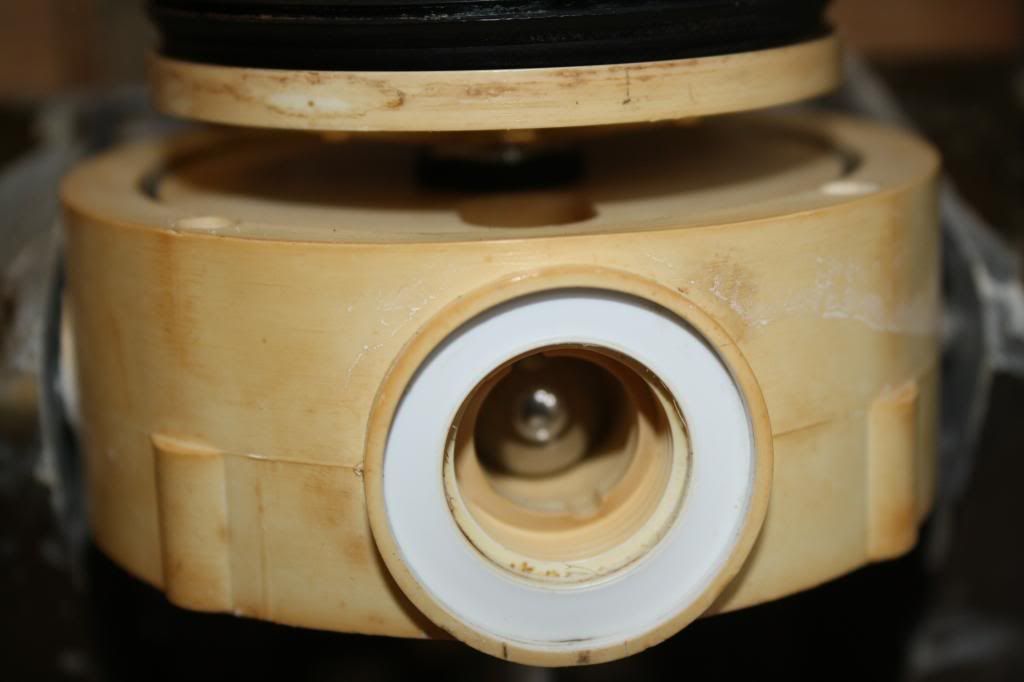
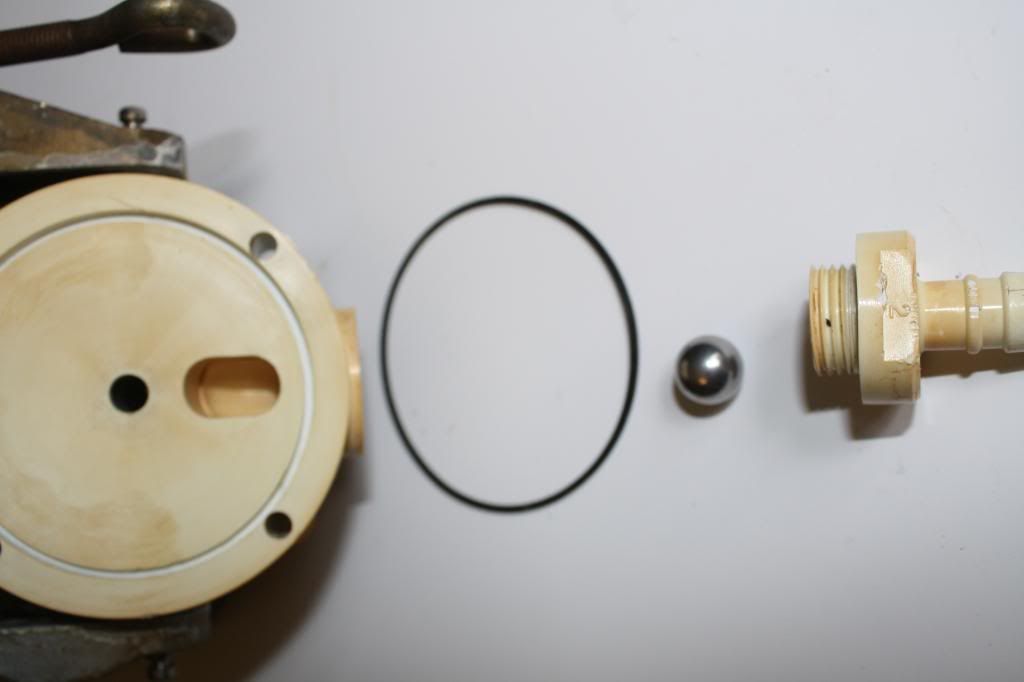
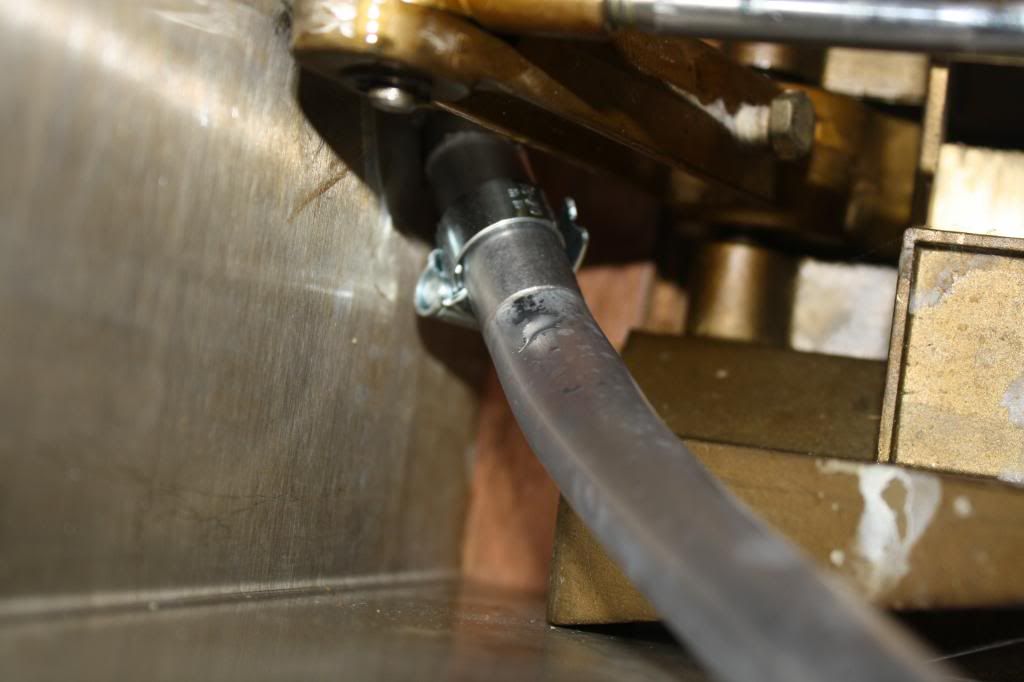
Unscrew the inlet tail spigot and the non-return ball bearing is visible, this can be easily removed by tipping the engine up.
The service kit contains a nylon replacement incorporated into the tail piece so the old one and ball can be discarded.

Unscrew the piston rod from the fulcrum. This is best done using a pair of grips with soft jaws to avoid damaging the piston rod.
This allows the piston and piston rod to be removed for cleaning and repair. The piston cushion ring is visible on the piston rod.

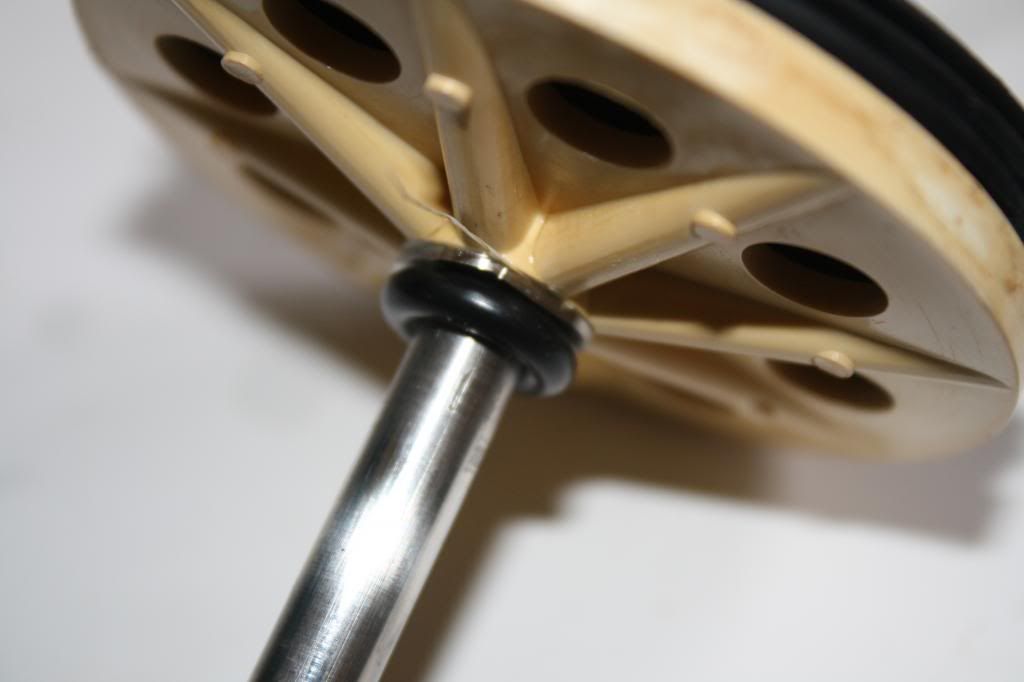
Here the end seal has been removed ready for cleaning and fitting of the new one. The tail and ball can be discarded.
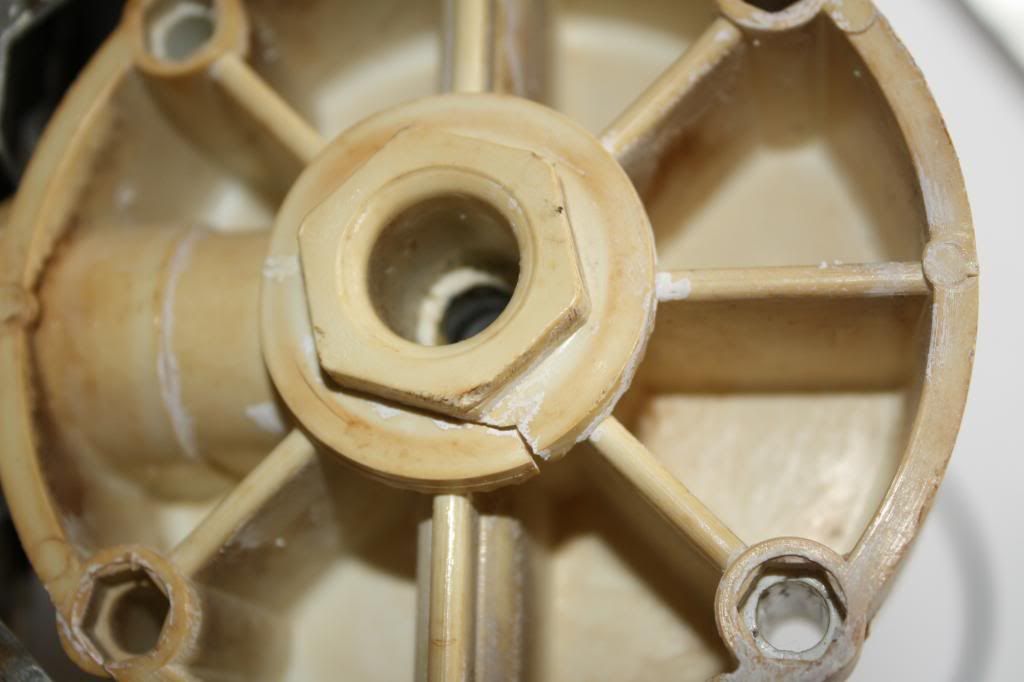
Common damage to the end cap flange due to poor adjustment/maintenance. This is cosmetic and does not effect the performance of the engine as long as the crack does not extend into the nut.
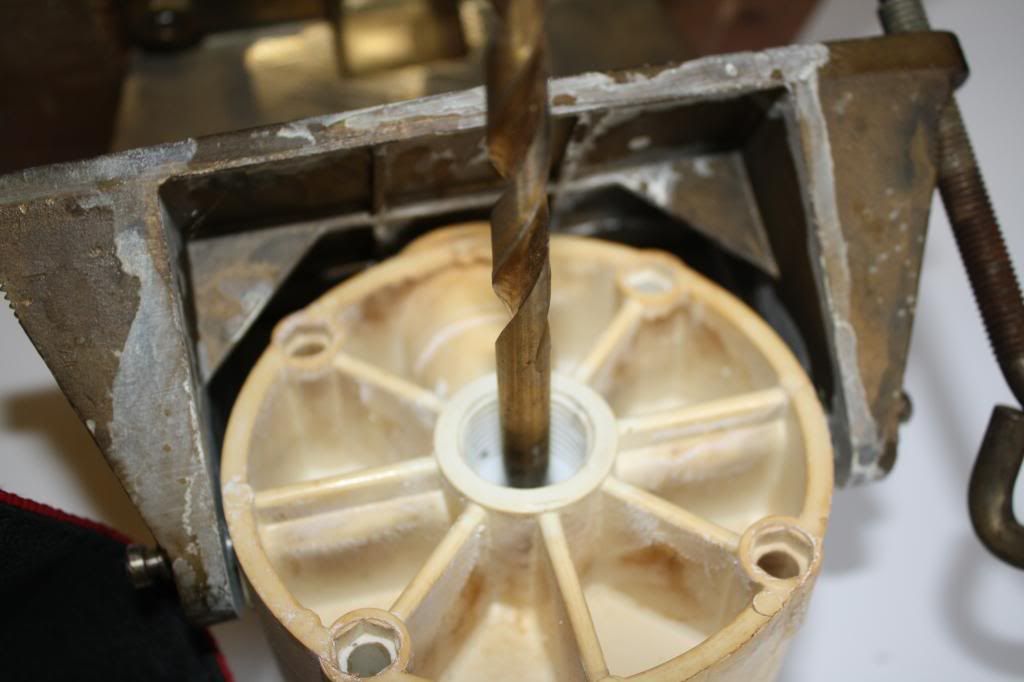
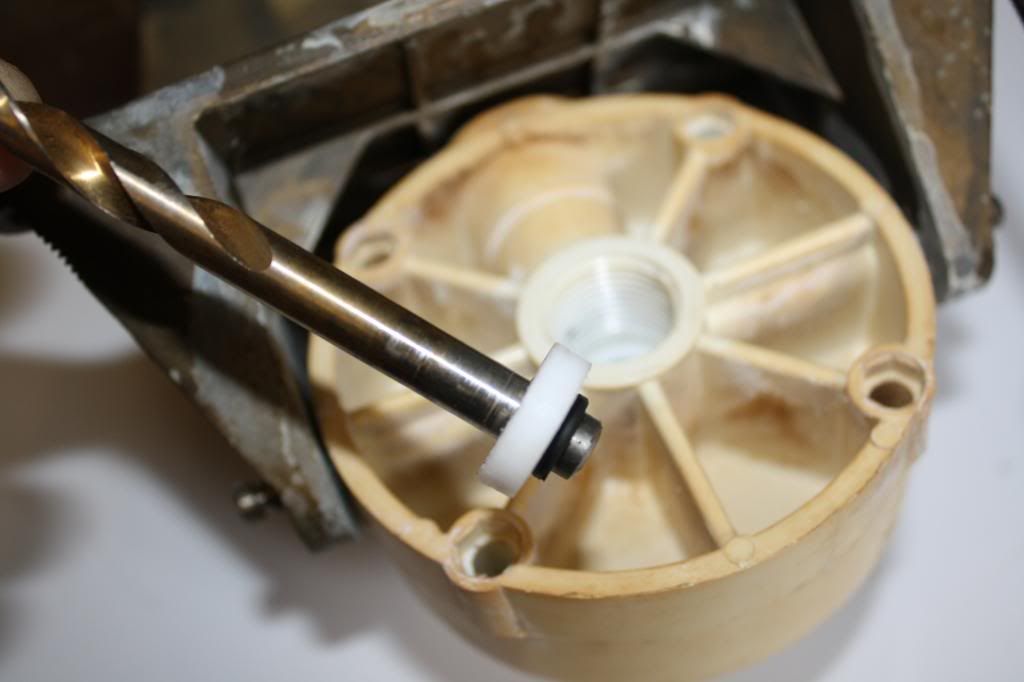
Once the end cap has been removed, the shank of an 8mm twist drill can be used to gently remove the seal housing.
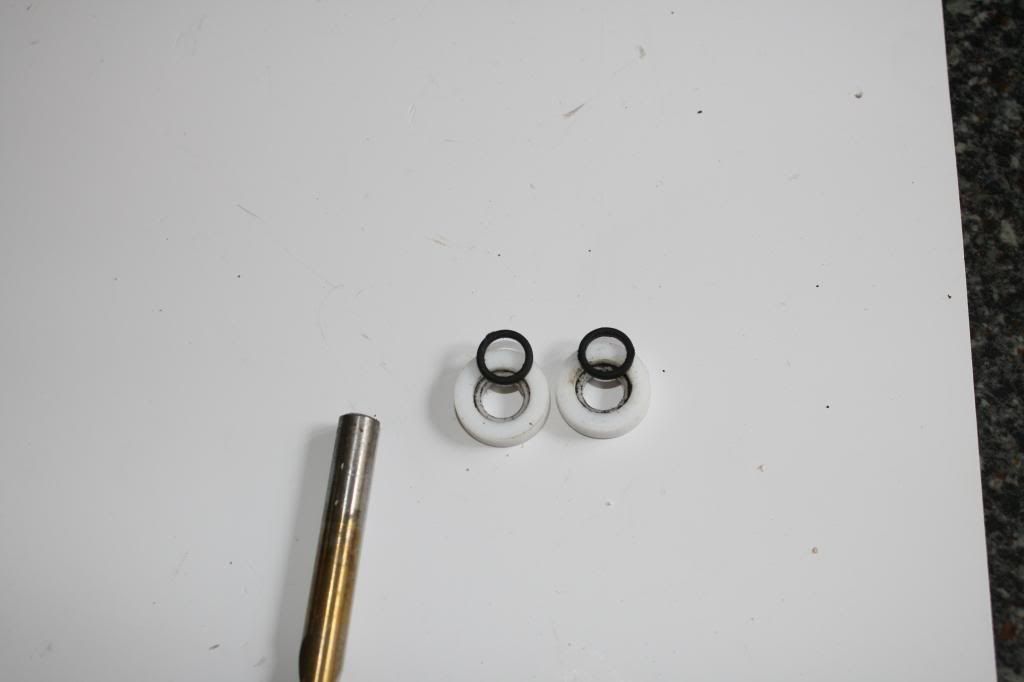
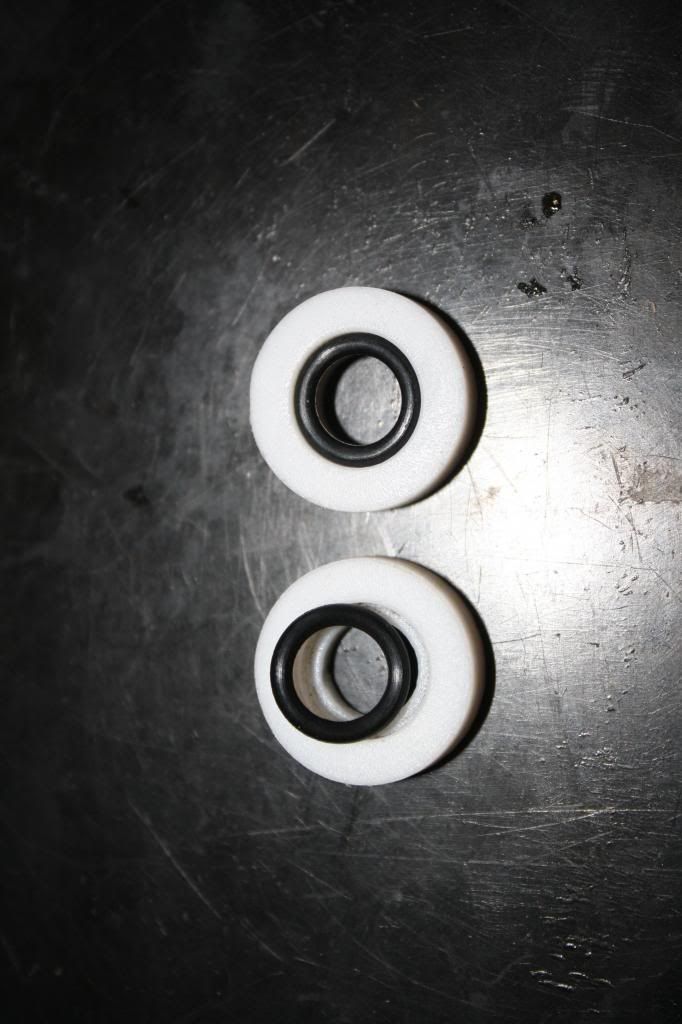
Here is the two part housing with the 'o' seals
With any luck you will have a selection of bits that look something like this
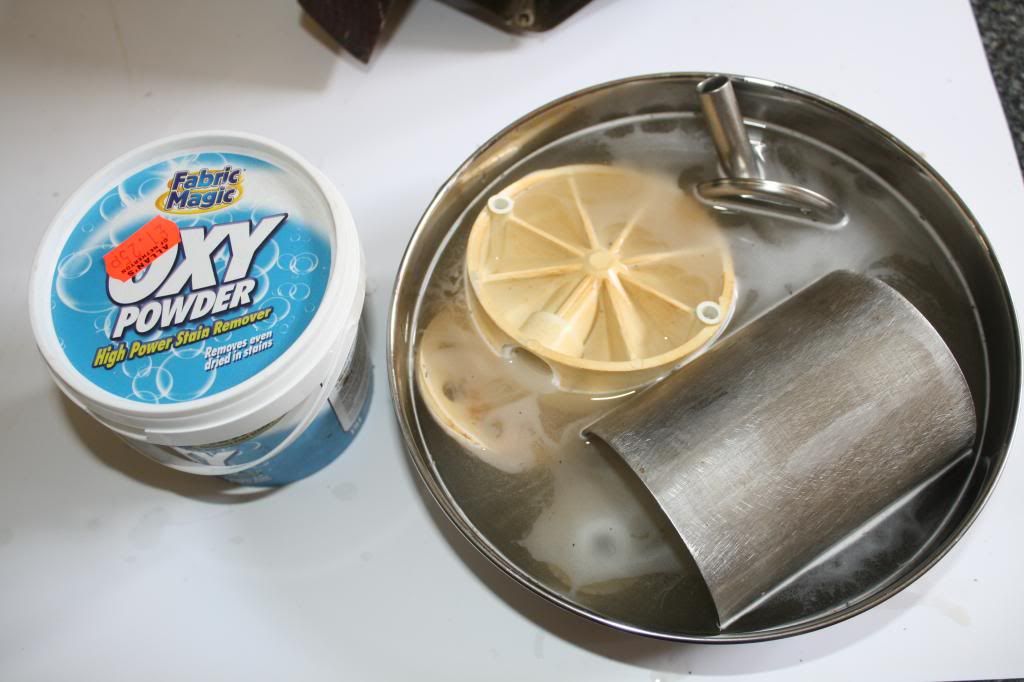
Time for a clean up. A solution of an oxyclean type cleaner in warm water works well, although for very stubborn stains, a weak solution may be required in addition with an overnight soak. Remember to rinse well on completion.
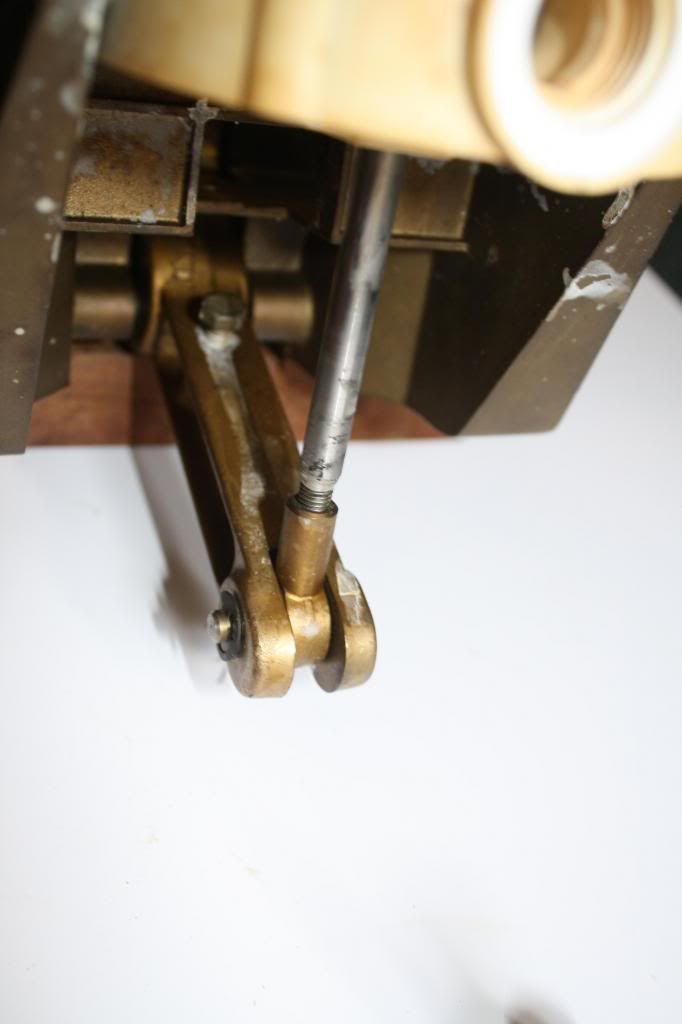
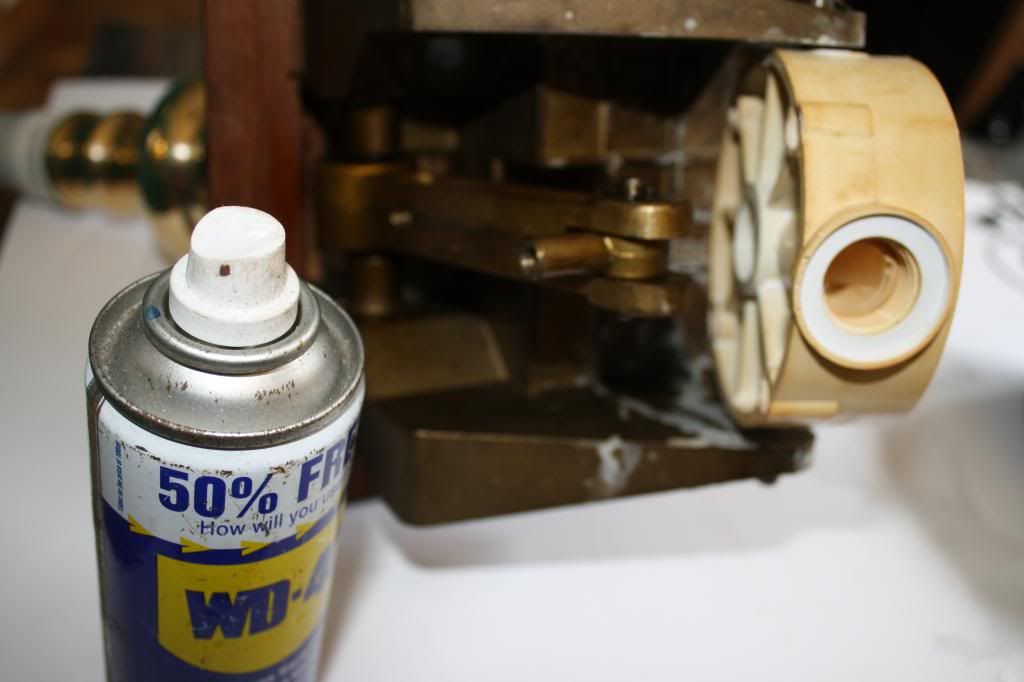
This engine is approximately 25 years old and therefore some remaining discoloration in the plastic parts is to be expected. The fulcrum joint was in excellent condition with no discernible signs of wear, a lubricating spray was applied to replace any lubricant lost during the clean.
New 'o' seals ready to be installed back into the piston guide
The piston seal is secured with a single nut and washer. The end of the piston is deformed deliberately to prevent the nut from coming loose during operation.
Grip the piston rod in a set of soft jaws in a vice and turn the nut anti clockwise, it will come loose with a bit of gentle persuasion. This will allow you to replaced the piston seal then re secure the nut with a centre punch mark across the nut and end of piston rod.
Next job is to replace the rubber washer that acts as a bump stop.
Slide the piston rod back into the new seal assembly and screw the end of the piston rod into the crank. This thread is the adjustment to prevent the piston hitting the end cap. When the beer pump handle is at maximum and minimum travel, check to see that the piston doesn't hit either end cap. It would be a good idea to have a lock nut to stop the piston going out of adjustment, I use a dot of 'locktite' on the thread to server the same purpose.
New end cap seals can be fitted easily as the old ones are generally in a poor state and fall out.
The seals provided as part of my kit were slightly smaller than the diameter of the recess, but stretched easily to fit.

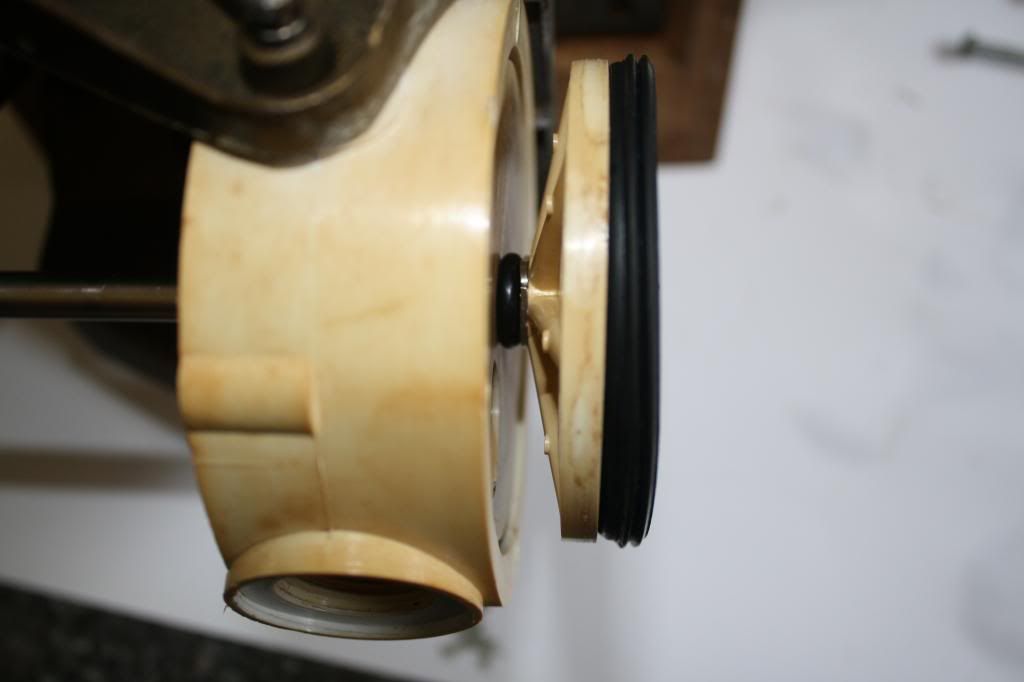
Slip the cylinder back over the new piston seal and check the fit of the cylinder against the new seal.
note.
The end cap is shown still attached to the main brass casting at the pivot. Earlier models had this pivot made from a push fit pin into a bush and they are almost impossible to separate without breaking the end cap. Later models have a bolt pivot and can easily be stripped to make the process easier.
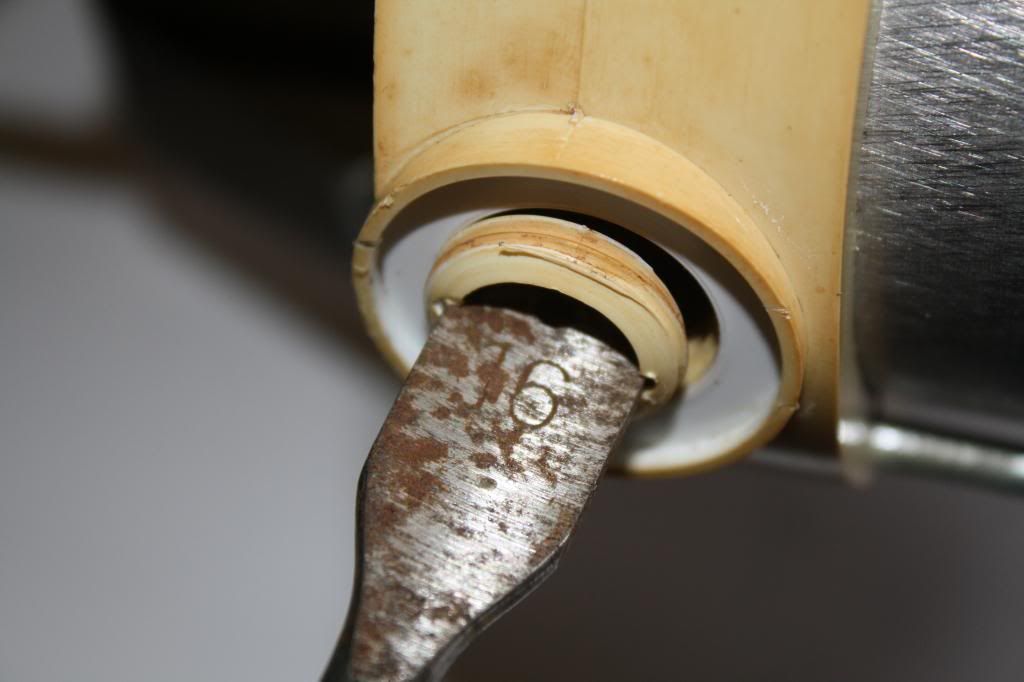
This is a view of the old ball non return retaining bush and it needs to be removed before the new nylon one can be installed.

As it happens, the perfect tool for this is a 16mm spade bit
Re-assemble the cylinder, end cap and screw the new non-return valve in.
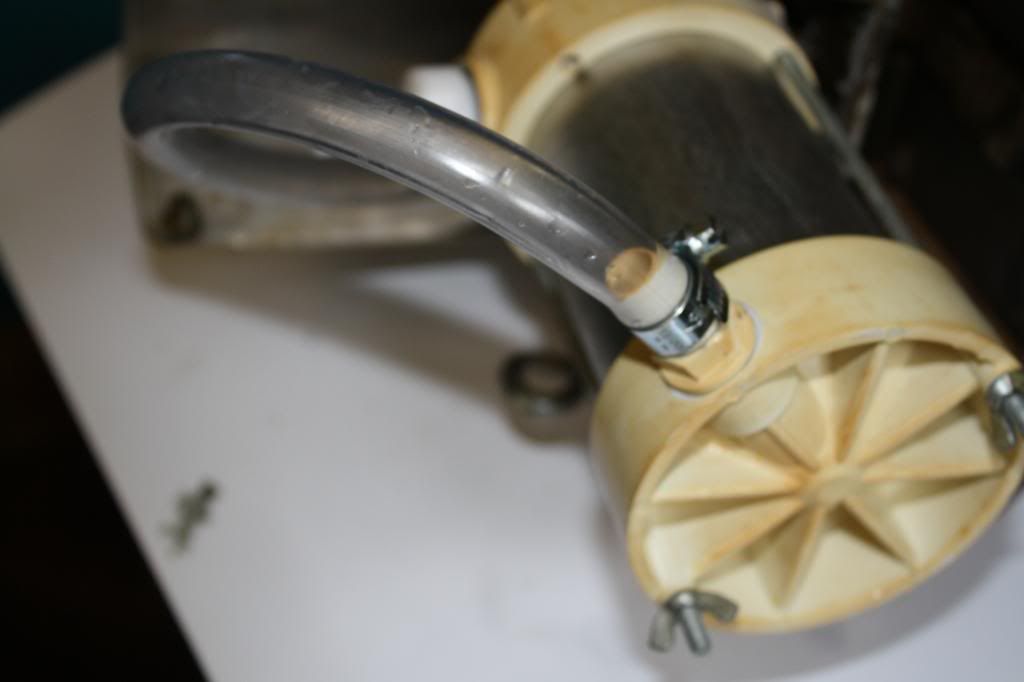
A new piece of tube with jubilee clips
Replace the externals and then give it a test.
Cheers
The engine is a Homark 1/3 pint clamp on engine.

Here is a look at the front of the engine with the old style short spout and adjustable sparkler or brightener.

This is the spares kit I will be using for the refurb. Available from Colin Farrar Brewery Services

The end of the cylinder viewed from underneath showing the two wing nuts which hold the end pieces on to the barrel.

I like to work on a large tray as some of the parts are quite small and easy to loose on the floor if not contained. Any house hold tray will be fine or flat surface, a piece of white card to work on will also help.
The first stage is to start removing some of externals to access the cylinder. The drip tray comes in handy to hold any fixings removed. The parts shown are all disassembled by removing their securing screws.

Now we get to have a look inside the cylinder and check on condition. Unscrew the two wing nuts and gently tap the end cap until it separates from the barrel. A rubber mallet is useful here as many of these engines are more than 20 years old and the plastic pieces are likely to be brittle and may break if not handled with reasonable care.

This is a view of the end cap inside showing the tail pipe removed.

The cylinder is still in its original position on this project as the pivots were seized fast due to an interference fit. Attempts to remove them and the cylinder were likely to result in destroying the engine. Later models have bolts which can be unscrewed to allow removal of the cylinder.

The long bolts have been removed and the barrel slides easily off the piston.

Unscrew the inlet tail spigot and the non-return ball bearing is visible, this can be easily removed by tipping the engine up.

The service kit contains a nylon replacement incorporated into the tail piece so the old one and ball can be discarded.

Unscrew the piston rod from the fulcrum. This is best done using a pair of grips with soft jaws to avoid damaging the piston rod.

This allows the piston and piston rod to be removed for cleaning and repair. The piston cushion ring is visible on the piston rod.

Here the end seal has been removed ready for cleaning and fitting of the new one. The tail and ball can be discarded.

Common damage to the end cap flange due to poor adjustment/maintenance. This is cosmetic and does not effect the performance of the engine as long as the crack does not extend into the nut.

Once the end cap has been removed, the shank of an 8mm twist drill can be used to gently remove the seal housing.


Here is the two part housing with the 'o' seals

With any luck you will have a selection of bits that look something like this

Time for a clean up. A solution of an oxyclean type cleaner in warm water works well, although for very stubborn stains, a weak solution may be required in addition with an overnight soak. Remember to rinse well on completion.

This engine is approximately 25 years old and therefore some remaining discoloration in the plastic parts is to be expected. The fulcrum joint was in excellent condition with no discernible signs of wear, a lubricating spray was applied to replace any lubricant lost during the clean.

New 'o' seals ready to be installed back into the piston guide

The piston seal is secured with a single nut and washer. The end of the piston is deformed deliberately to prevent the nut from coming loose during operation.
Grip the piston rod in a set of soft jaws in a vice and turn the nut anti clockwise, it will come loose with a bit of gentle persuasion. This will allow you to replaced the piston seal then re secure the nut with a centre punch mark across the nut and end of piston rod.
Next job is to replace the rubber washer that acts as a bump stop.

Slide the piston rod back into the new seal assembly and screw the end of the piston rod into the crank. This thread is the adjustment to prevent the piston hitting the end cap. When the beer pump handle is at maximum and minimum travel, check to see that the piston doesn't hit either end cap. It would be a good idea to have a lock nut to stop the piston going out of adjustment, I use a dot of 'locktite' on the thread to server the same purpose.

New end cap seals can be fitted easily as the old ones are generally in a poor state and fall out.
The seals provided as part of my kit were slightly smaller than the diameter of the recess, but stretched easily to fit.

Slip the cylinder back over the new piston seal and check the fit of the cylinder against the new seal.
note.
The end cap is shown still attached to the main brass casting at the pivot. Earlier models had this pivot made from a push fit pin into a bush and they are almost impossible to separate without breaking the end cap. Later models have a bolt pivot and can easily be stripped to make the process easier.
This is a view of the old ball non return retaining bush and it needs to be removed before the new nylon one can be installed.

As it happens, the perfect tool for this is a 16mm spade bit

Re-assemble the cylinder, end cap and screw the new non-return valve in.

A new piece of tube with jubilee clips


Replace the externals and then give it a test.
Cheers


 :lol:
:lol: