


Bigjas
Landlord.
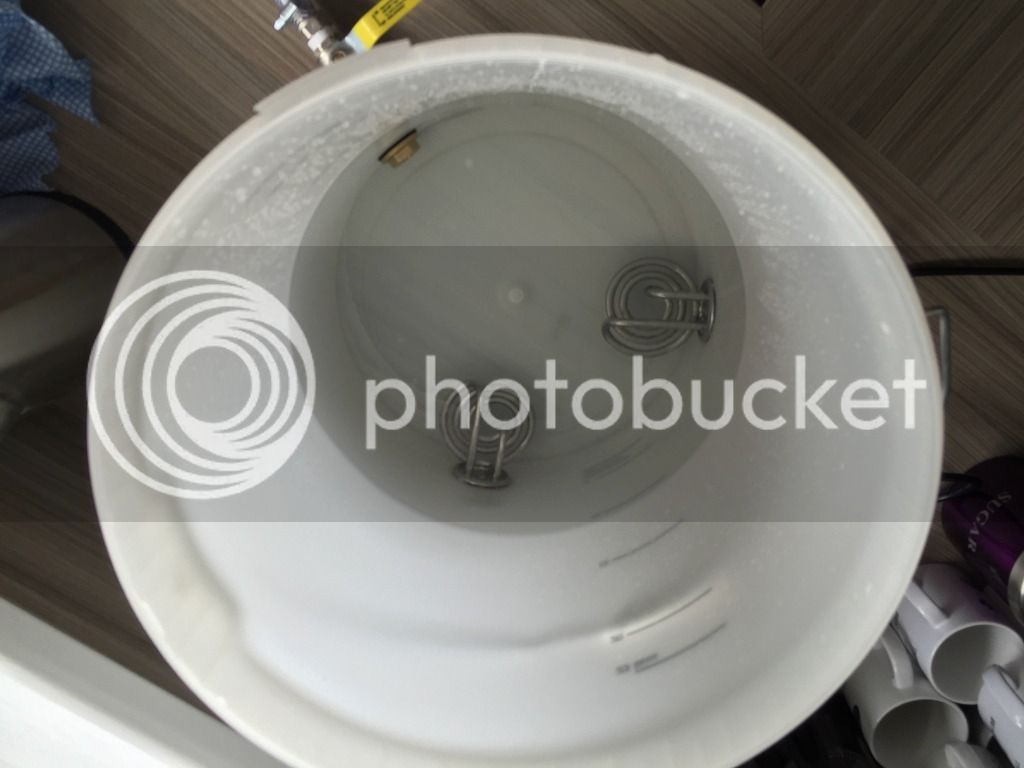
I have got the brewing bug after my first go at AG brewing. My first brew was only 5 litres due to the equipment I had to hand and it took 4.5 hours to do. So I have been thinking about getting an Ace boiler as they seem quite well respected on here, but cant stump up the �ã100 at the moment. So I had a moment whilst in my local Wilkos when I spotted an FV for �ã8 and not too far away were the value kettles for �ã5 each! So I had an impulse buy and bought 2 FV's and 2 kettles. Got home and took the guts out of the kettles and attached them to one of the FV's. I had an old ball valve in the shed from a previous job so fitted that and ended up with a 25 litre boiler for about �ã20 including the tank adaptor for the ball valve.
I have also bought Graham Wheelers book and adapted one of his recipes for the Old Speckled Hen clone. I am aiming for a 19l batch...
3130g Maris Otter
315g Crystal Malt
24g Chocolate Malt
470g White Sugar
32g Cascade @90mins
11g EKG @10 mins
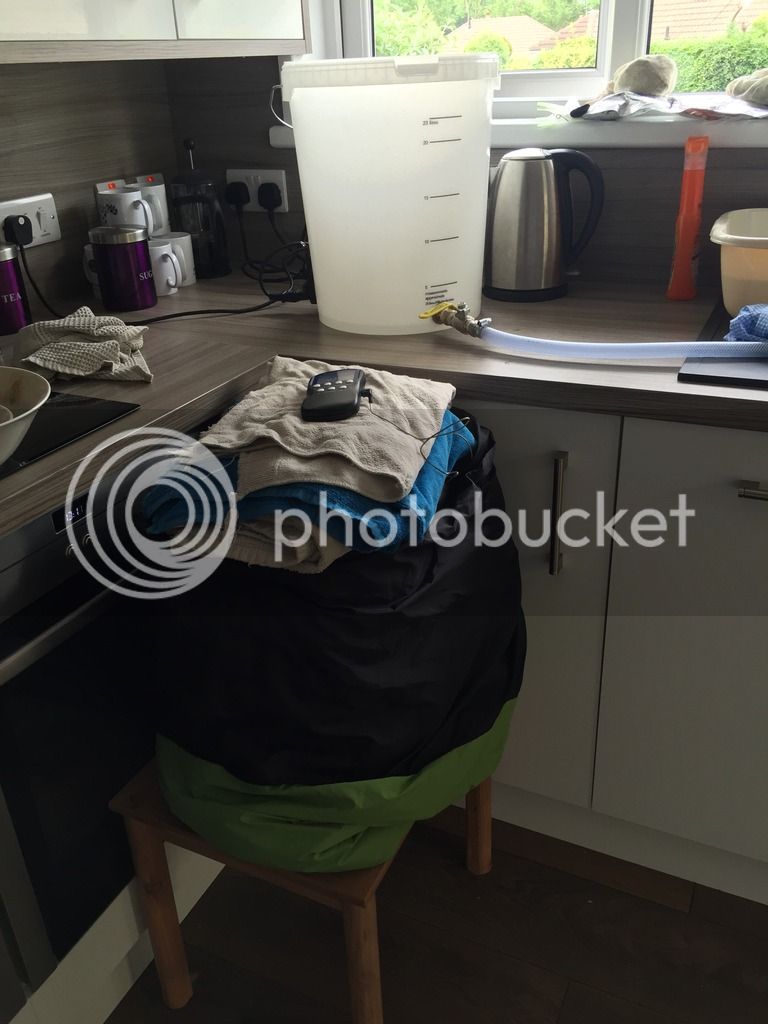
I also have learnt from my previous brew that my mash tun loses a little too much heat, so this time I wrapped it up in a sleeping bag and loads of old towels to keep the heat in. It worked great and I only lost 1ðc over 90 mins.
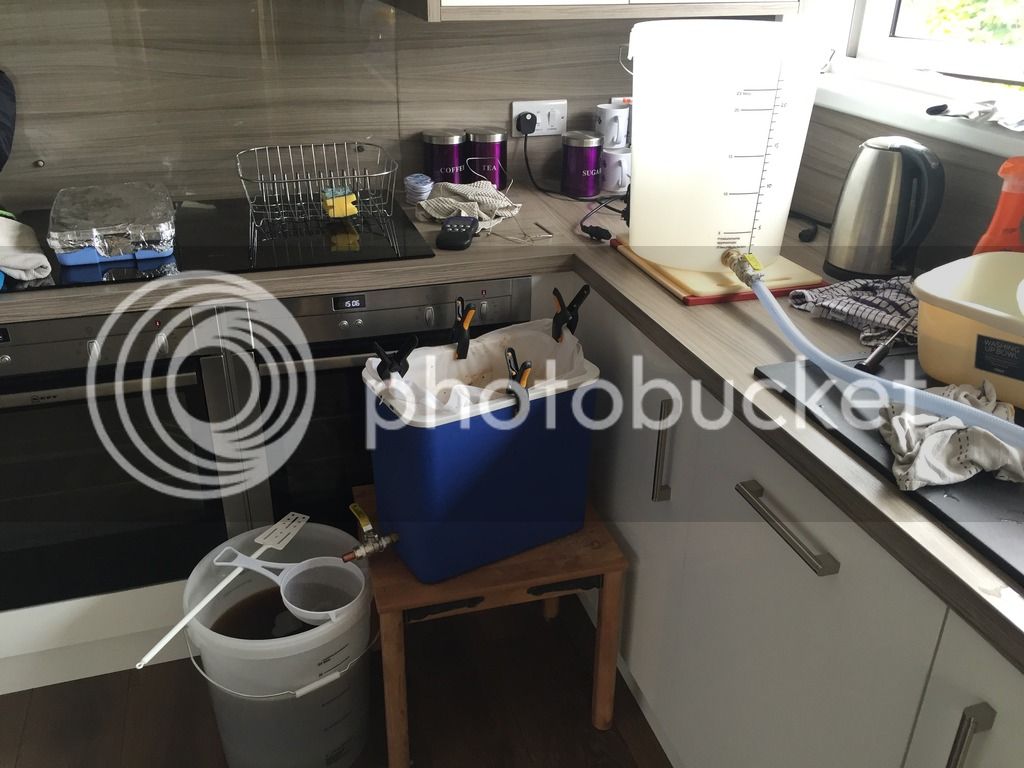
The new boiler worked great and I could maintain a rolling boil with just one element switched on. I did find that the markings on the side of the Wilko FV are way out though, so I got my sharpie out and drew my own on there whilst filling up the sparge water. I dunk sparged and then drained in to the second FV I bought. Ha, it almost looks like a 3 vessel set up, except I then had to tip the runnings in to the boiler...
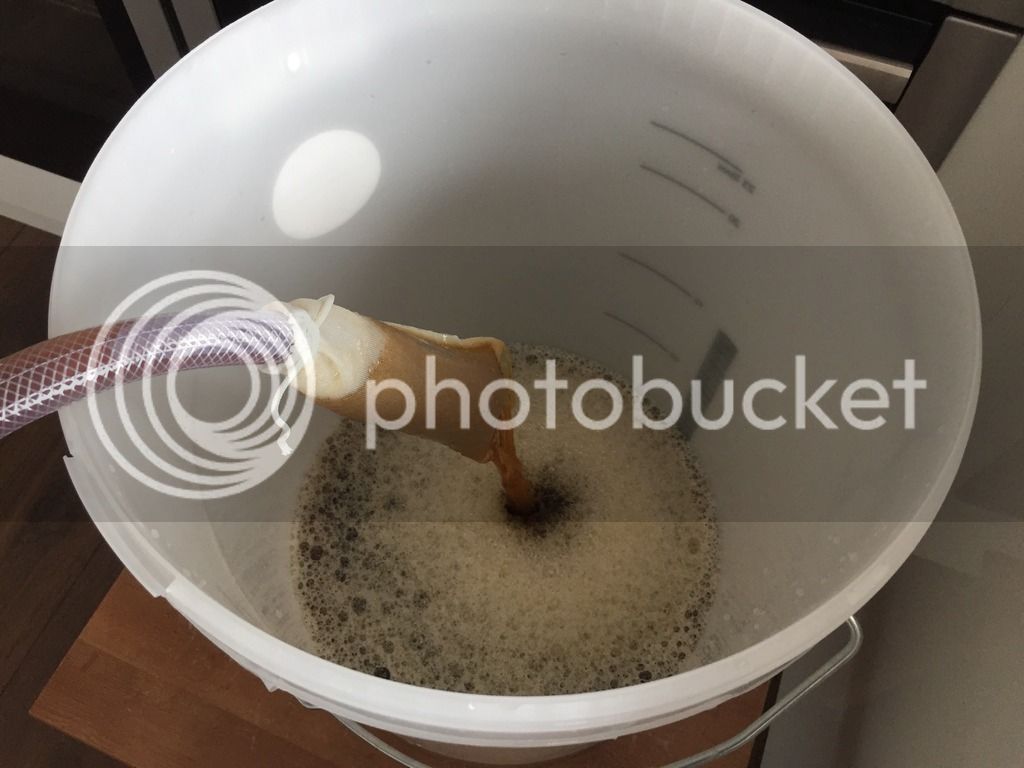
Once boiled and cooled using the coiled copper tube chiller I made, I opened the tap and drained in to the FV. I put a hop sock over the end of the silicone tube to catch all the 'stuff' that was in the boiler and pitched the yeast at 22ðc.
The set up worked well and being a beginner it has been good to try out new ways of doing things. I did end up with less wort after the boil than I expected and had to top up with about 2 litres of water. This bought my OG down to 1.046 from the expected 1.050 and according to Brewers Friend I have 64% efficiency, so need to work on that.....
I also need to be more efficient as it took me 6.5 hours from start to finish But it was such fun, I love brewing and can't wait for the next one :thumb:
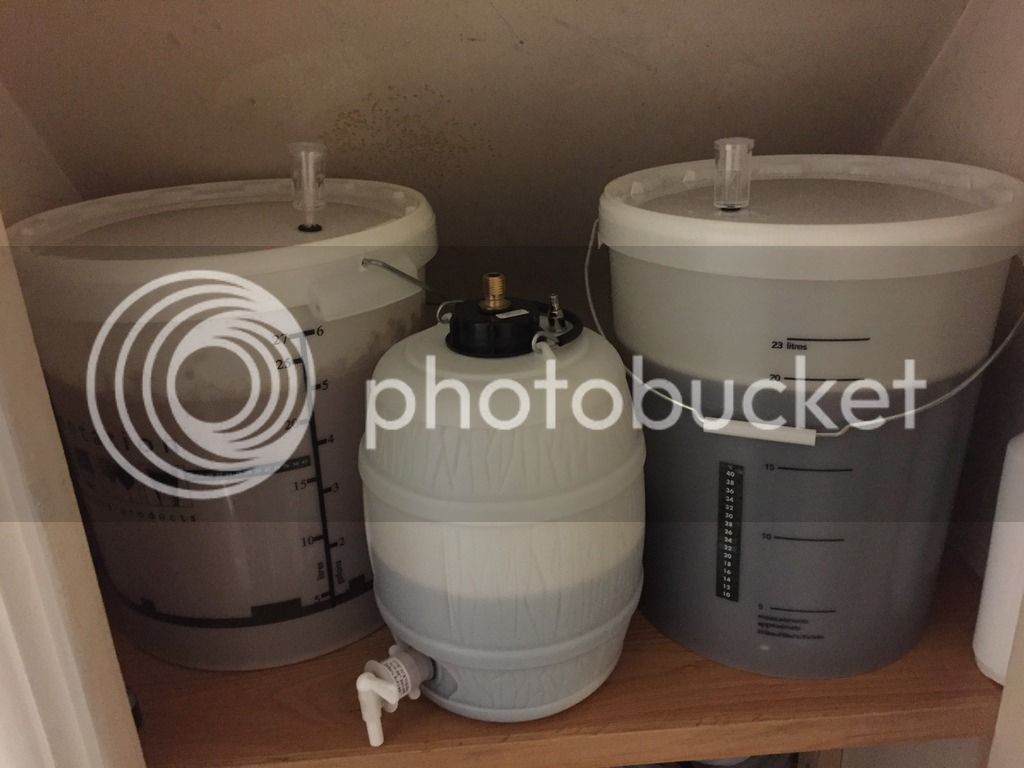
Here is my 'brewing cupboard' under the stairs. On the left is a Festival kit - Razorback IPA, in the small pressure barrel is my first AG brew, and on the right is my second AG brew. Cant wait to tuck in to that lot and compare them against each other :thumb:
Jas
I have also bought Graham Wheelers book and adapted one of his recipes for the Old Speckled Hen clone. I am aiming for a 19l batch...
3130g Maris Otter
315g Crystal Malt
24g Chocolate Malt
470g White Sugar
32g Cascade @90mins
11g EKG @10 mins
I also have learnt from my previous brew that my mash tun loses a little too much heat, so this time I wrapped it up in a sleeping bag and loads of old towels to keep the heat in. It worked great and I only lost 1ðc over 90 mins.
The new boiler worked great and I could maintain a rolling boil with just one element switched on. I did find that the markings on the side of the Wilko FV are way out though, so I got my sharpie out and drew my own on there whilst filling up the sparge water. I dunk sparged and then drained in to the second FV I bought. Ha, it almost looks like a 3 vessel set up, except I then had to tip the runnings in to the boiler...
Once boiled and cooled using the coiled copper tube chiller I made, I opened the tap and drained in to the FV. I put a hop sock over the end of the silicone tube to catch all the 'stuff' that was in the boiler and pitched the yeast at 22ðc.
The set up worked well and being a beginner it has been good to try out new ways of doing things. I did end up with less wort after the boil than I expected and had to top up with about 2 litres of water. This bought my OG down to 1.046 from the expected 1.050 and according to Brewers Friend I have 64% efficiency, so need to work on that.....
I also need to be more efficient as it took me 6.5 hours from start to finish
But it was such fun, I love brewing and can't wait for the next one :thumb:Here is my 'brewing cupboard' under the stairs. On the left is a Festival kit - Razorback IPA, in the small pressure barrel is my first AG brew, and on the right is my second AG brew. Cant wait to tuck in to that lot and compare them against each other :thumb:
Jas