BlakenhallBrewer
Active Member
- Joined
- Sep 25, 2011
- Messages
- 53
- Reaction score
- 0
So after some successful extract brews and dabbling with some Turbo Cider, I thought it was time to finally take a trip to the dark side. 
My stepson is getting married in a few months, and as he genuinely seems to have appreciated my brewing efforts to date I thought that I'd try and make some fairly strong "celebration" ale to commemorate the event.
All the beers I've brewed so far have come from Graham Wheeler's BYOBRA book and they've turned out OK, so I thumbed through again and decided on the Sarah Hughes Ruby mild clone.
This seemed reasonably straightforward and just happens to be one of my favourite beers - I'm lucky as I only live a couple of miles away from the brewery in Sedgley so i can go and do some taste research while I'm waiting for my efforts to come to fruition :thumb:
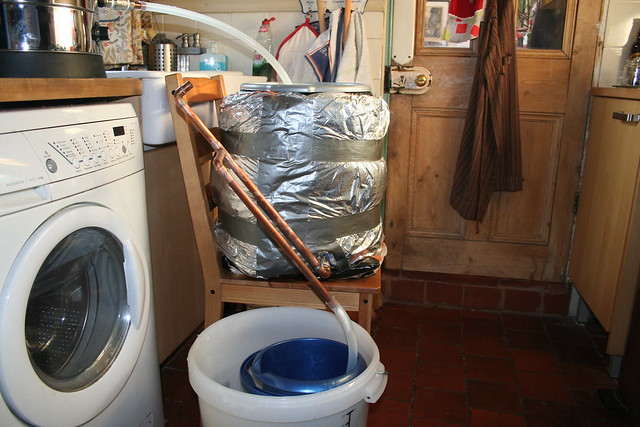
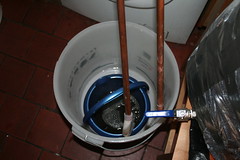
I'd only done extract brews so far so I needed a mash tun. I don't mind trying to build things myself and ended up producing this for just over £30:-
 Basically a plastic bucket covered in 4 layers of insulation with a 20mm hole cut with a tank converter and a ball tap fitted.
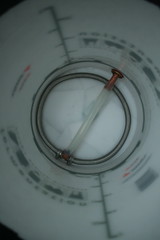 The grain filter is some stainless steel mesh cable cover bought by the metre from a boy racer shop on fleabay and some of Vossy's silicon hose
So on to the brewday - Thankfully my much better half agreed to me using the kitchen as originally I was going to set everything up in our outhouse but it was bl**dy freezing.
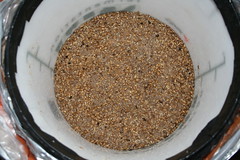
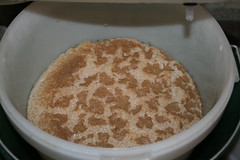
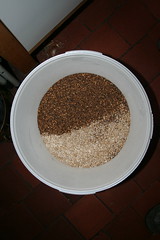 The obligatory grain in the bucket shot ! :) Just Pale and Crystal Malt
 Water at strike temperature so here we go
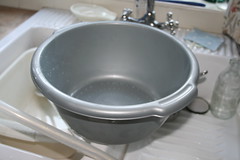
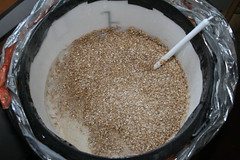 In goes the Malt
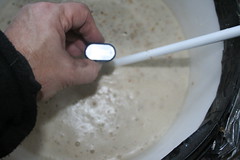
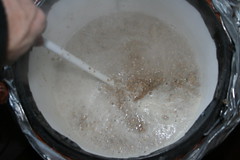 Give it a good stir..
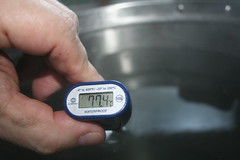
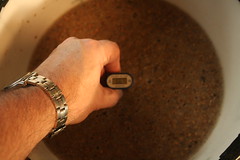
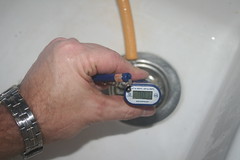
 Unfortunately the Flash tripped on the camera but the mash temperature was 66.4 degrees
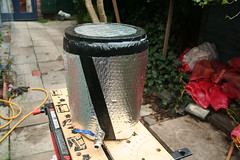
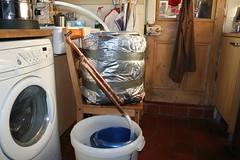
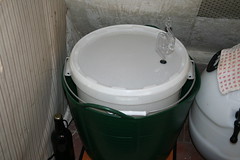
 Mash tun all tucked up - i knew buying that extra roll of loft insulation would come in useful someday
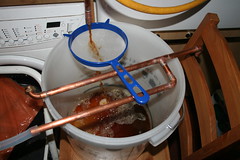
 More improvisation - my 99p sparge unit suitably drilled with holes, it fits perfectly on top of the mash tun
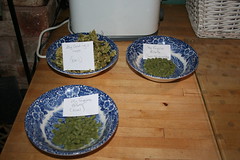 Another obligatory shot - hops all weighed out and labelled
 Mash good... only lost 0.1 degrees over 90 minutes - not bad for a glorified bucket...
 Sparging I built a homemade Valentine arm to help control the flow after reading about them on here - worked a treat
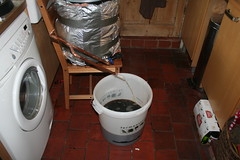
 I used a small bucket to collect the first runnings before recycling them back through the mash tun
 Finishing off the sparge Flow from the HLT was stopped and the Valentine arm slowly lowered
 Left over grains - I put the lid back on and they were still bl**dy hot 5 hours later when i was cleaning up!
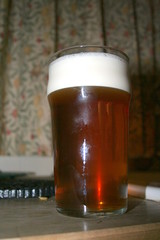 Time for one I brewed earlier :
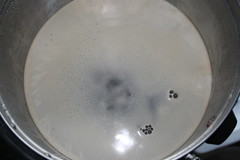 Starting to foam up. I took my eye off it just after i took this and very nearly had a boil over :pray:
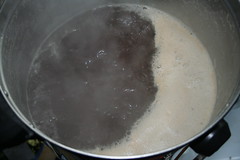 Starting to boil - Hops about to go in. 90 minutes to go
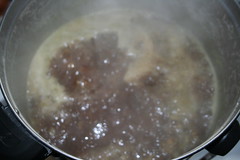 Well into the boil now - rolling along
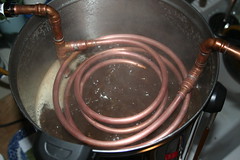 30 minutes left - in goes the home made twin coil chiller (excellent bit of kit, made using BigYin's howto - thanks :thumb: )
 Checking the outflow from the Chiller. Water was 8 degrees going in and over 70 degrees on the way out
 Collecting the wort after chilling - and another use for my Valentine arm.
Just after I took the last photo I had my only mishap of the day when my home made hop filter clogged up and the wort flowing from the boiler just stopped. I've never had a problem with the hop filter before and I can only put it down to the fact that I'd covered the drilled pipe with some of the 'spare' steel mesh left over from the mash tun build - I thought it would help but it didn't, ah well you live and learn. I ended up jugging the wort out of the boiler and pouring it through the sieve. Not the best outcome but it was all I could think of at the time.
After all this effort I finished up with 19 litres of wort in the FV at an SG of 1059 which wasn't far off what it should be
When I poured some into my hydrometer jar to check the SG it was very cloudy and the finished article may never pass Vossy's 'feck' test but as long as it turns into something drinkable then I don't really care.
 All finished and put away under the stairs.
 24 hours on - couldnt resist a peek, looks good and smells gorgeous
Overall I had great day and learned a lot, there's nothing like actually trying things out rather than just reading about them however I must admit I wouldn't have got anywhere had it not been for the time and effort that people put in on these forums helping people like me - a big thank you to you all :thumb:
I've definitely got the bug now so roll on AG #2 :
My stepson is getting married in a few months, and as he genuinely seems to have appreciated my brewing efforts to date I thought that I'd try and make some fairly strong "celebration" ale to commemorate the event.
All the beers I've brewed so far have come from Graham Wheeler's BYOBRA book and they've turned out OK, so I thumbed through again and decided on the Sarah Hughes Ruby mild clone.
This seemed reasonably straightforward and just happens to be one of my favourite beers - I'm lucky as I only live a couple of miles away from the brewery in Sedgley so i can go and do some taste research while I'm waiting for my efforts to come to fruition :thumb:
I'd only done extract brews so far so I needed a mash tun. I don't mind trying to build things myself and ended up producing this for just over £30:-
So on to the brewday - Thankfully my much better half agreed to me using the kitchen as originally I was going to set everything up in our outhouse but it was bl**dy freezing.
- hops all weighed out and labelled
I built a homemade Valentine arm to help control the flow after reading about them on here - worked a treat
Just after I took the last photo I had my only mishap of the day when my home made hop filter clogged up and the wort flowing from the boiler just stopped. I've never had a problem with the hop filter before and I can only put it down to the fact that I'd covered the drilled pipe with some of the 'spare' steel mesh left over from the mash tun build - I thought it would help but it didn't, ah well you live and learn. I ended up jugging the wort out of the boiler and pouring it through the sieve. Not the best outcome but it was all I could think of at the time.
After all this effort I finished up with 19 litres of wort in the FV at an SG of 1059 which wasn't far off what it should be
When I poured some into my hydrometer jar to check the SG it was very cloudy and the finished article may never pass Vossy's 'feck' test but as long as it turns into something drinkable then I don't really care.
Overall I had great day and learned a lot, there's nothing like actually trying things out rather than just reading about them however I must admit I wouldn't have got anywhere had it not been for the time and effort that people put in on these forums helping people like me - a big thank you to you all :thumb:
I've definitely got the bug now so roll on AG #2 :