


Batch Size (L): 25.0
Original Gravity (OG): 1.053
Final Gravity (FG): 1.013
Alcohol by Volume (ABV): 5.21 %
Bitterness (IBU): 38.3 (Average)
Brewhouse Efficiency (%): 70
Boil Time (Minutes): 70
5.592 kg Pale Ale Malt (93%)
0.421 kg Crystal 60 (7%)
18.0 g Magnum Pellet (12.5% Alpha) @ 60 Minutes
14.0 g Perle Pellet (6% Alpha) @ 30 Minutes
25.0 g Cascade Pellet (9.2% Alpha) @ 10 Minutes
56.0 g Cascade Pellet (9.2% Alpha) @ 0 Minutes
Mash at 67ðC for 60 Minutes.
Ferment at 18ðC with Safale US-05
This is technically my second all grain brew, however my first was a Belgian ale kit from the malt miller and whilst it went fine, I didn't use any software and my starting water was a little estimated. I used it as a bit of practice into AG and I am classing this as my first proper AG brew.
Ideally I want to try and get to a stage of making my own recipes but I thought it would be better to do a clone first.
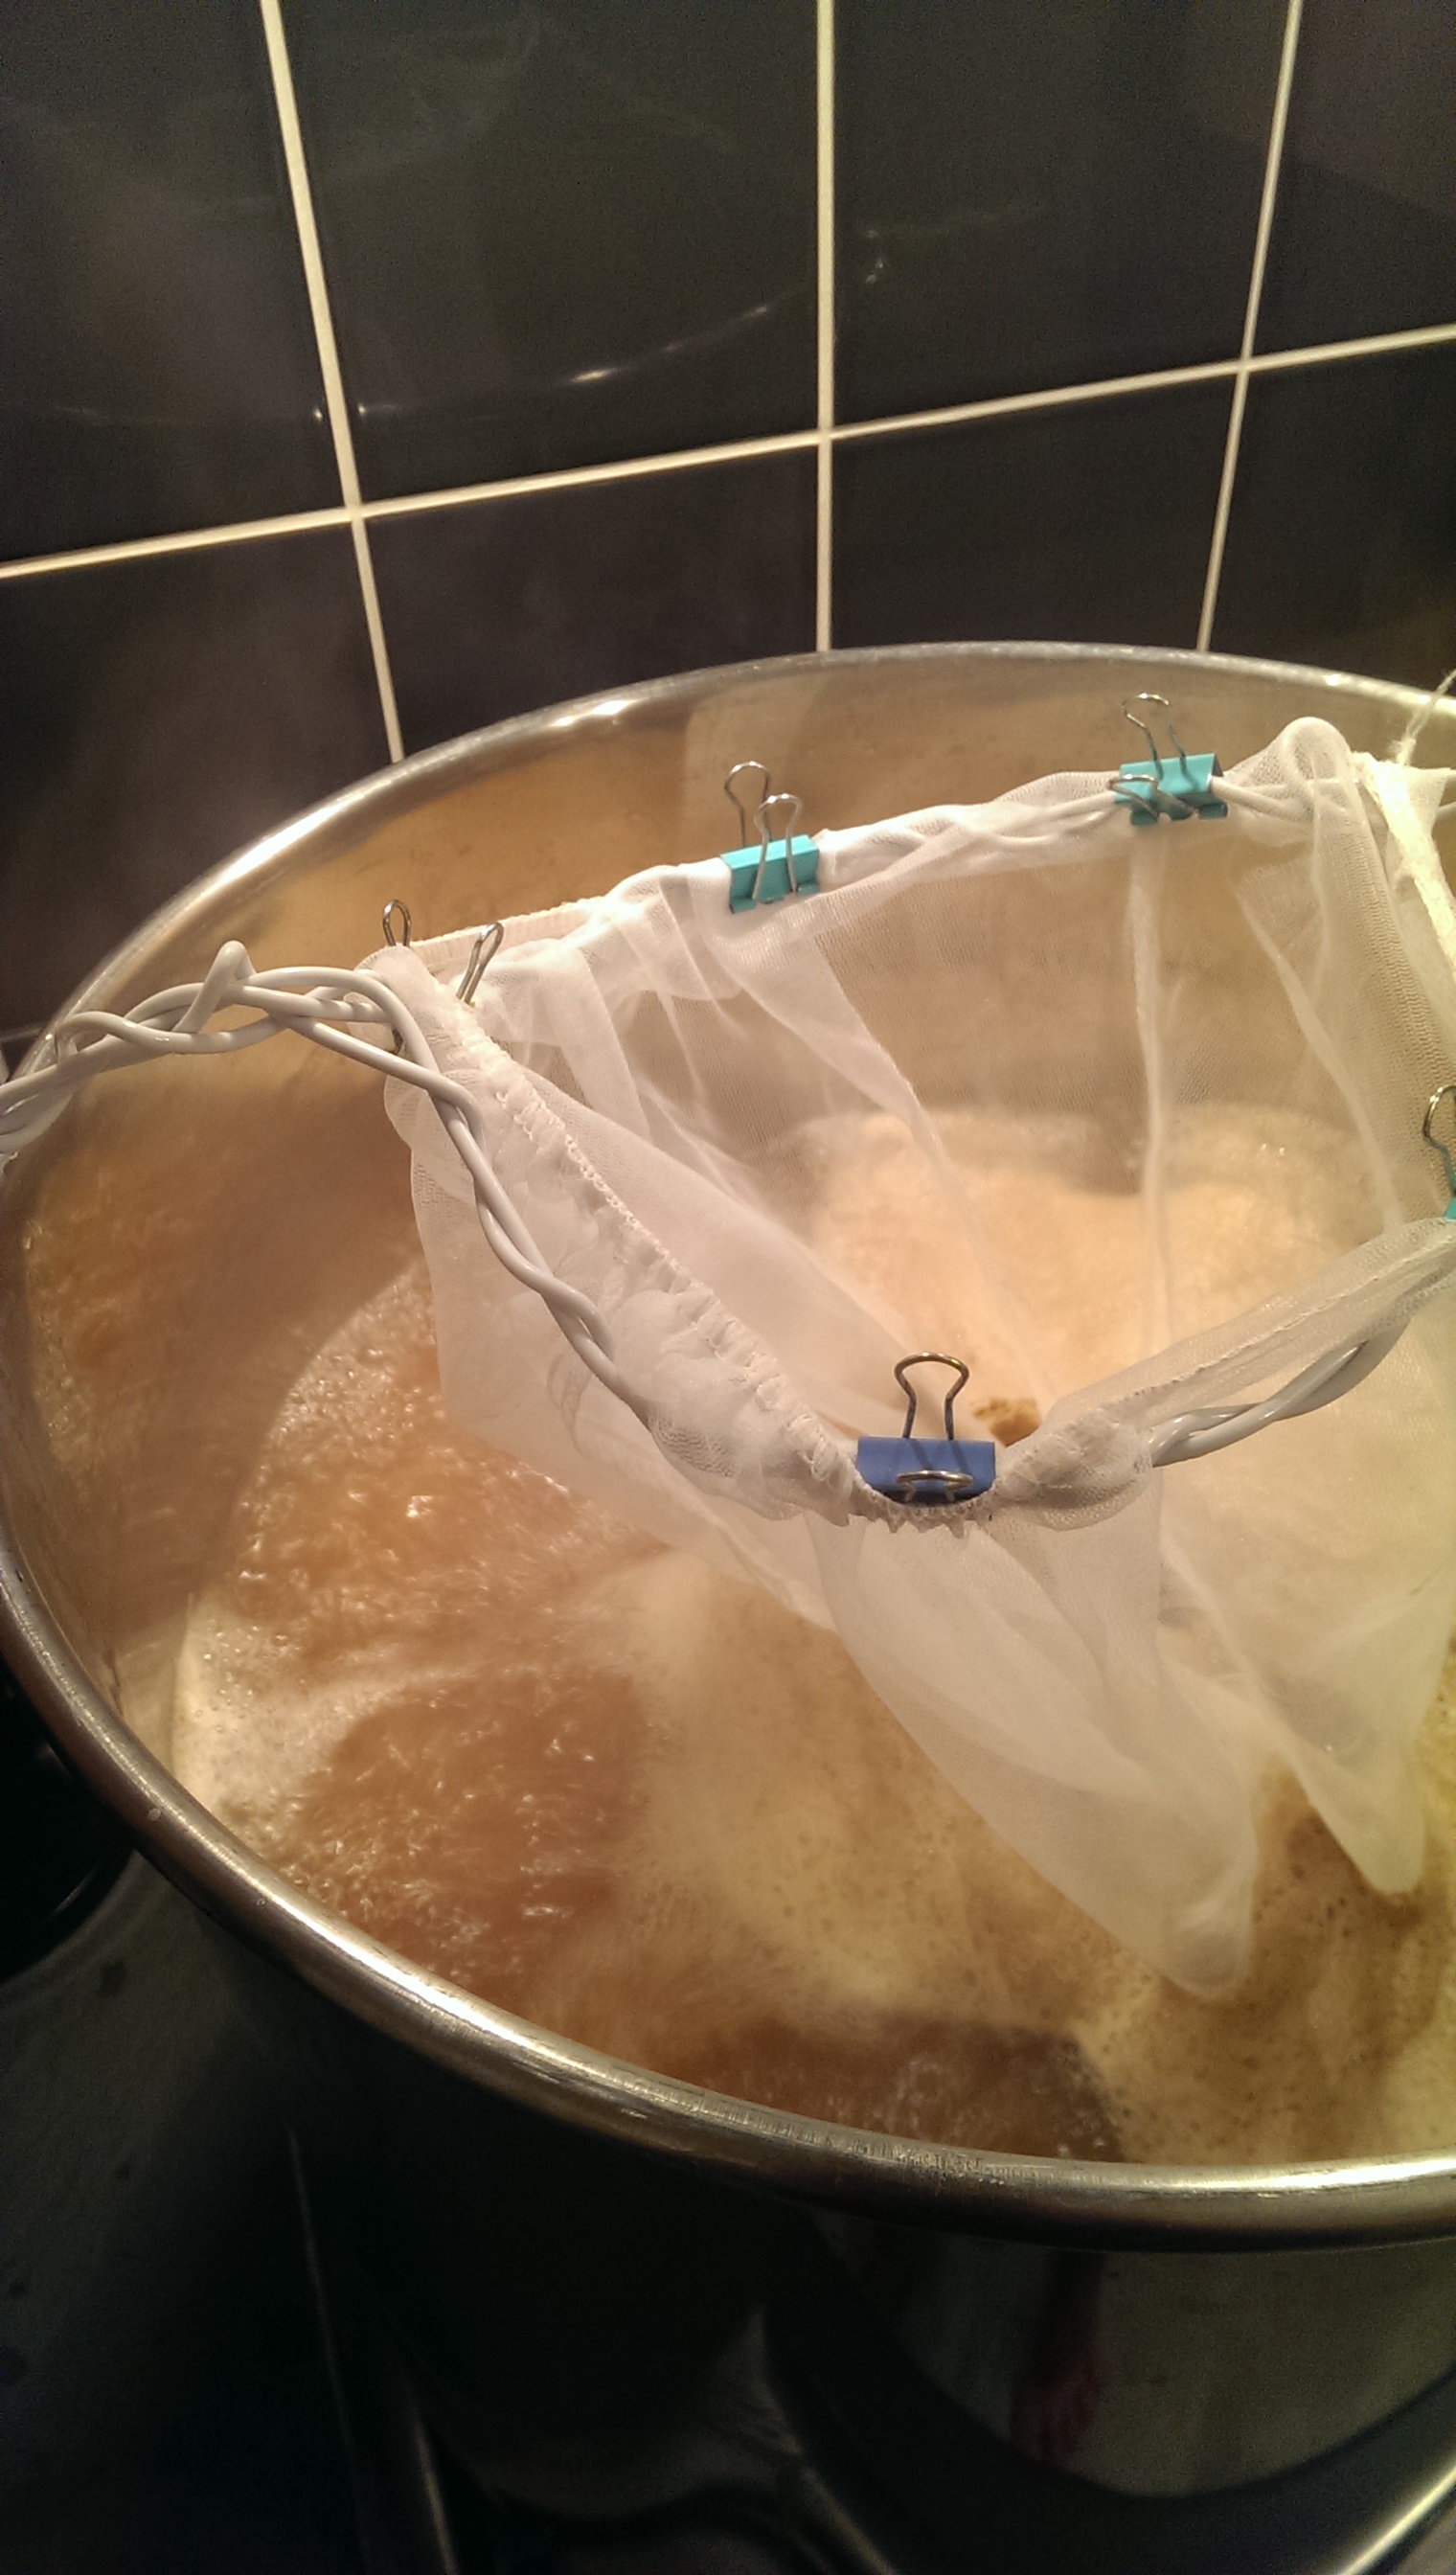
I put the above details into brewers friend and adjusted the batch size to 23L. This gave me a starting water of 32.03. I used water from the hot top to speed up the process. As the water was heating up to my target of 71ðC I put the bag in the pan. I say bag, it is just a big piece of voile. I am too lazy to start sewing a proper bag. This was held in place by a couple of bungee chords.
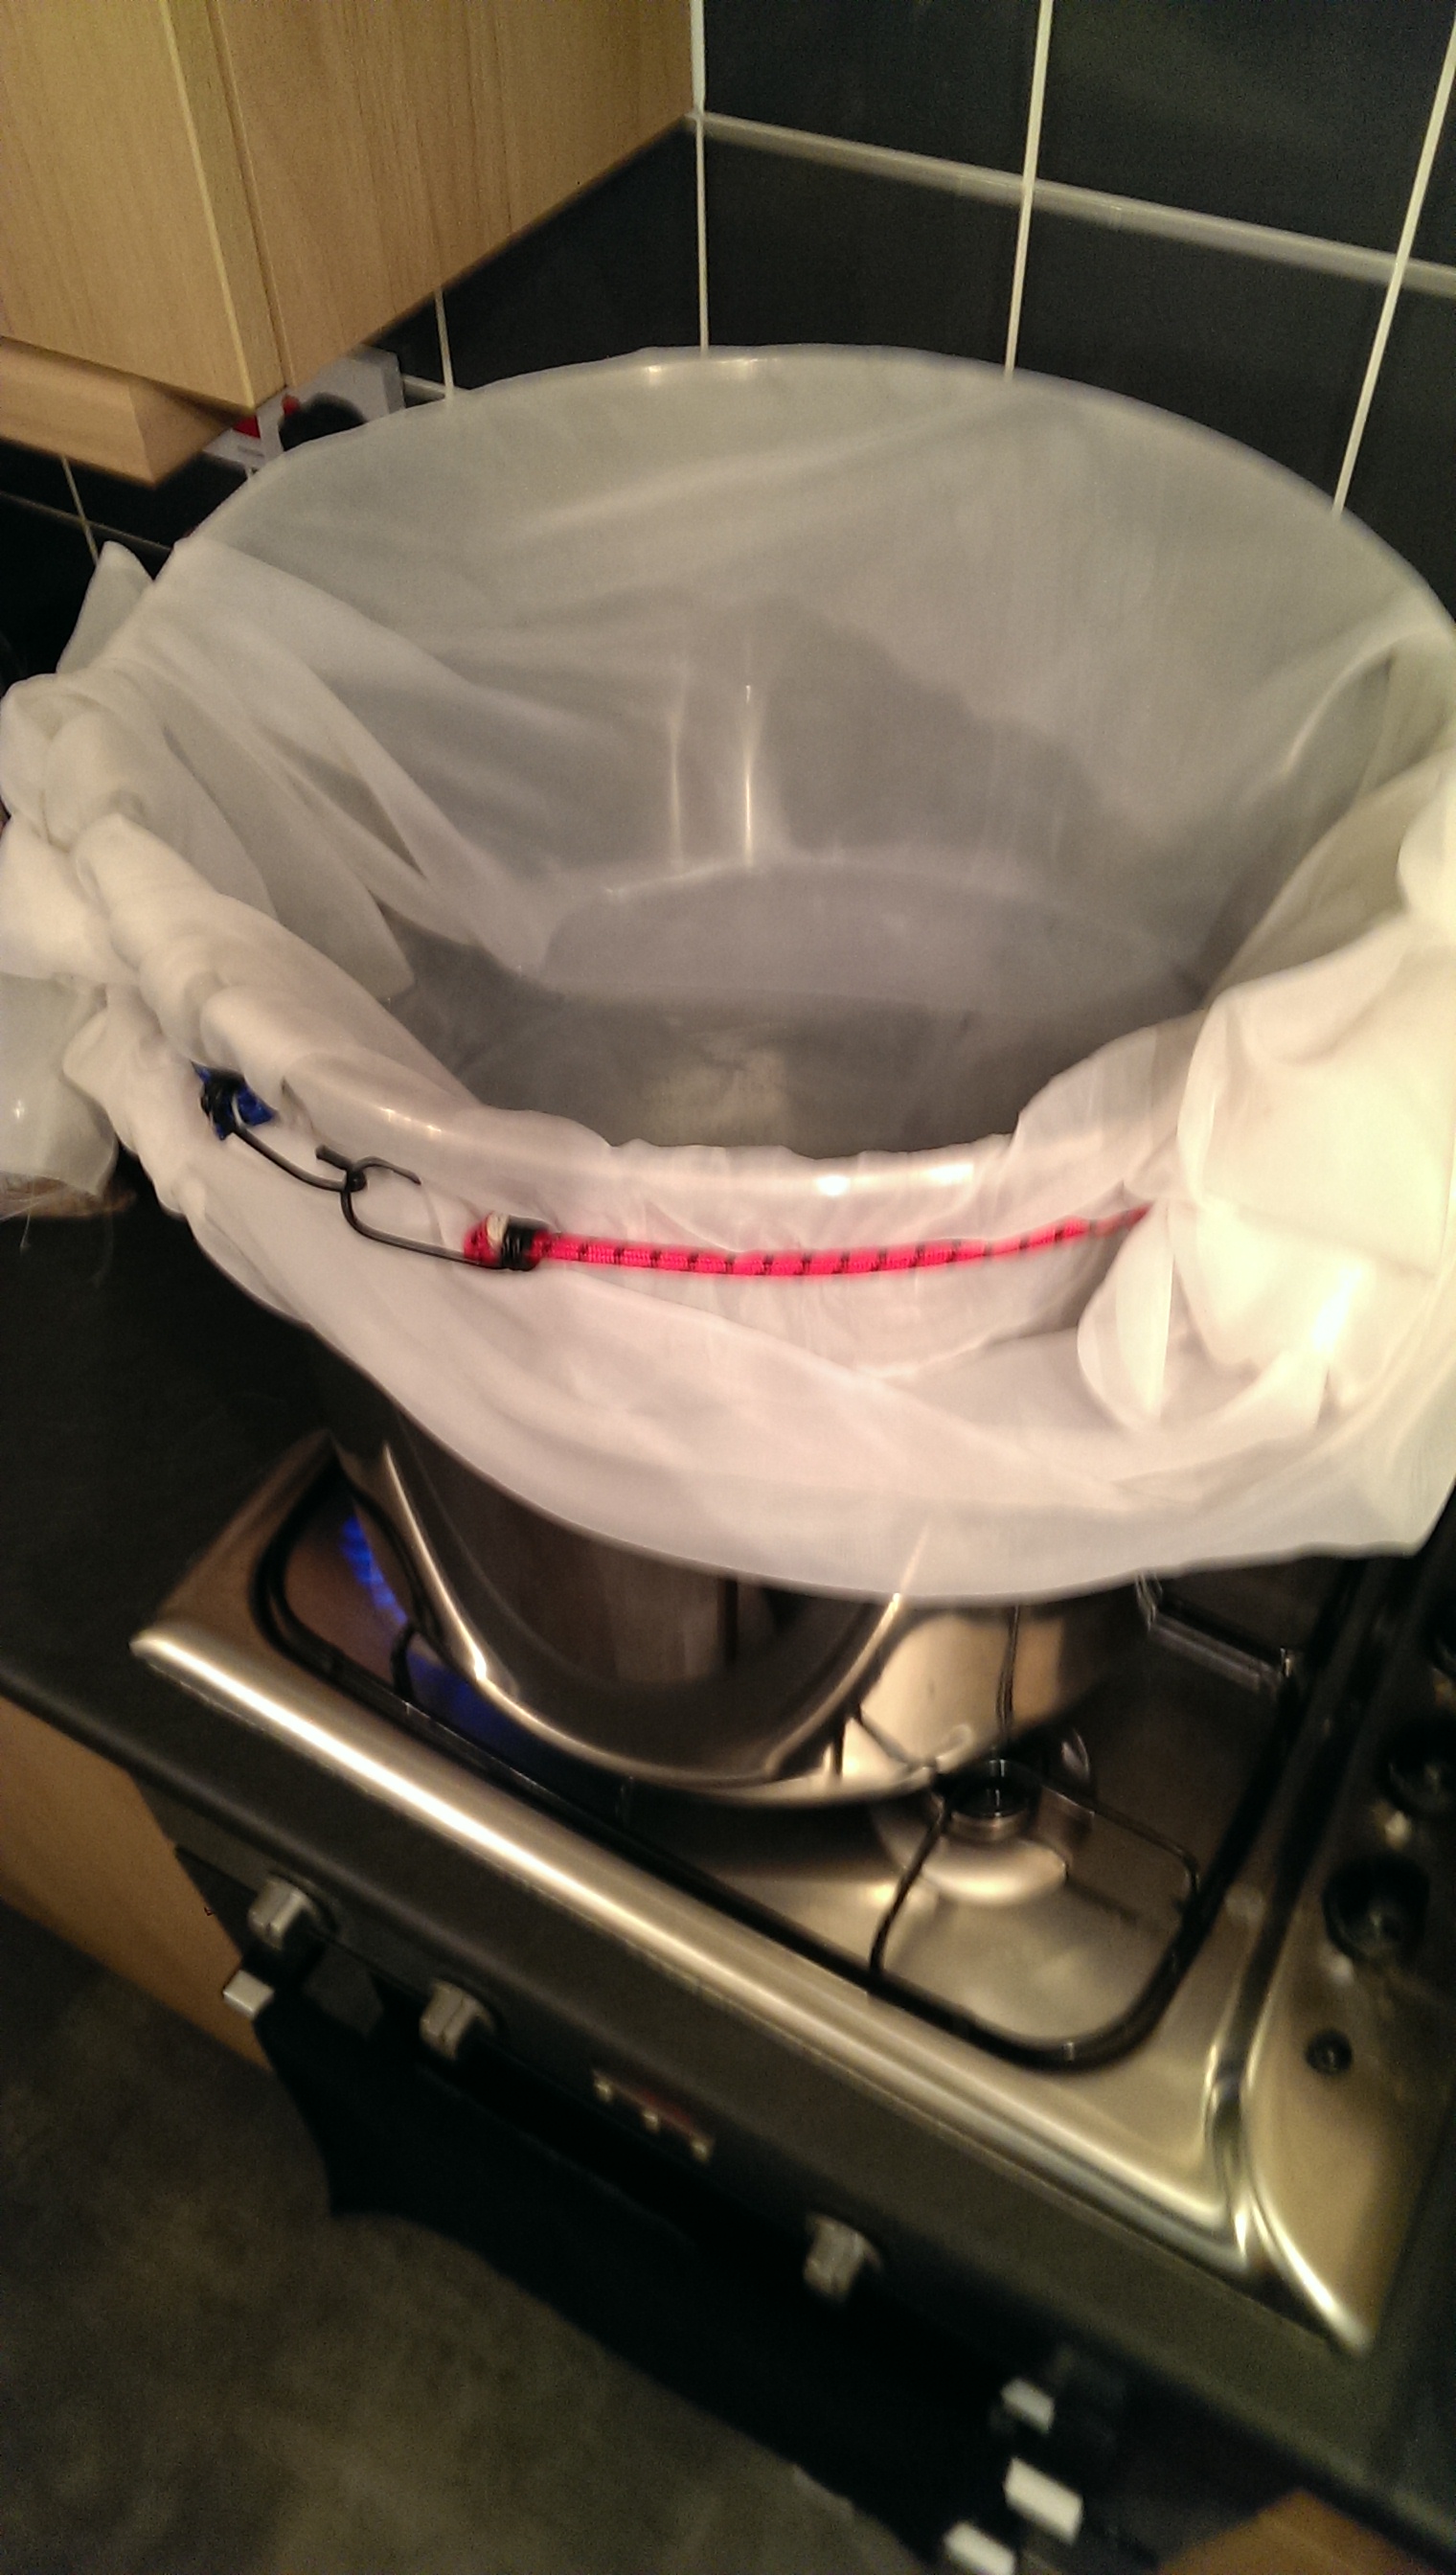
Once i hit the 71ðC, I turned off the heat and passed the wife the mash spoon. She said she would help stir as long as I went the shop to get some chocolate! Once all the grain was in, I checked the temperature and it was bang on 67ðC. The lid was put on and the pan was wrapped in 6 towels, 2 fleece blankets and a duvet!
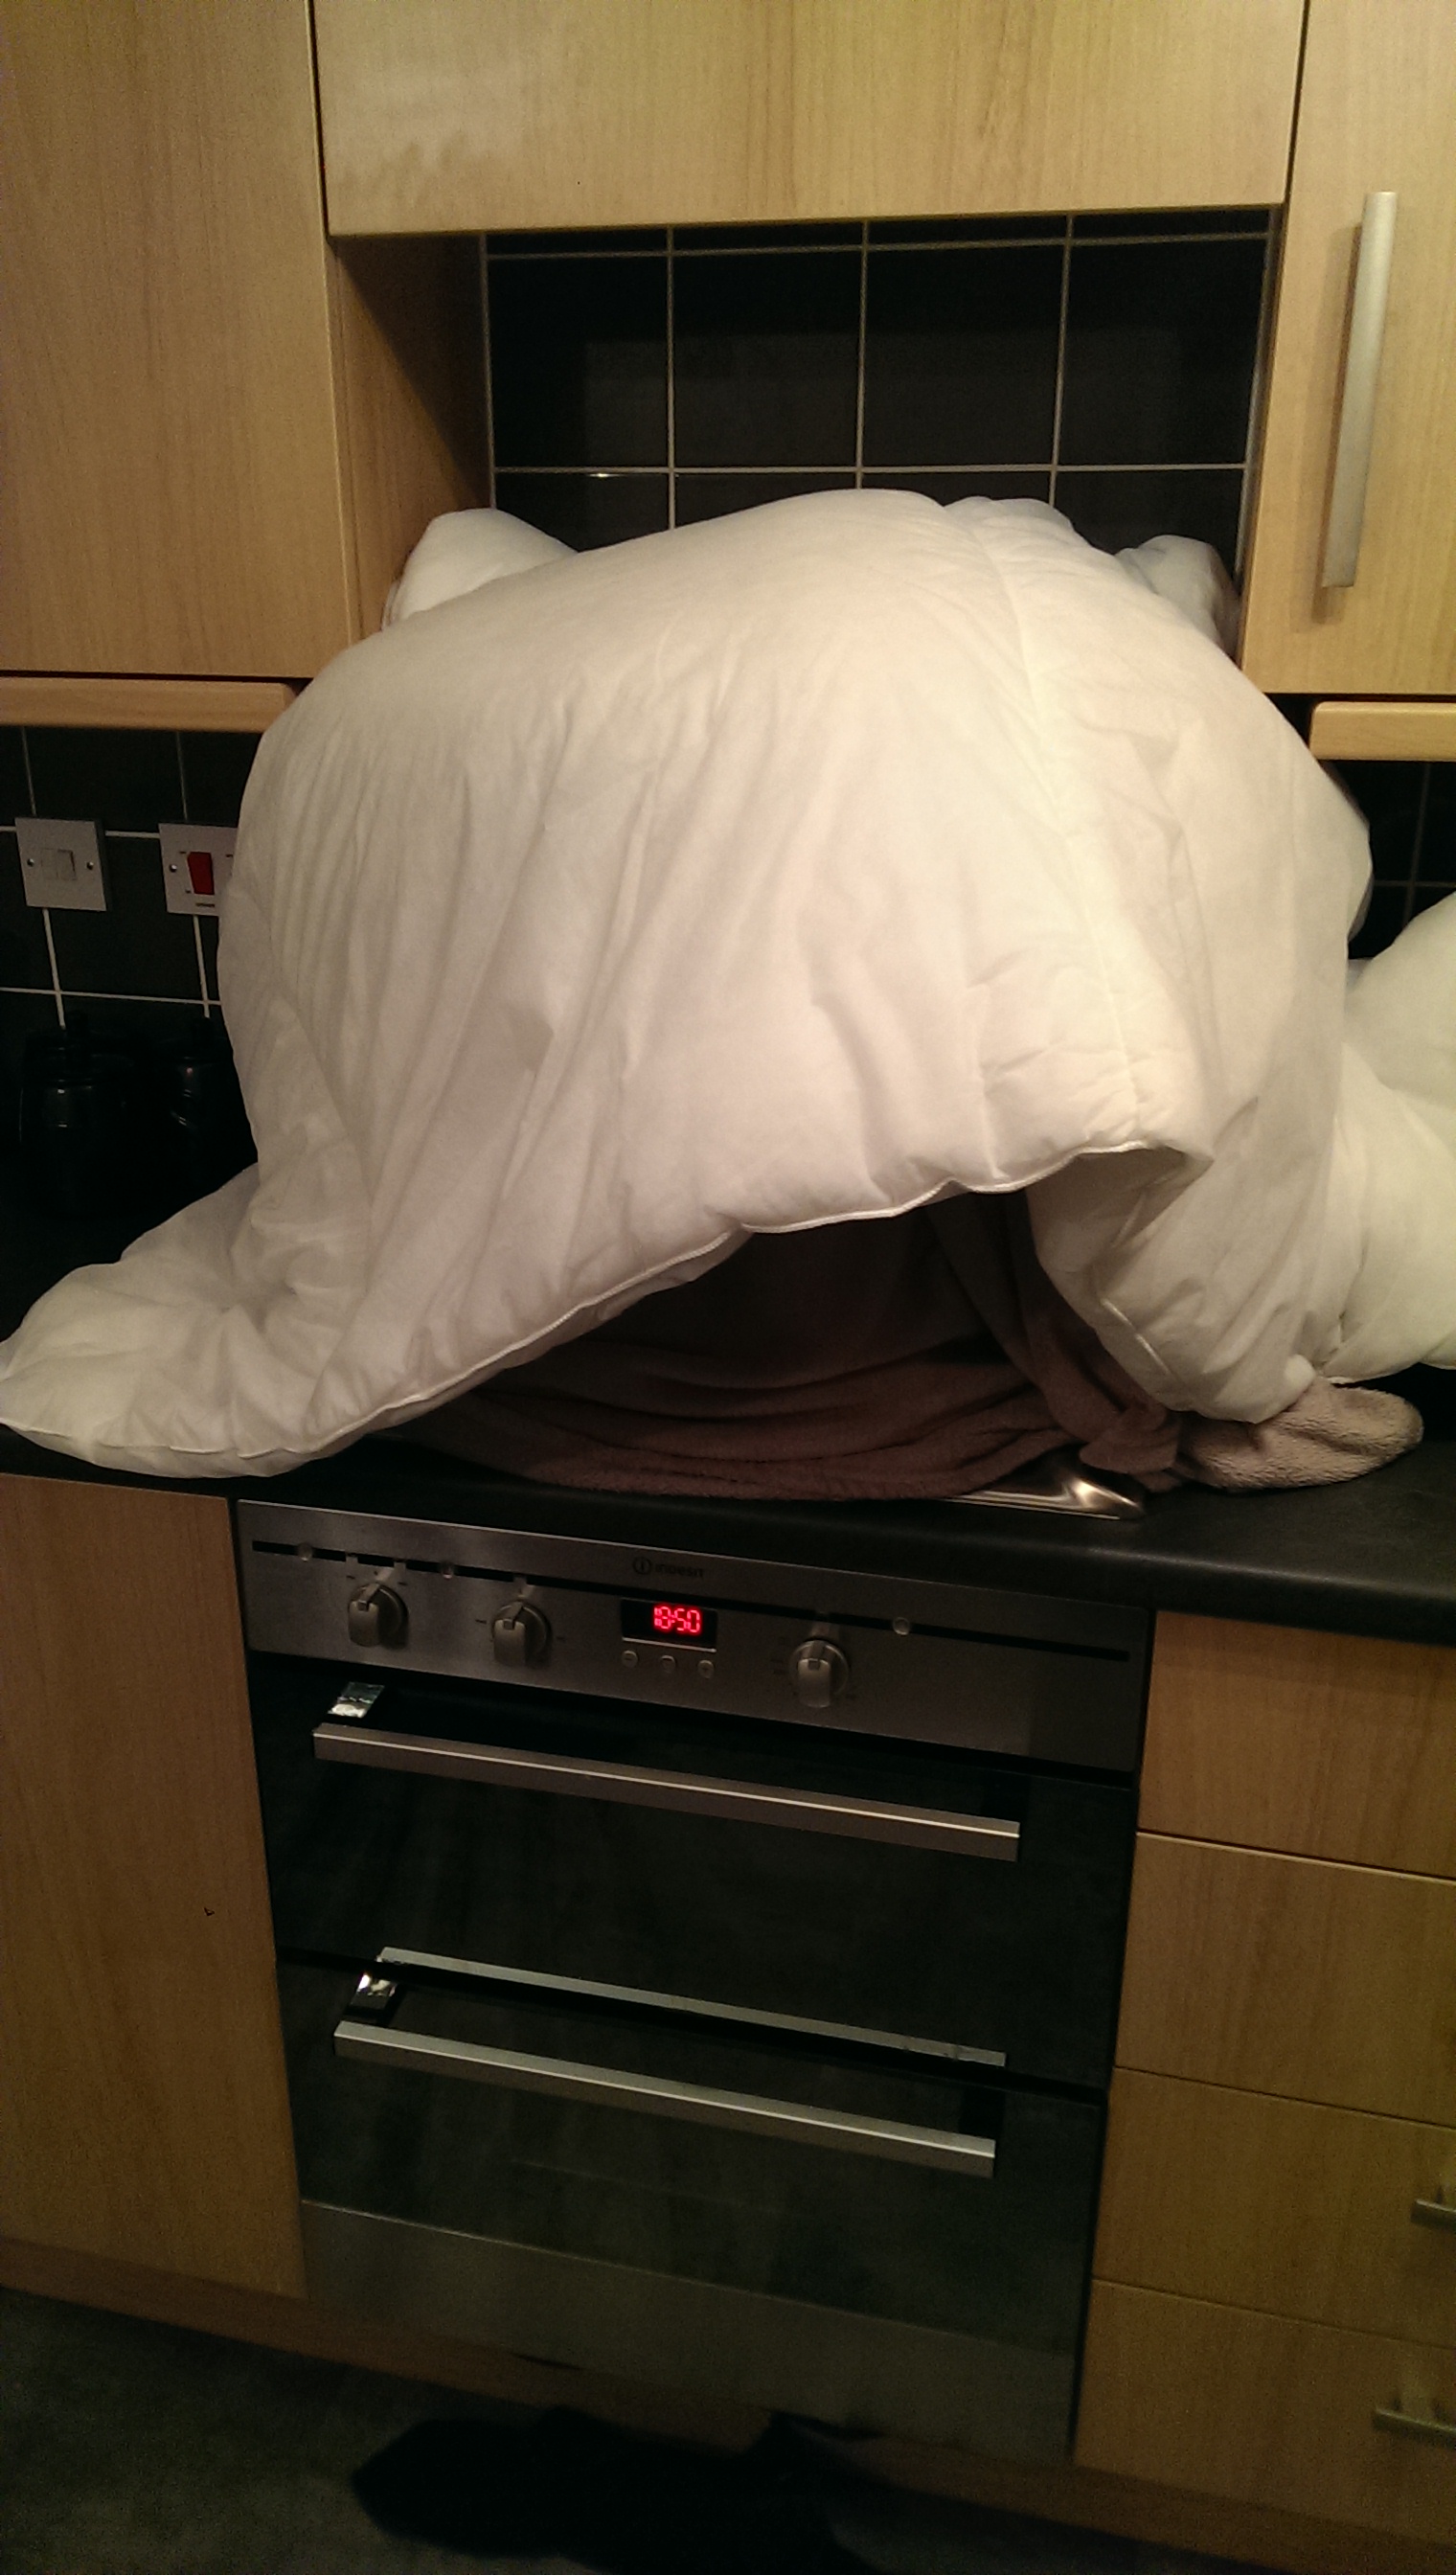
The recipe only called for a 60 min mash. Once it was up I removed the wrapping and took another temperature reading. It was still 67ðC so I hadn't lost any heat :thumb:
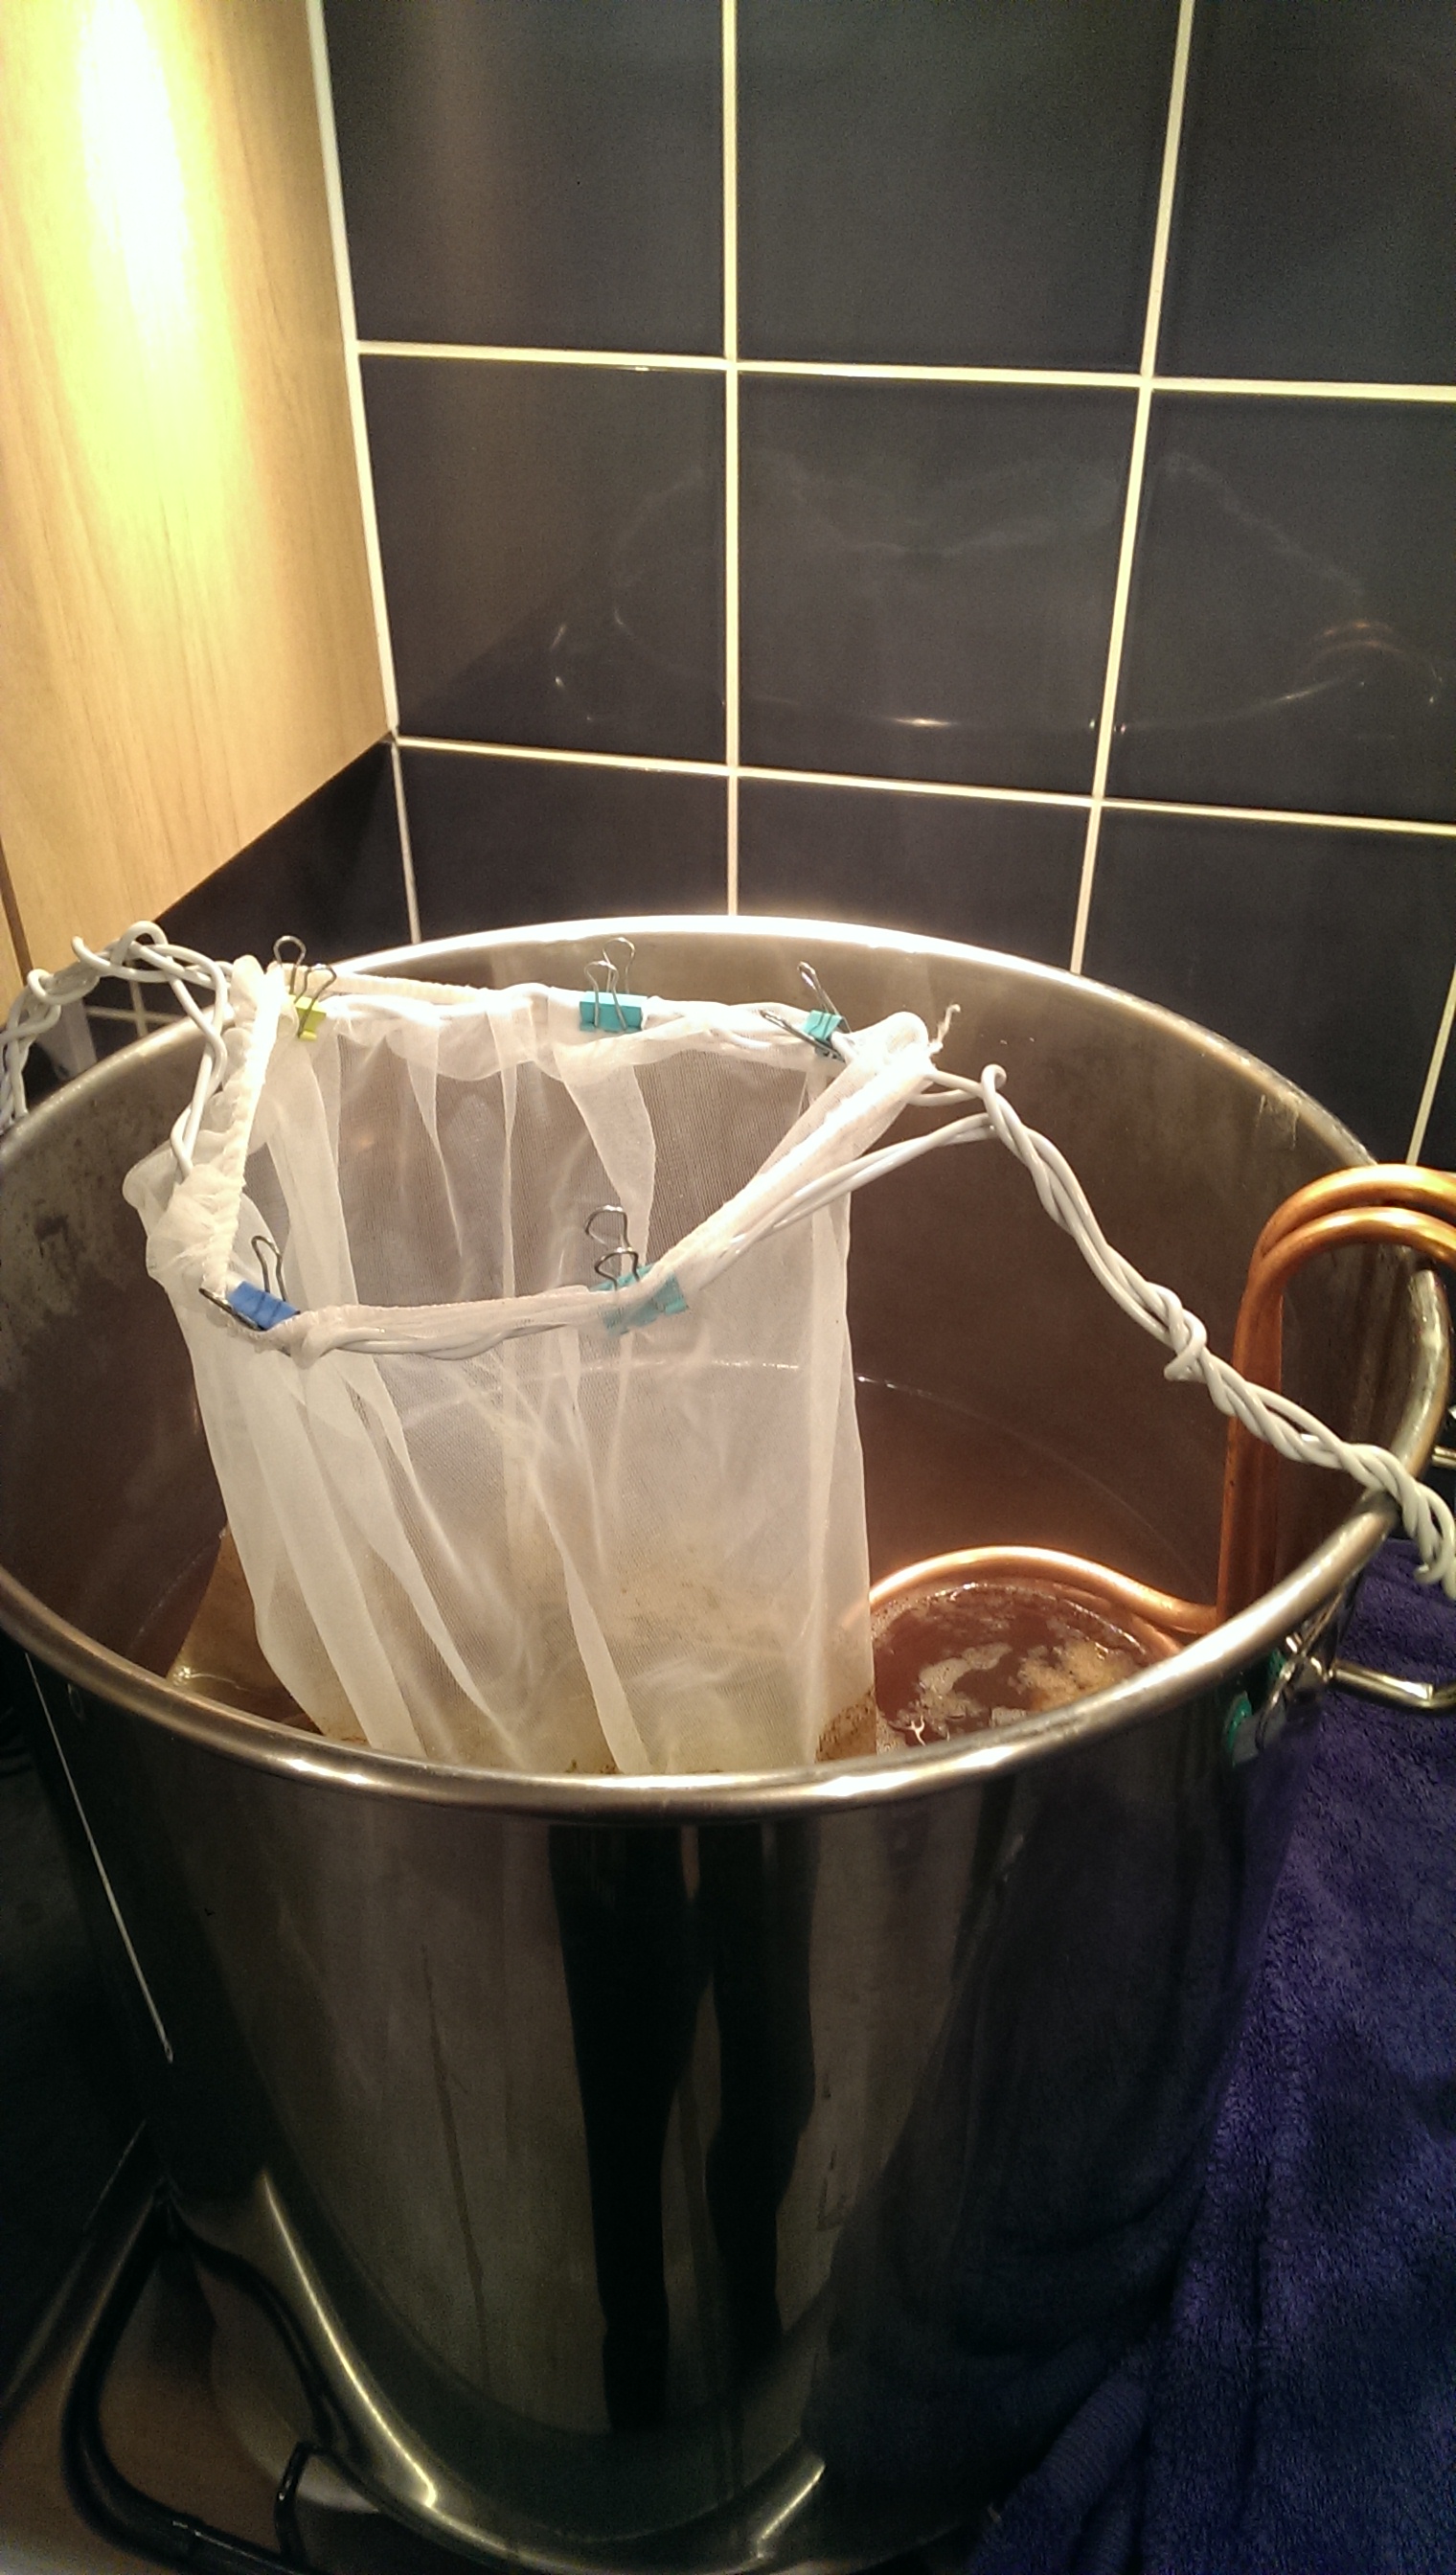
Lifting the bag was a little difficult but not too strenuous. I bought an extendable colander from Aldi for ����ã6 which worked very well holding the bag over the pot whilst the wort drained in. After a few big squeezes I put the colander over a fermentation bucket to drain some more. Any remaining bits were poured into the boil.
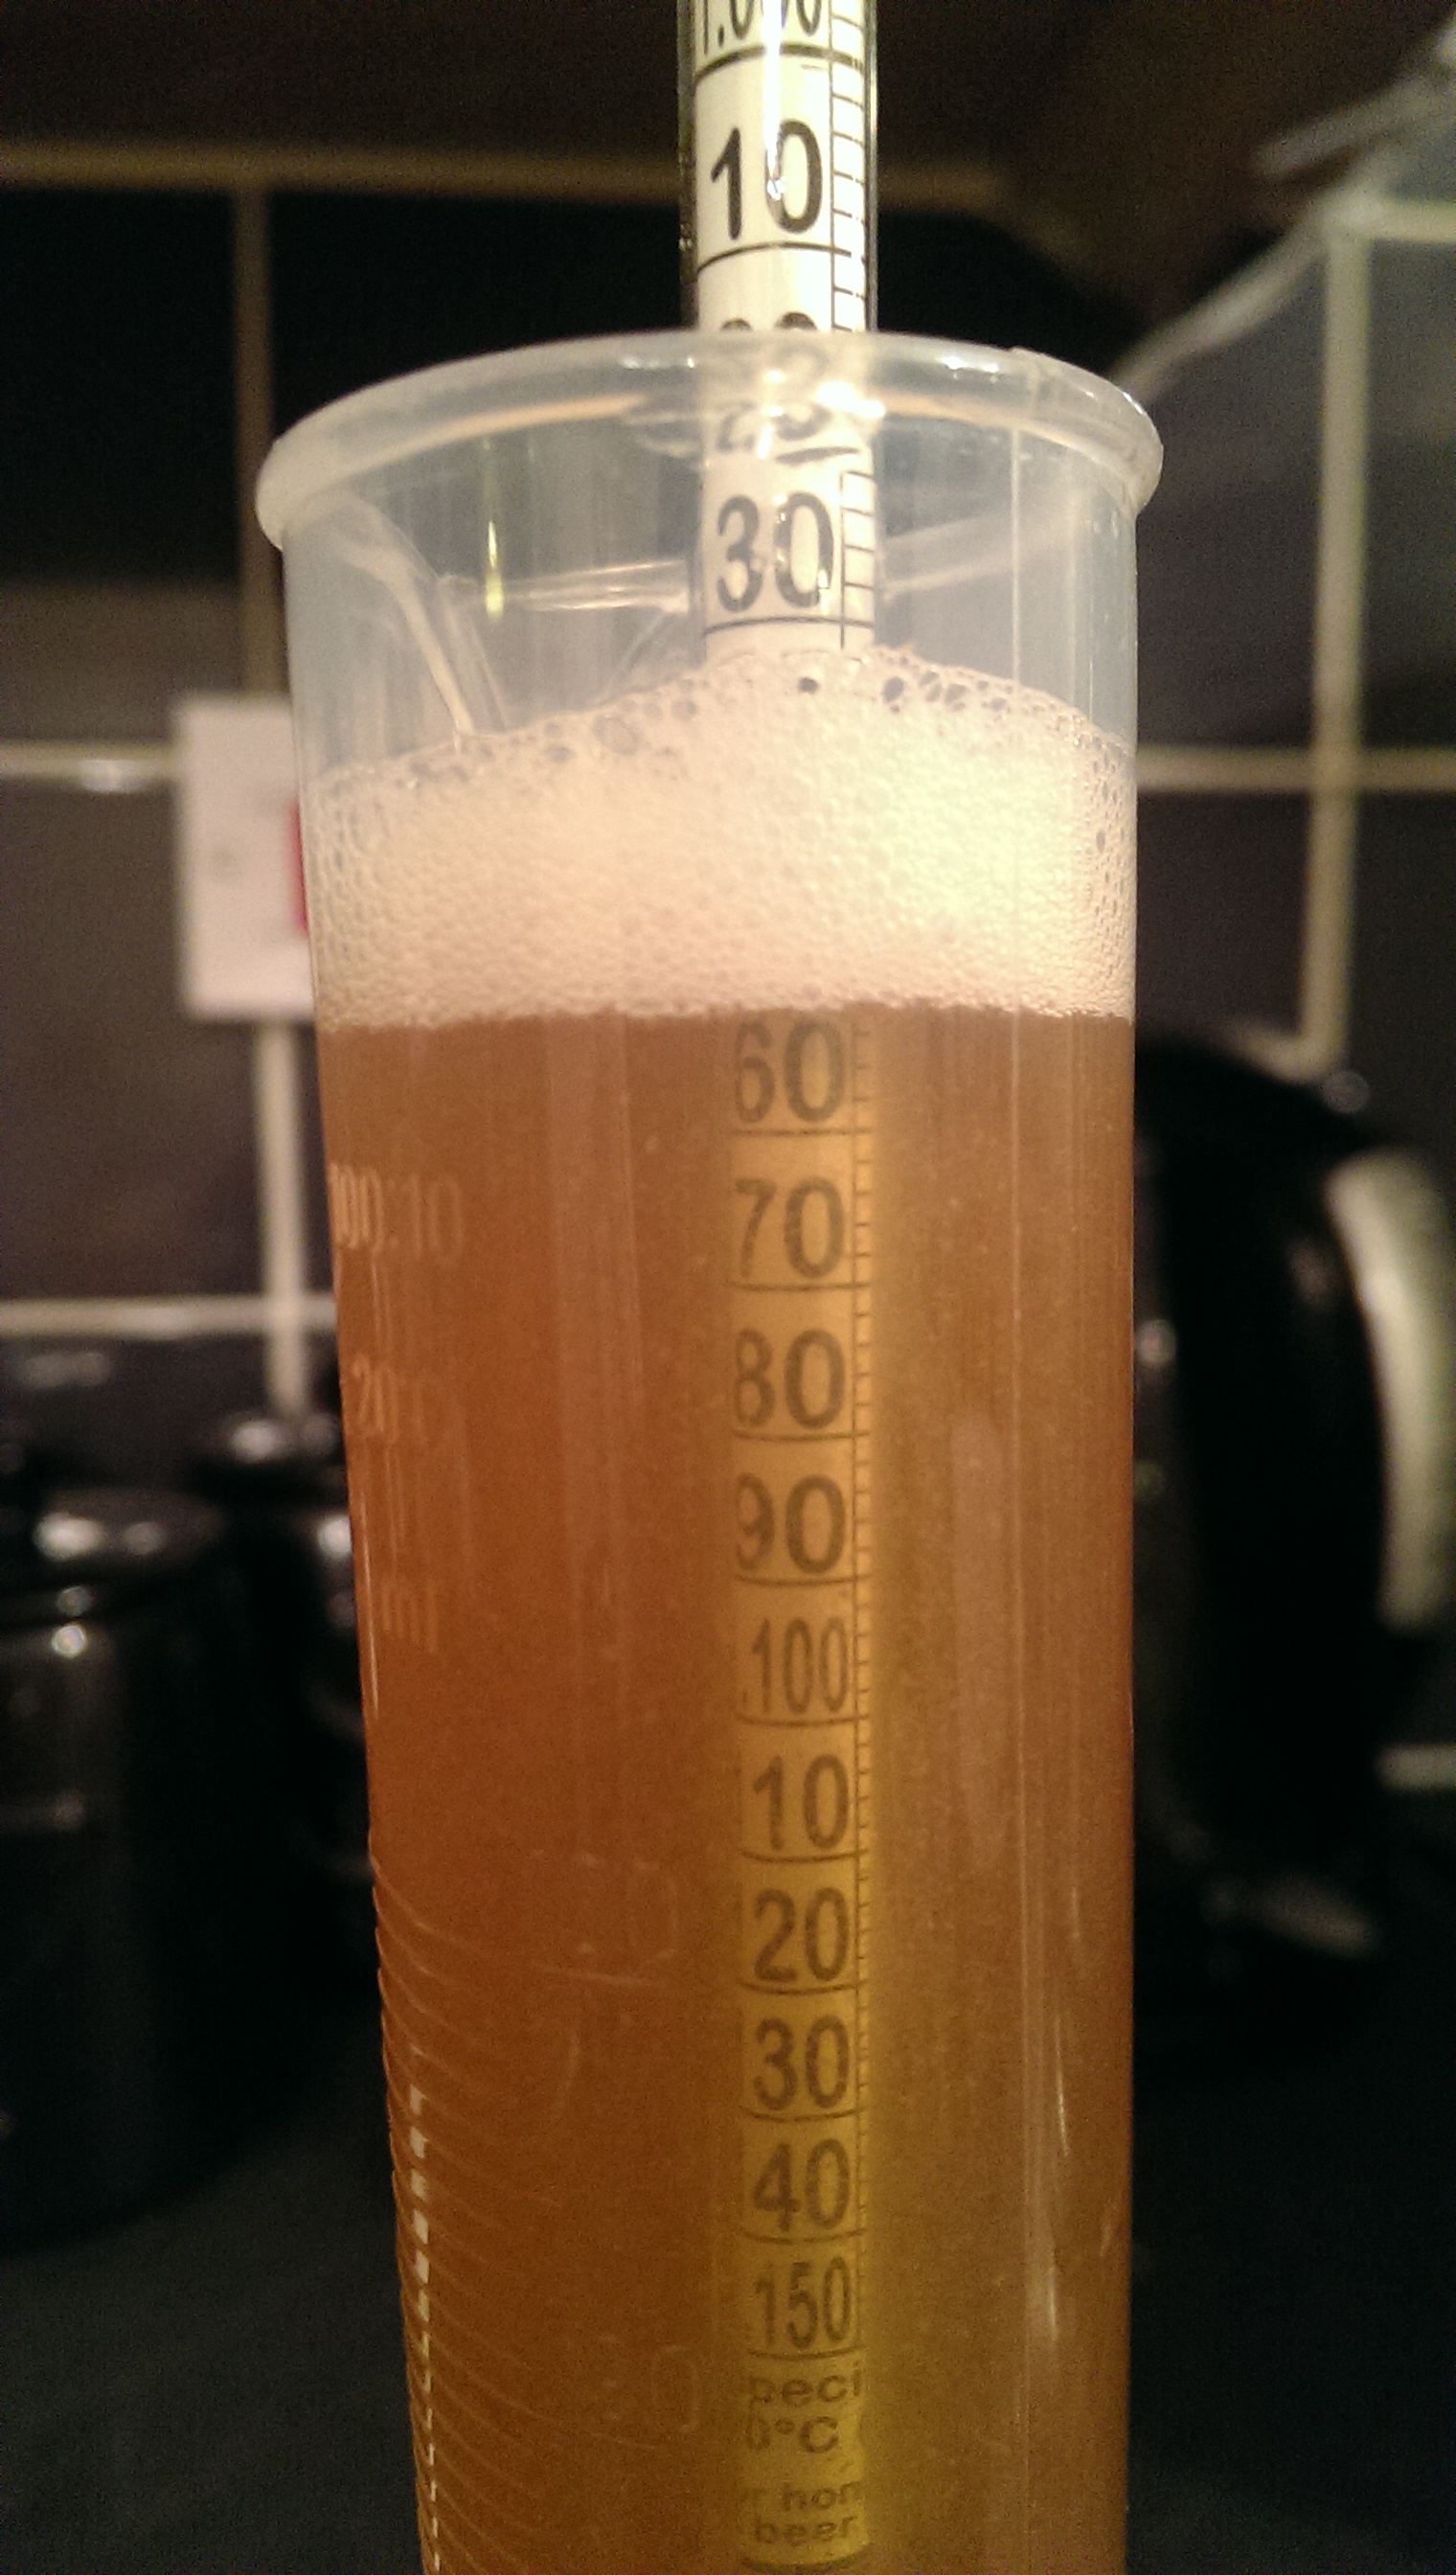
I used my steel ruler to measure the volume and it was about 0.5 liters less than the calculation on brewers friend. I took a pre-boil gravity reading and I was only at 1.029!! I had a real panic thinking the brew would be very weak. However after a bit of googling whilst it came up to the boil I found that you need to stir a lot as otherwise you can get an off reading. My sample was taken from the top so it may explain the low reading.
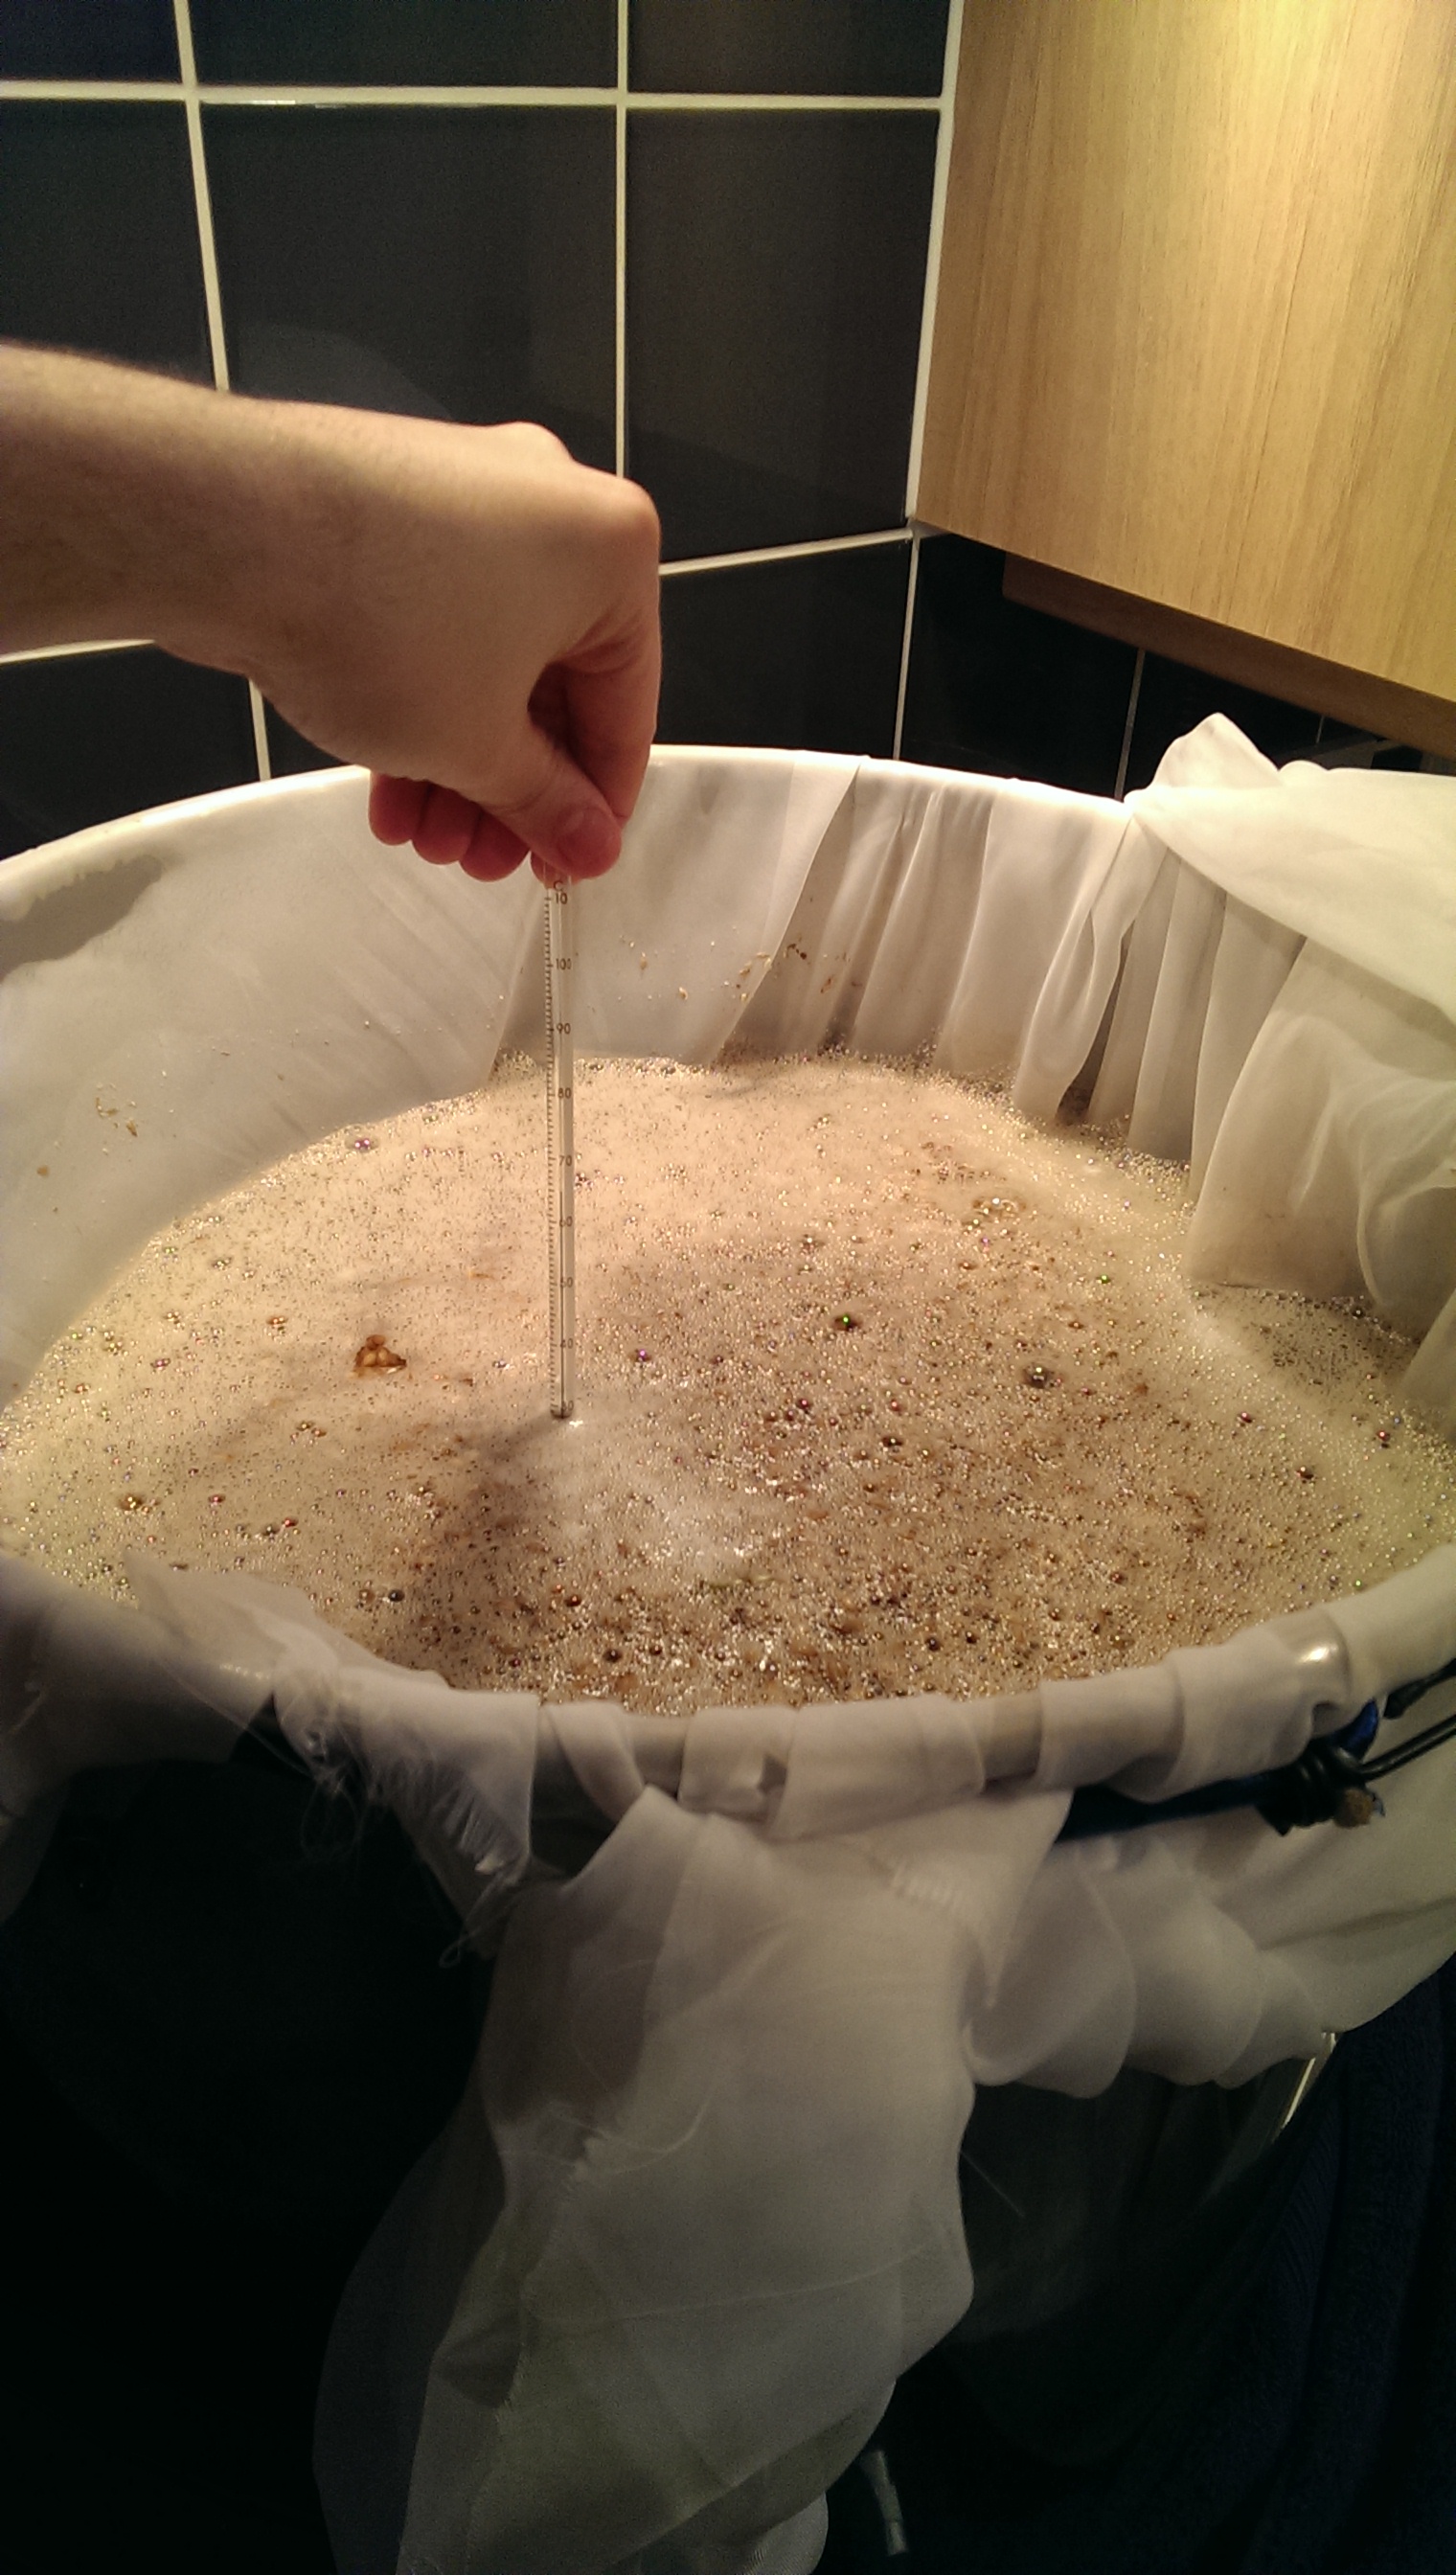
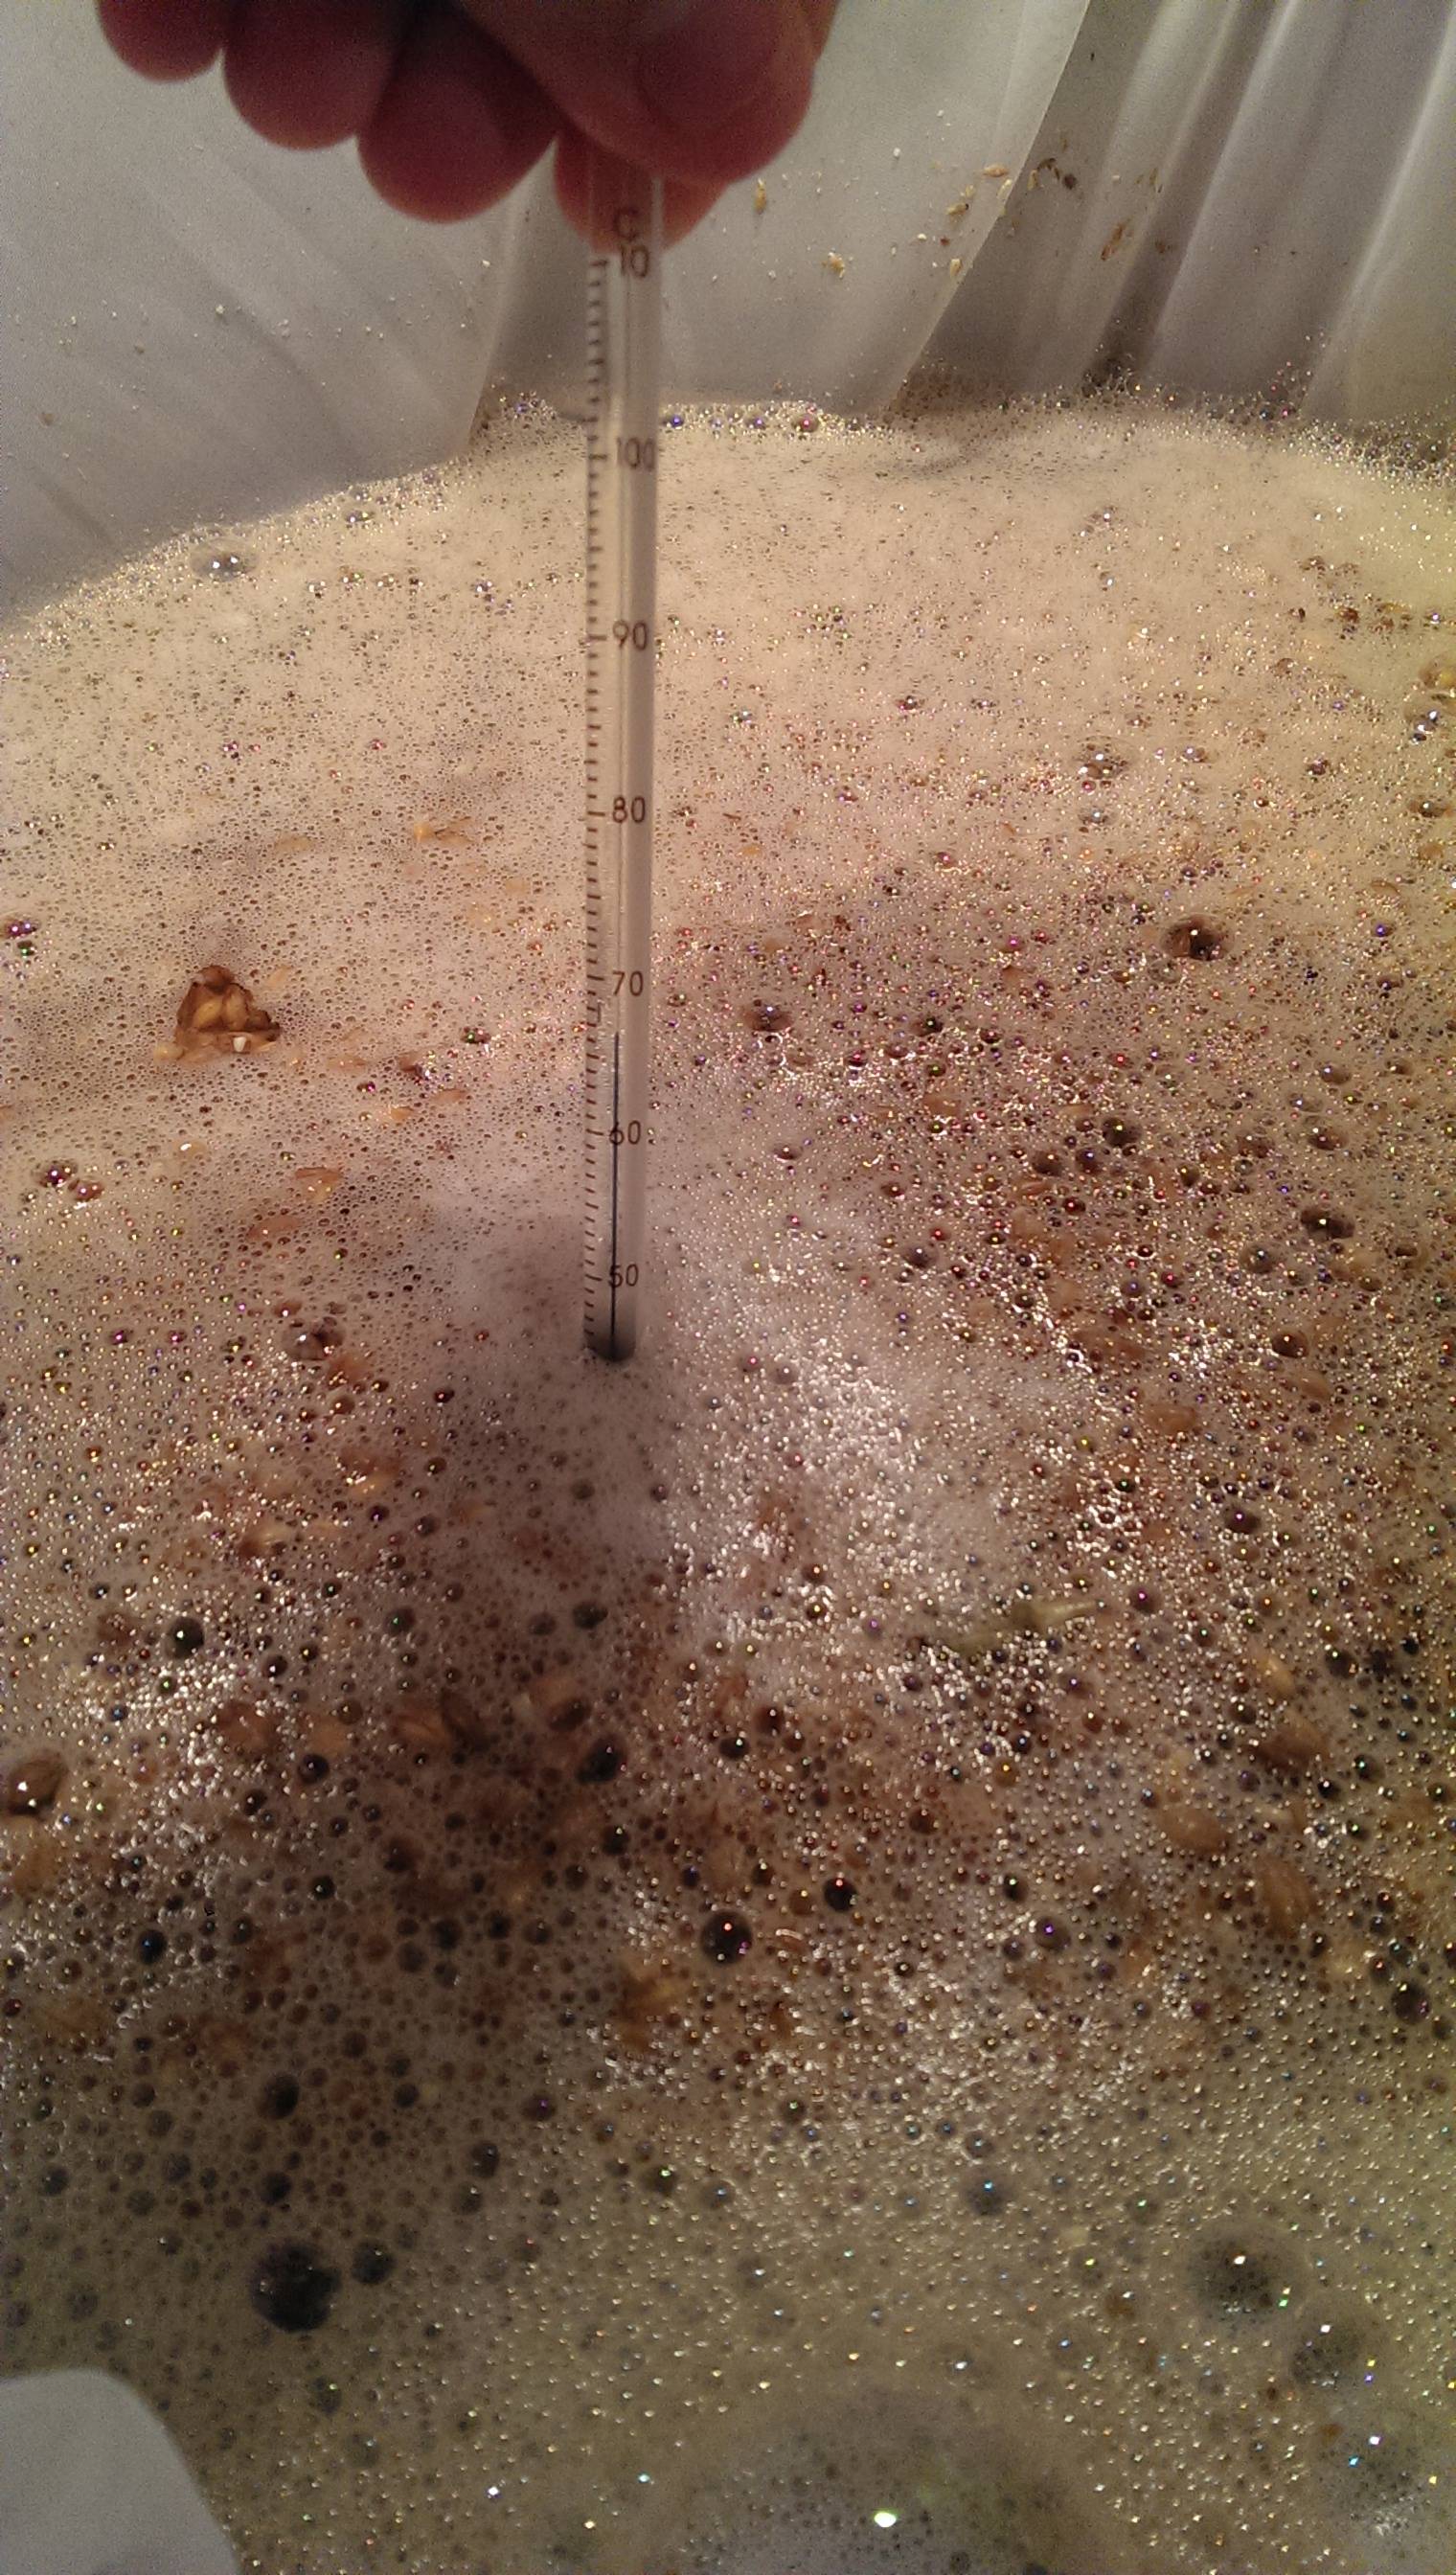
I brew in the kitchen and on my previous boil I only used two burners. I did reach a rolling boil but it wasn't that strong. This time I used all four and got a fairly vigorous boil. My ghetto hop spider was put over the boil. I was a little concerned the plastic might melt into the boil but a close inspection afterwards didn't show any marks.
Hop additions were added as per the recipe. Thankfully it was only a 70 min boil as the extractor fan started making a weird noise half way through. Perhaps brewing indoors isn't a great idea!
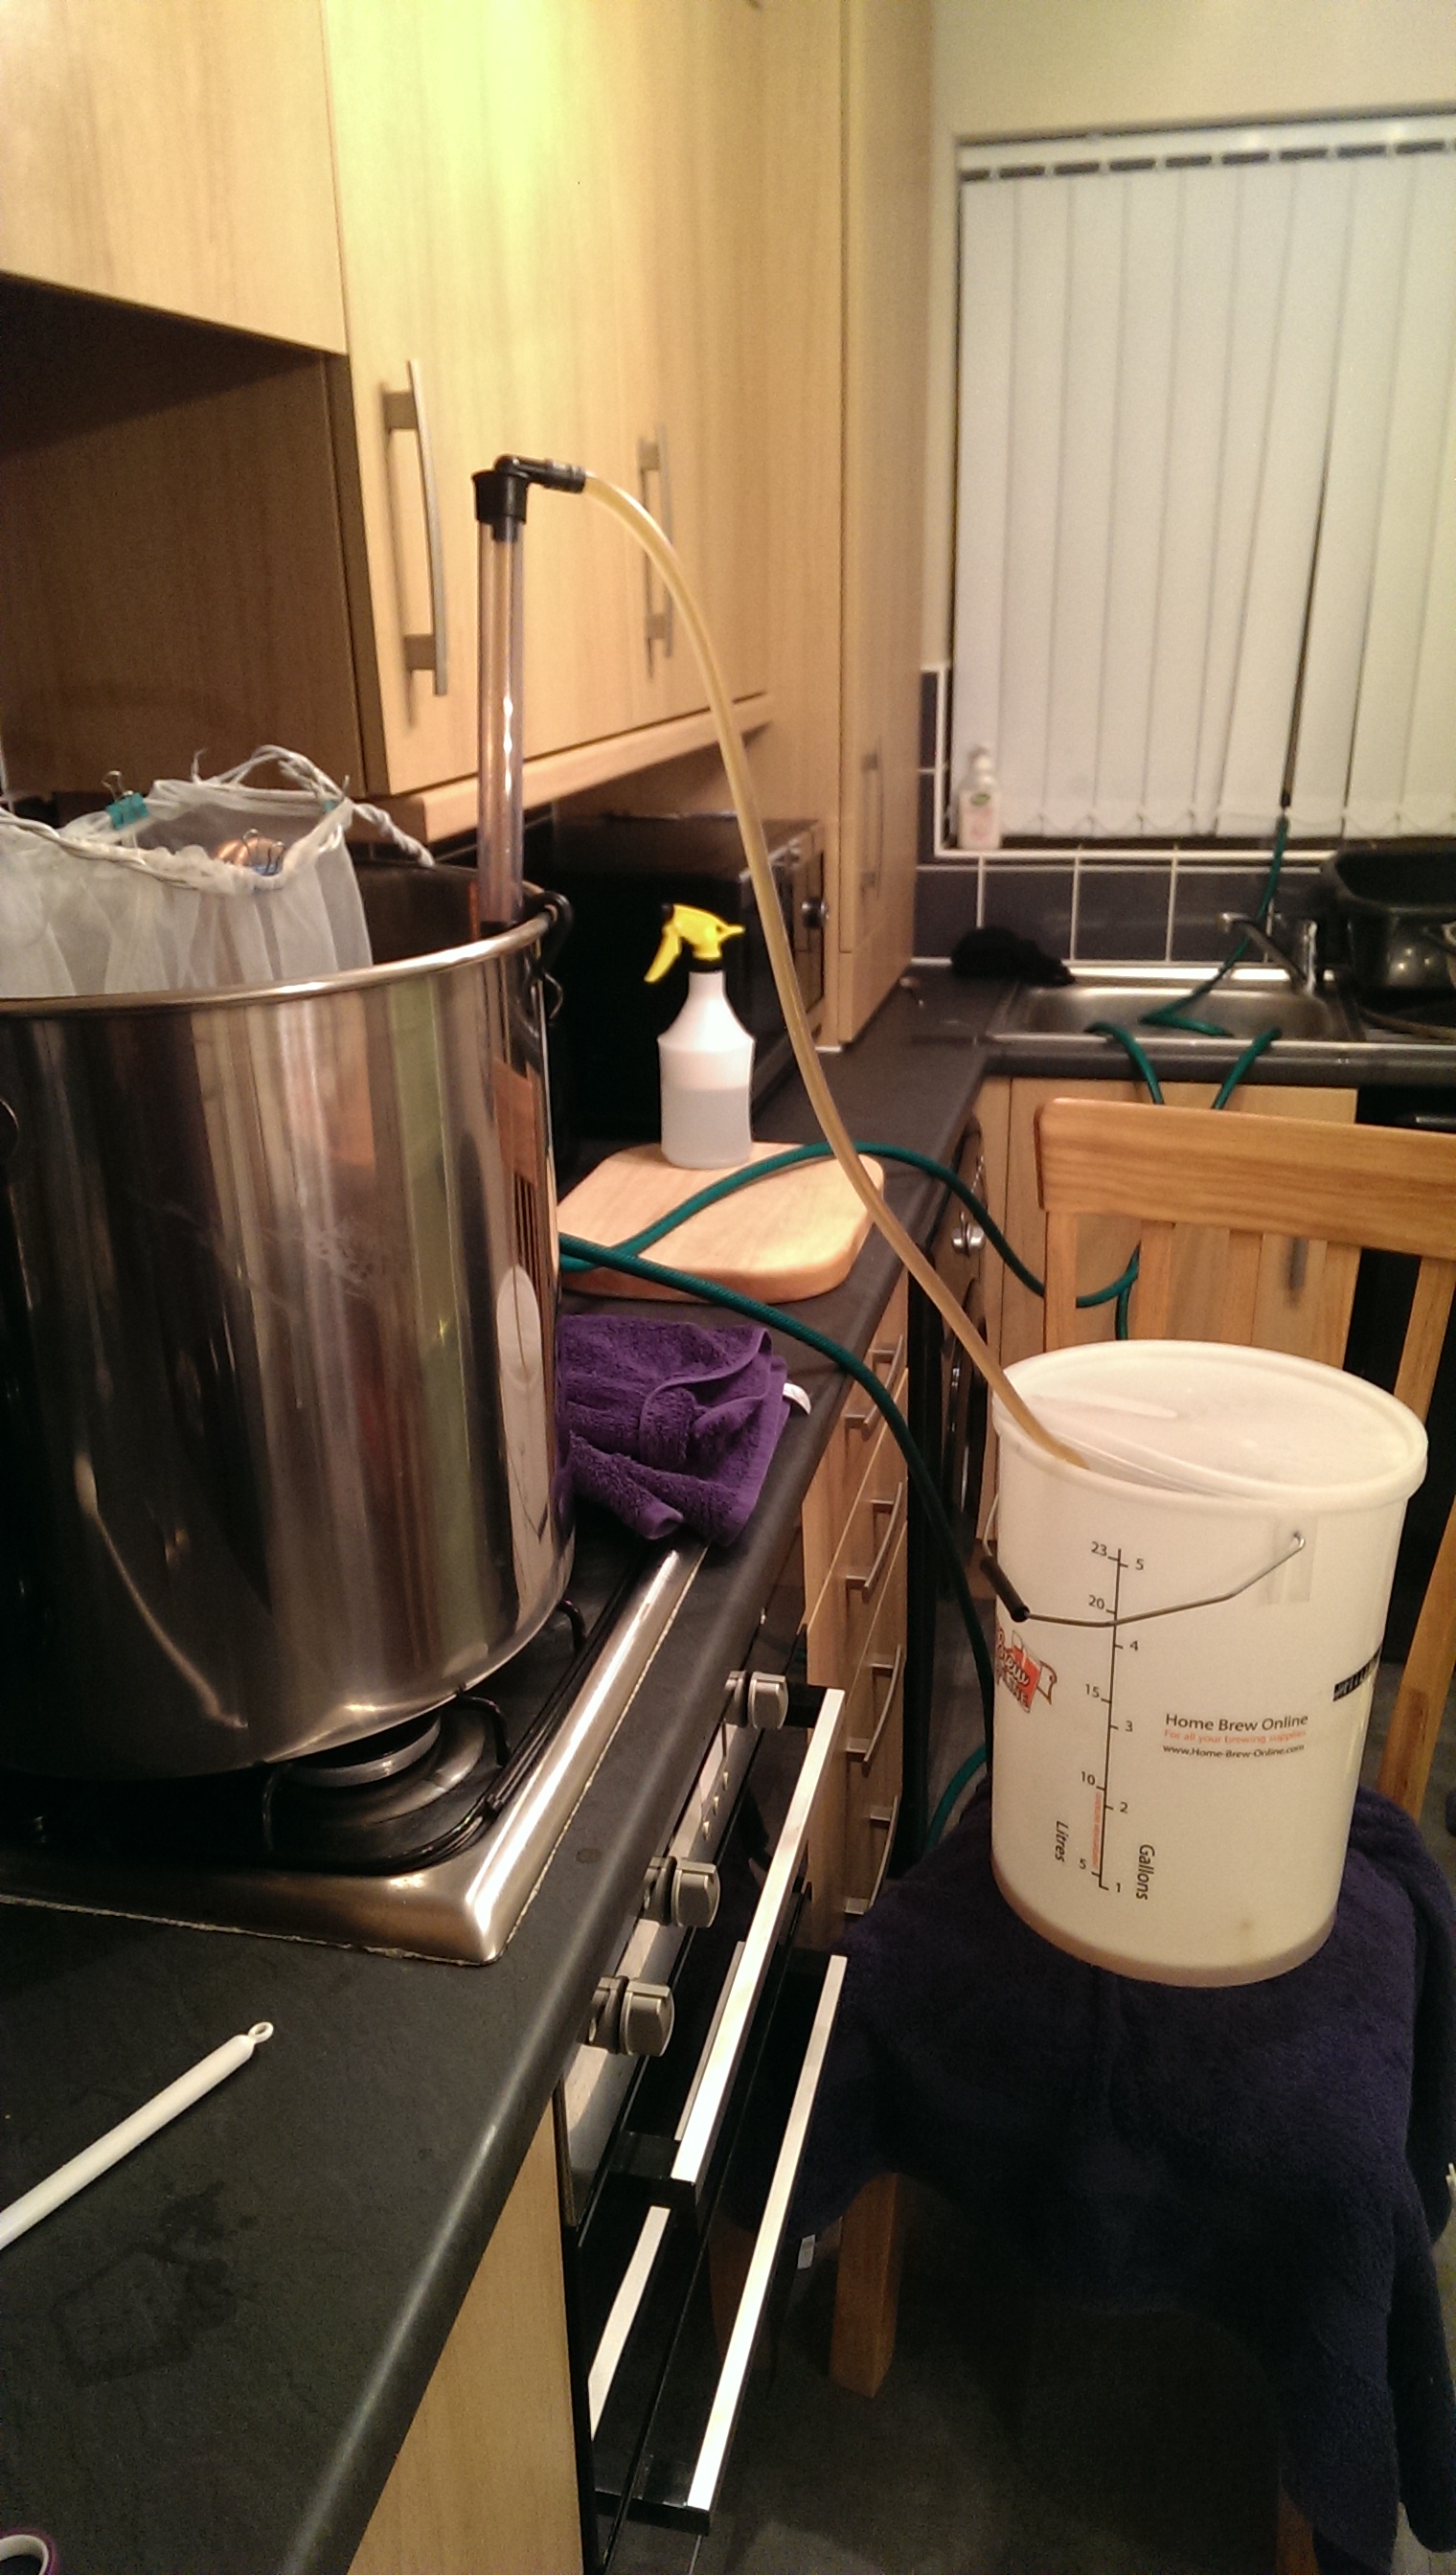
Chiller was put in with 15 mins to go and connected up out the kitchen window. It didn't take too long to get down to 18ðC. I took another reading from my ruler and it worked out at 0.4 litres less than what the software suggested. Although I did have a hop bag and cooler in the liquid so I presume this may have inflated this reading?

Once cooled I started to siphon the beer into the fermenter. I did have a bag on the end to stop the trub getting in but it got clogged up. The bag was removed and the flow rate greatly increased. On my previous brew there was very little trub and I was able to siphon up the majority of what was in the kettle. This brew however had a lot of trub and I had to stop the siphon when I noticed big bits going into the fermenter. I was only at 20L which was 3 liters short :-(. The first brew used only leaf hops, this one was pellets, perhaps that was the difference?
A post boil gravity reading was taken and it was 1.052, 1 point of the recipe. I was made up to see this after my pre-boil gravity was leading me to believe I was going to have a very weak beer!
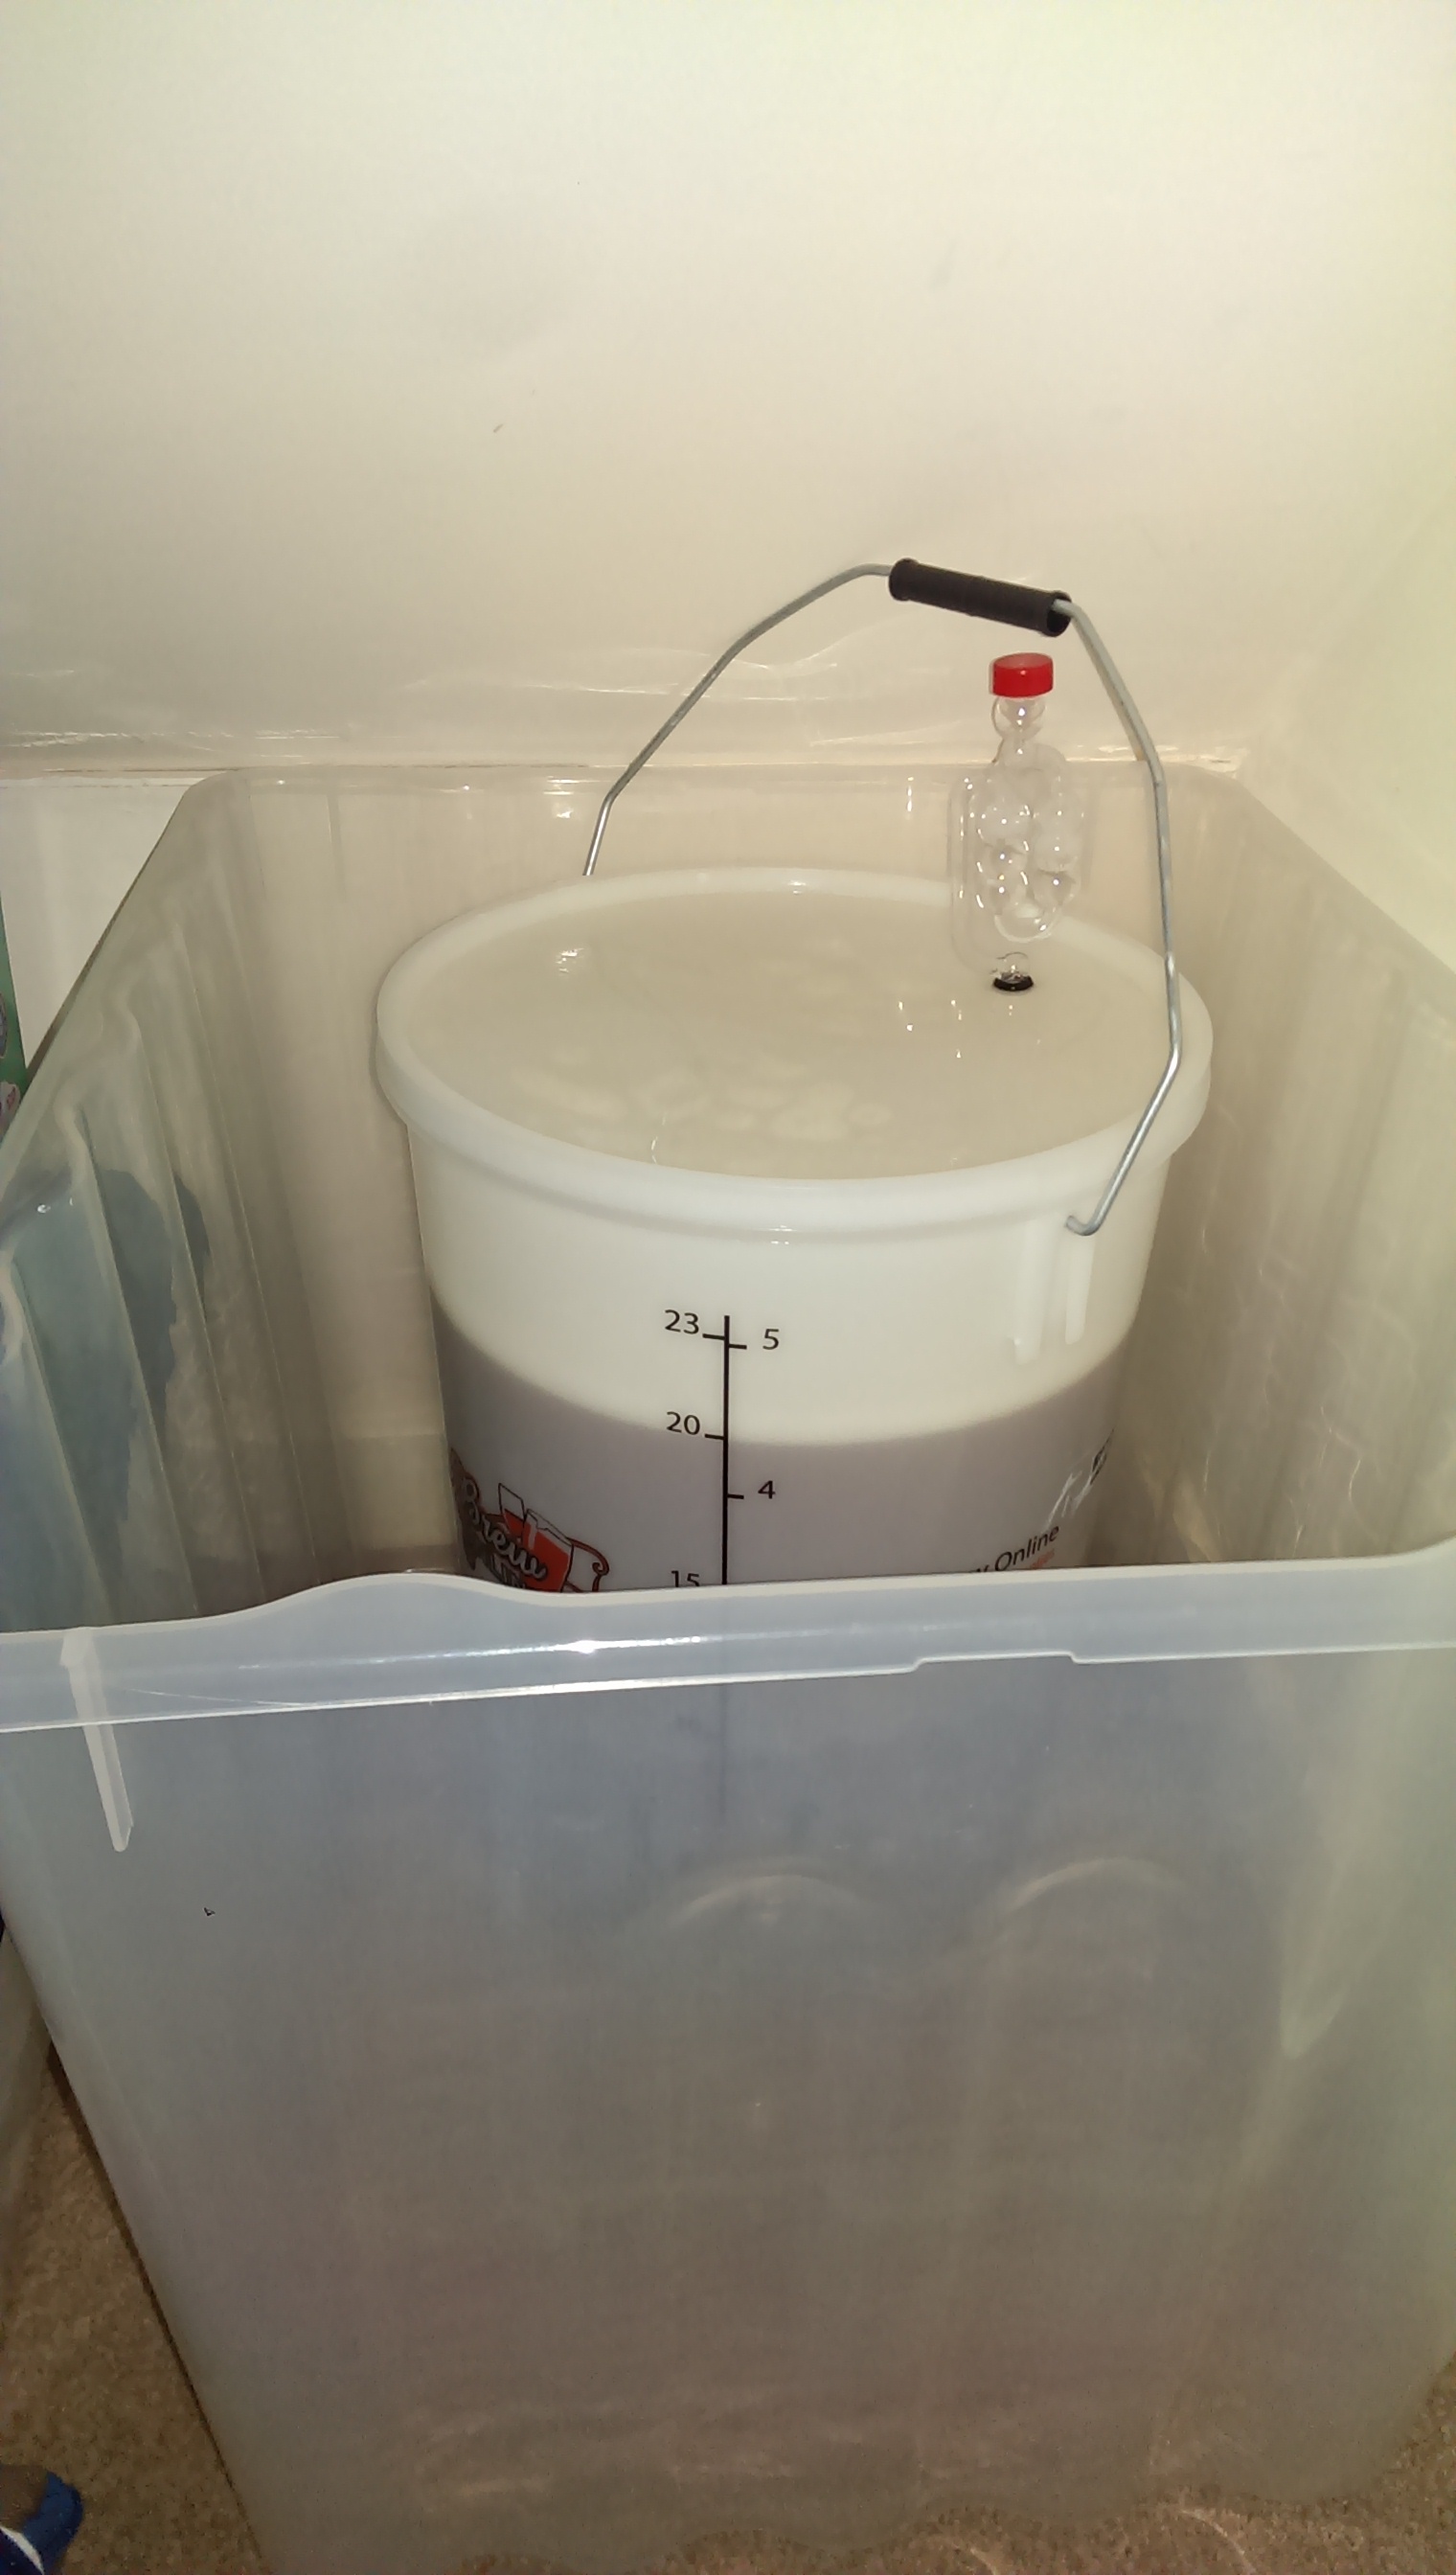
Finally, I re-hydrated the yeast, pitched it into the fermenter and gave it a good old shake. It is now sitting nicely under the stairs. Fermentation hasn't started yet (after about 20 hours) but I will be patient, my first kit beer took 3 days to start!
The efficiency was calculated at 60% which is a bit disappointing. Does any one have idea why it was so low? Still, overall I was happy with how it went and I have a better idea of how my equipment all works.
Original Gravity (OG): 1.053
Final Gravity (FG): 1.013
Alcohol by Volume (ABV): 5.21 %
Bitterness (IBU): 38.3 (Average)
Brewhouse Efficiency (%): 70
Boil Time (Minutes): 70
5.592 kg Pale Ale Malt (93%)
0.421 kg Crystal 60 (7%)
18.0 g Magnum Pellet (12.5% Alpha) @ 60 Minutes
14.0 g Perle Pellet (6% Alpha) @ 30 Minutes
25.0 g Cascade Pellet (9.2% Alpha) @ 10 Minutes
56.0 g Cascade Pellet (9.2% Alpha) @ 0 Minutes
Mash at 67ðC for 60 Minutes.
Ferment at 18ðC with Safale US-05
This is technically my second all grain brew, however my first was a Belgian ale kit from the malt miller and whilst it went fine, I didn't use any software and my starting water was a little estimated. I used it as a bit of practice into AG and I am classing this as my first proper AG brew.
Ideally I want to try and get to a stage of making my own recipes but I thought it would be better to do a clone first.
I put the above details into brewers friend and adjusted the batch size to 23L. This gave me a starting water of 32.03. I used water from the hot top to speed up the process. As the water was heating up to my target of 71ðC I put the bag in the pan. I say bag, it is just a big piece of voile. I am too lazy to start sewing a proper bag. This was held in place by a couple of bungee chords.
Once i hit the 71ðC, I turned off the heat and passed the wife the mash spoon. She said she would help stir as long as I went the shop to get some chocolate! Once all the grain was in, I checked the temperature and it was bang on 67ðC. The lid was put on and the pan was wrapped in 6 towels, 2 fleece blankets and a duvet!
The recipe only called for a 60 min mash. Once it was up I removed the wrapping and took another temperature reading. It was still 67ðC so I hadn't lost any heat :thumb:
Lifting the bag was a little difficult but not too strenuous. I bought an extendable colander from Aldi for ����ã6 which worked very well holding the bag over the pot whilst the wort drained in. After a few big squeezes I put the colander over a fermentation bucket to drain some more. Any remaining bits were poured into the boil.
I used my steel ruler to measure the volume and it was about 0.5 liters less than the calculation on brewers friend. I took a pre-boil gravity reading and I was only at 1.029!! I had a real panic thinking the brew would be very weak. However after a bit of googling whilst it came up to the boil I found that you need to stir a lot as otherwise you can get an off reading. My sample was taken from the top so it may explain the low reading.
I brew in the kitchen and on my previous boil I only used two burners. I did reach a rolling boil but it wasn't that strong. This time I used all four and got a fairly vigorous boil. My ghetto hop spider was put over the boil. I was a little concerned the plastic might melt into the boil but a close inspection afterwards didn't show any marks.
Hop additions were added as per the recipe. Thankfully it was only a 70 min boil as the extractor fan started making a weird noise half way through. Perhaps brewing indoors isn't a great idea!
Chiller was put in with 15 mins to go and connected up out the kitchen window. It didn't take too long to get down to 18ðC. I took another reading from my ruler and it worked out at 0.4 litres less than what the software suggested. Although I did have a hop bag and cooler in the liquid so I presume this may have inflated this reading?
Once cooled I started to siphon the beer into the fermenter. I did have a bag on the end to stop the trub getting in but it got clogged up. The bag was removed and the flow rate greatly increased. On my previous brew there was very little trub and I was able to siphon up the majority of what was in the kettle. This brew however had a lot of trub and I had to stop the siphon when I noticed big bits going into the fermenter. I was only at 20L which was 3 liters short :-(. The first brew used only leaf hops, this one was pellets, perhaps that was the difference?
A post boil gravity reading was taken and it was 1.052, 1 point of the recipe. I was made up to see this after my pre-boil gravity was leading me to believe I was going to have a very weak beer!
Finally, I re-hydrated the yeast, pitched it into the fermenter and gave it a good old shake. It is now sitting nicely under the stairs. Fermentation hasn't started yet (after about 20 hours) but I will be patient, my first kit beer took 3 days to start!
The efficiency was calculated at 60% which is a bit disappointing. Does any one have idea why it was so low? Still, overall I was happy with how it went and I have a better idea of how my equipment all works.