


Hey all!
I've helped out friends with brews and stuff over the years (even spent a day in a local microbrewery when a friend wanted to scale up his recipe for his wedding), but this is my first time trying it out on my own now that I actually have space for it.
I got my hands on one of these kits from Wilko's, and the instructions were simple enough to follow.
The main problem I've had is that the instructions are really quite vague in some places. Fermenting temperature, for example, it just says "room temperature", without any specific information about ideal temperatures and so on. It also doesn't include an airlock, instead telling me to put on the lid (but not push it closed fully) for the fermentation process.
One thing that this meant immediately is that I have no way to see if the fermenting process is actually happening. Having bought a couple of stick-on thermometers, I can see that the temperature in the place I have set aside for fermenting is a steady 18ðC, which fits MY definition of room temperature, but I have no idea whether this is the right temperature for the yeast to work since the kit doesn't provide any more information.
So a week has passed now, which is what the kit recommends. It smells strongly malty, and this is how it looks:
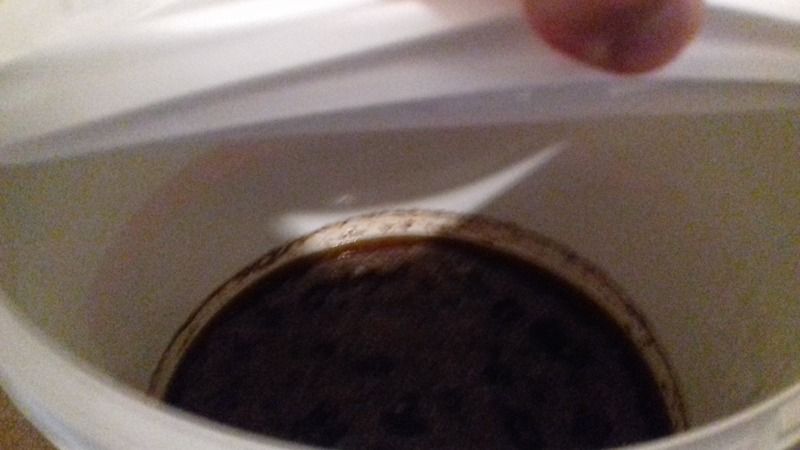
Clearly some activty has taken place, but I can't be sure exactly how much. The kit didn't come with a hydrometer, so I have no way of comparing it now to how it was a week ago. Nor do I know what this means if fermentation hasn't taken place as it should - do I just wait a bit longer and hope for some activity, or is the whole thing a write-off? Do I try and increase the temperature of the space without having to shell out ã20-odd for some specialist heating device? Do I still go ahead and bottle it with a spoon of sugar as the kit suggests, and hope fermentation completes properly in the bottles? The kit has no other information.
Any help you guys could offer would be greatly appreciated!
Cheers!
Jonny
I've helped out friends with brews and stuff over the years (even spent a day in a local microbrewery when a friend wanted to scale up his recipe for his wedding), but this is my first time trying it out on my own now that I actually have space for it.
I got my hands on one of these kits from Wilko's, and the instructions were simple enough to follow.
The main problem I've had is that the instructions are really quite vague in some places. Fermenting temperature, for example, it just says "room temperature", without any specific information about ideal temperatures and so on. It also doesn't include an airlock, instead telling me to put on the lid (but not push it closed fully) for the fermentation process.
One thing that this meant immediately is that I have no way to see if the fermenting process is actually happening. Having bought a couple of stick-on thermometers, I can see that the temperature in the place I have set aside for fermenting is a steady 18ðC, which fits MY definition of room temperature, but I have no idea whether this is the right temperature for the yeast to work since the kit doesn't provide any more information.
So a week has passed now, which is what the kit recommends. It smells strongly malty, and this is how it looks:
Clearly some activty has taken place, but I can't be sure exactly how much. The kit didn't come with a hydrometer, so I have no way of comparing it now to how it was a week ago. Nor do I know what this means if fermentation hasn't taken place as it should - do I just wait a bit longer and hope for some activity, or is the whole thing a write-off? Do I try and increase the temperature of the space without having to shell out ã20-odd for some specialist heating device? Do I still go ahead and bottle it with a spoon of sugar as the kit suggests, and hope fermentation completes properly in the bottles? The kit has no other information.
Any help you guys could offer would be greatly appreciated!
Cheers!
Jonny
 The best way of testing whether your fermentation is complete is with a hydrometer. Remove some beer using a sterilised turkey baster into a narrow jar and float the hydrometer in it. I suspect like myself and most people when they start out, don't have one. For my first few brews, I scooped some beer into a shot glass and tasted it, if it was at all sweet, it wasn't done yet.