


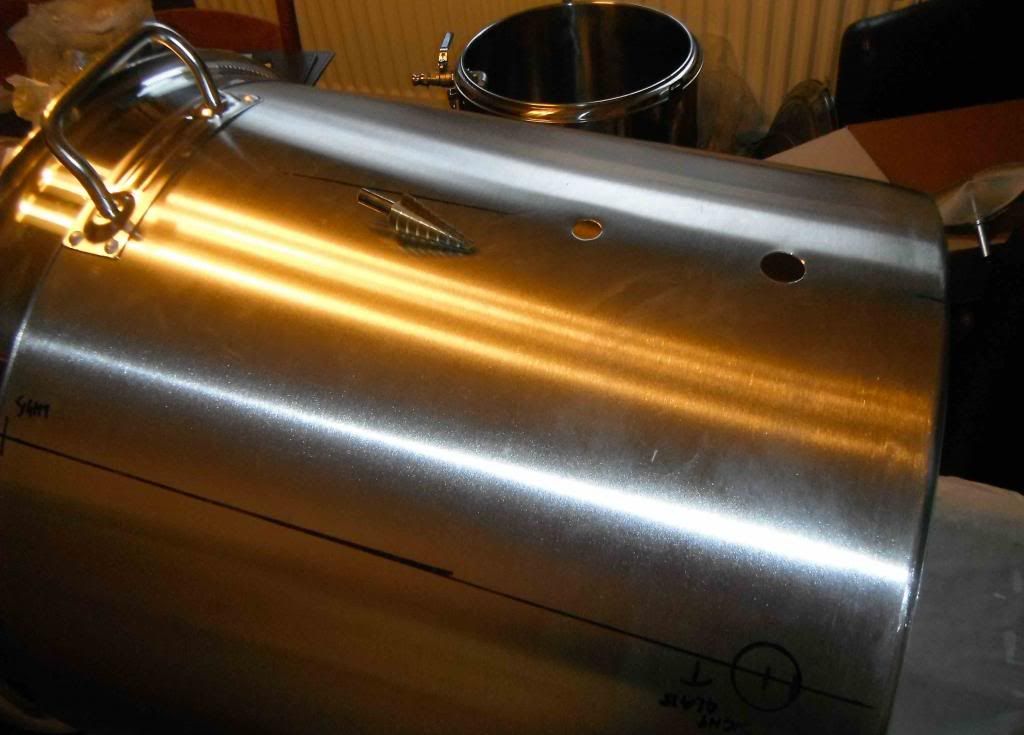
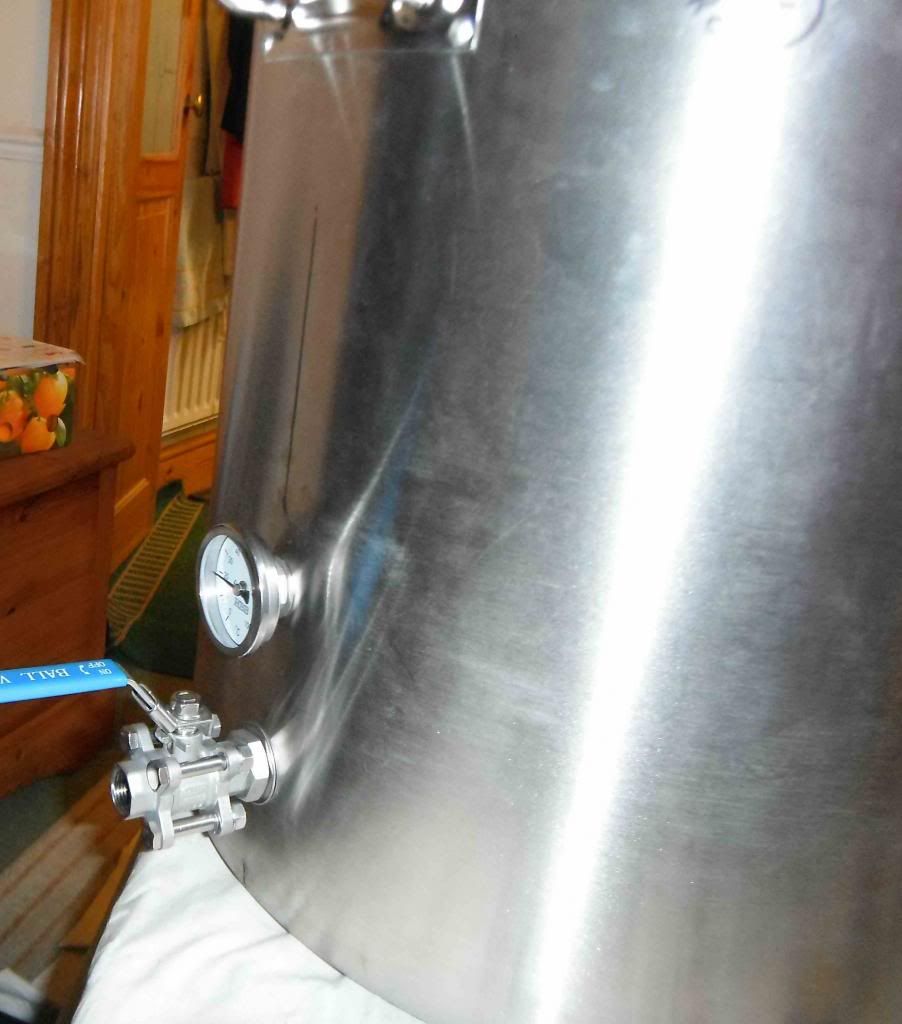
With the mash tun completed it was time to start on the boil kettle. As for the HLT, Iâm using one of mrlardâs high-end 100L stainless steel pots. The pot will have the same fittings as the HLT â 3 piece ½â BSP ball valve, sight glass, 5500kW element and recirculating ball valve. In addition, I will be fitting a stainless steel hop stopper purchased from here: http://www.ihomebrewsolutions.com/. First thing to do was to mark the pot up for the various holes. A hole was drilled for the dial thermometer and the outlet ball valve using a 3mm drill for a pilot hole and followed by using a tin step drill (http://cgi.ebay.co.uk/ws/eBayISAPI.dll? ... 0728957465). I didnât use the step drill to fully enlarge the holes, only enough to fit the bolt of a chassis punch â a 20.4mm Q-Max for the ball valve and a 14mm Q-Max for the thermometer. As for the previous pots made for My Electric Brewery, I am using weldless fittings â see my earlier postings for how these are assembled. The pictures below show the three piece ball valve and dial thermometer before and after the holes.
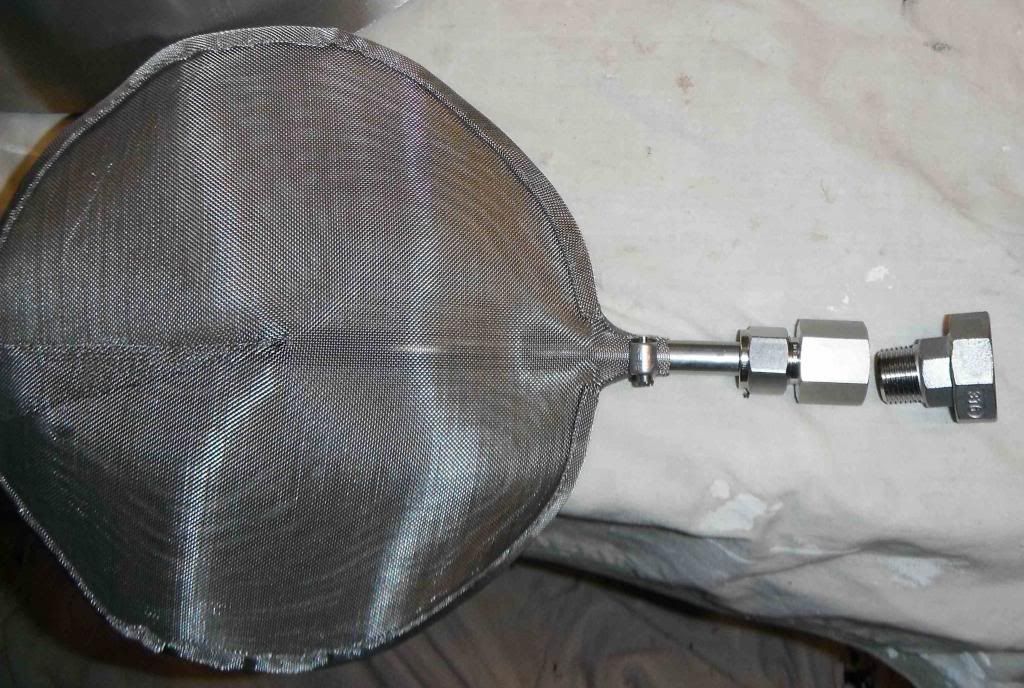
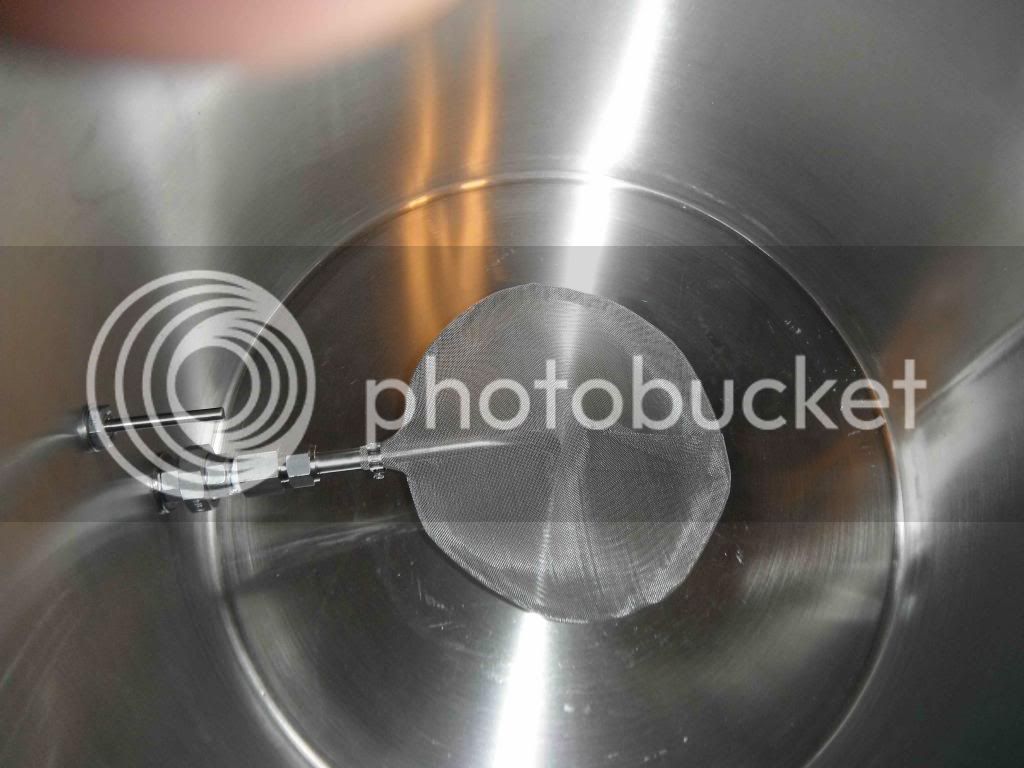
The hop stopper as supplied came with a ½â NPT female compression fitting. I fitted the compression joint onto a male ½â BSP cone seat union. This means I can easily remove the hop stopper for effective cleaning. The dip tube of the hop stopper had to be trimmed by 1â to centre the hop stopper in the middle of the pot. The pictures below show the hop stopper and fittings before and after mounting in the pot.
I only had a couple of hours free to work today, so couldnât complete all I wanted to. My next opportunity to work will be Tuesday or Wednesday, when I hope to fit the recirculation ball valve and sight glass. More posts and photos to follow later in the week.