The Draymans' Brewery Build

The Homebrew Forum

Help Support The Homebrew Forum:

This site may earn a commission from merchant affiliate links, including eBay, Amazon, and others.
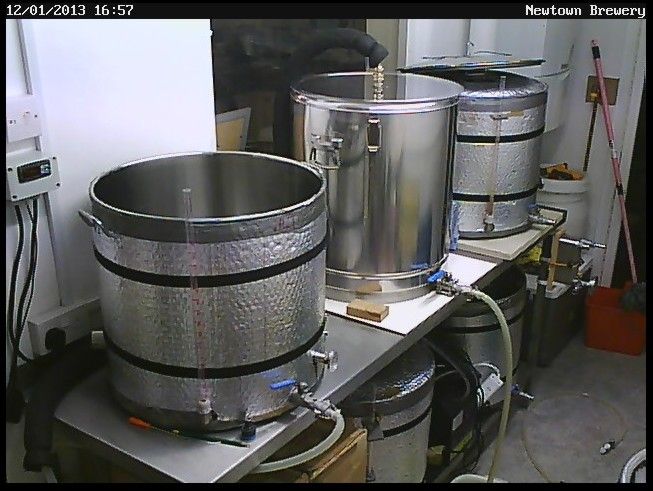
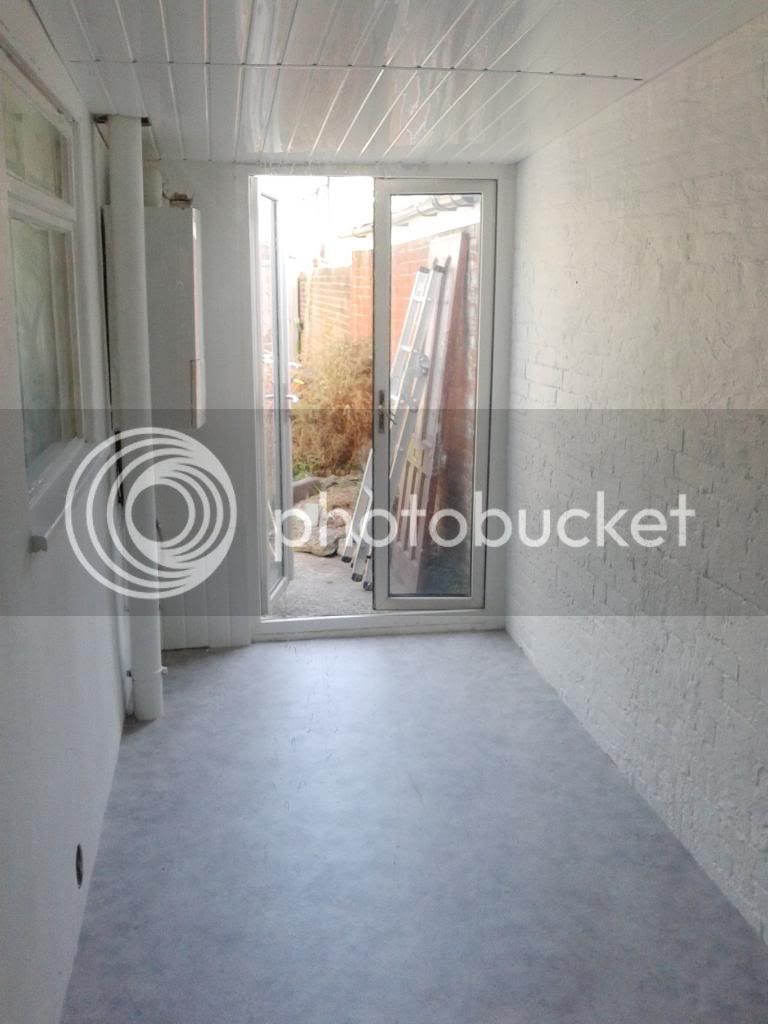
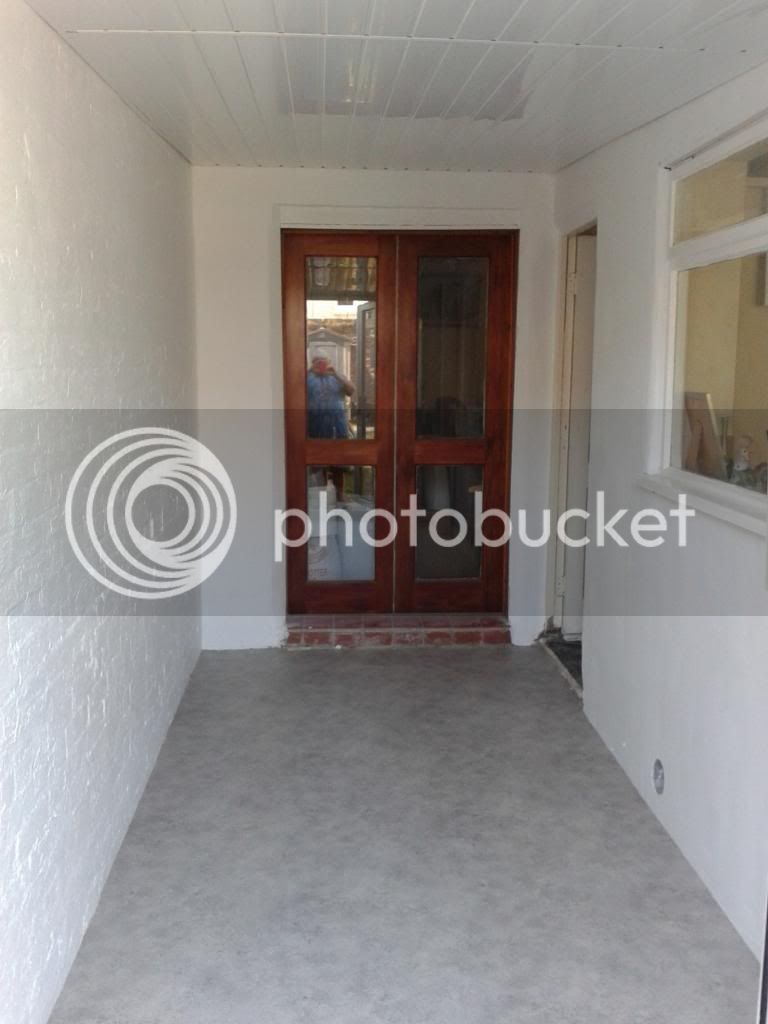
Have now got the vinyl floor down and it's starting to look (almost) like a brewery... Just waiting for my electrician friend to finish playing with the Cub Scouts (he is an 'official' not a friend of Jimmy Saville) and he can sort out the power and a light. Then a double sink unit to be fitted underneath the boiler at the end of the brewery table. I'm going to fit a uPVC cladding wall/separator at the end of the brewery table so you wont be able to see the poo-pipe or boiler/washing area.


I've told SWMBO the only way she is getting that room to use is if she becomes a Brewster!

(In Yoda-esque tones) "Learn from me she-must"...
 
For anyone thinking of painting brick walls, I did my garage interior and an outside wall with white smooth stone paint. (comes in large tins) One of the cheapest paints. I also sealed the garage floor with it before adding floor paint. Bugs and spiders HATE it. I never saw another spider in my garage after painting. The outside wall white stone paint was mixed with a little coloured emulsion to give a "mediterranean" look, and is still perfect after 17 years. (I kid you not).
 
we have an offer in on house and have a very similar sized, nearly finished single garage I plan to convert...

The first issues I have are getting water out and updating electricity to handle the 3-4 elements i'll be using.
 
Update! Now have a ring-main installed in the brewery with 8 double-sockets (probably still wont be enough) and a six-foot fluorescent light. At last I can see in there when its' dark and MY does that light reflect off the white walls wonderfully! Just the sink unit and water to be fitted and then I can start re-testing the equipment in-situ (at last). I've also installed a webcam for security (records to a server during silent hours) and I intend to stream BrewDays when I can. I'll let you know passwords and stuff later.
 
:thumb:
The addition of a ring main will be very comforting and welcoming come a full brew day, it will give you Peace of Mind that it can take whatever you throw at it...
 
Here is a snapshot taken from the webcam. This is not the final layout (I've got to move stuff again to install the plumbing); the copper will be at the far-end (so I can use trunking to let the steam out of the double-doors). The boxes on the lower shelf will be going and will be replaced with two 100l fermenting vessels and the cooler (currently on the top shelf) will join them to keep the ale at the right temperature during the ferment.

Eventually (hopefully?) next year I will be building a control panel (using The Electric Brewery http://theelectricbrewery.com/ specs) and it is hoped to be able to fix it to the wall where the light switch currently is.

More details, and photos, when the plumbing is installed!

 
Here are the drawings I used to give me an idea of what would fit where. They where produced in CorelDraw12 and are to the exact sizes (so I haven't got a printer big-enough to make a printout!). This now includes the control panel which I'm hoping to build and install. When the plumbing is fitted I have a uPVC 'wall' to fit between the end of the brewing table and sink to hide the boiler and poo-pipe.

 
Superb.

Well planned from design to build. You can be proud of this..........and that control panel.....wow.
 
Thanks, PD. At the moment the panel is just an idea for building, probably, next year. I'll be using the instructions from The Electric Brewery website (for UK voltages) and will be slightly changing the layout to fit my system. Here is a Corel PhotoPaint amended version of the panel showing how mine will differ.


I'll be using different (cheaper) PIDs (N2006Ps instead of Aubers); a Sestos B2E timer (instead of an Omega); and a single dual reading Volt/Amp meter (instead of two individual ones). I've included these changes in this image. I'll also be swapping the green and blue LEDs around (I'll be using green for Power On and Blue for pumps on). The Electric Brewery uses the centre PID for Mash temperature but I will connect mine to an in-line PT100 in the sparge water line (near the arm) so I can keep a check on the sparge water temperature. I'll be using one pump (Solar) to recirc water in the HLT during heating and the other will be for the sparge (mini-mag from HomeBrew Builder -regulated with a ball valve). The HLT and Copper PIDs will each be connected to just a single kettle element each. When heating the brew water, or copper, I'll use the panel element and another (external) one until the alarm announces I've reached my required temps, then I'll just switch off the external element. I'll also be using 40A SSRs so hopefully the panel shouldn't get too stressed. As-and-when I start the panel build I'll keep all on the forum updated with build photos.
 
Where are you planning on getting the case for all those electronics? I tried looking around for one but didn't know what It was called so these ad h didn't go very well
 
djcorbetto said:
Where are you planning on getting the case for all those electronics? I tried looking around for one but didn't know what It was called so these ad h didn't go very well

You can usually find these 'enclosures' on Fleabay. The size recommended by the Electric Brewery people is 16x16x8 inches, so a 400x400x200 mm one should suffice.
 
Apologies to all as I've let this topic slip a bit as the brewery-build has slowed-up and I'm still waiting to get a few things in-place (but we're getting there).

Since the electrics have gone in I've been doing a bit more work in the brewery at night...amazing what can be achieved when you have illumination :party:

Today I be mostly fitting a 'solar-pump-in-a-box' to the wall near the HLT. This will be my recirc pump and will also double for sparging via my (new) perspex-lidded MT; thanks for the inspiration BarnsleyBrewer :thumb:.

I've also decided that, as I'd prefer to boil all my wort for each 18 gallon brew (rather than have to boil part of it then liquor-back to achieve the gravity required) I'll be needing a bigger copper. I managed to sell some collectible Italian cycle parts and the £200 I got for them will be going towards a 200L pot from MrLard at http://www.homebrewbuilder.co.uk. When I get my hands on the new copper I'll insulate it and get it put in-place on the table ready for a test brew.

Here is the latest web-cam snap-shot taken today. The current copper (at the far end of the table) will be moved to the lower-deck and will, probably, become FV3. Will keep you posted as to any other developments when they happen.

snapshot-1Dec2013_zps6778f18c.jpg
 
thedrayman said:
At the old address I used this system.


As the copper is at the door-end of the table I'll be continuing with this method. Initially I'll be brewing with the doors open as I like my fresh air and I'll be throwing the trunking over the top of the open door. In time I'll either fit a chimney up through the roof or, alternatively, drill a hole in the breeze-block wall by the gas boiler and fit the external extractor there.

great lid
NOW ON ME TO DO LIST
:thumb: :thumb:
 

Latest posts

Back
Top