John_Henry
Well-Known Member
- Joined
- Mar 23, 2011
- Messages
- 114
- Reaction score
- 0
So, here we are. This is a brief description of how I malt my own Barley, very easy and takes hardly any time.
This is only the second time I've done this, and the way I did it this time was very lazy and unscientific. However, seems to have come out pretty well, and with a bit more patients would be as good as any.
I haven't called this a 'how to', as it is more of an illustration, but should give you a basic idea. If you are having a go yourself then I would defo geek up malting on the tinterweb. Seems to be quite a bit of info, and a few videos aswell. Anyway on to the Malting.
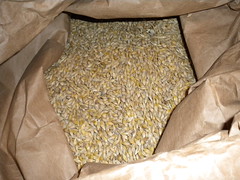
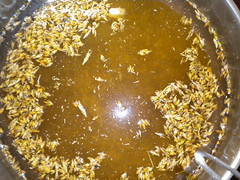
On Monday (28th March) I put the raw Barley on to soak for 24 hrs. I put 5Kg in, but added a good dosh more to allow for loss. The last batch I did 7Kg and ended up with just under 6Kg so would expect near as dammit 85%. However I'm expecting better efficiency this time round. There's a lot of different ways people soak the barley, some a number of days, some even do 2hrs in water, then 2hrs out, over a 24hr period. Personally I don't see any benefit of doing this, and if anything I think they start chitting quicker by simply soaking them in water for around 24hrs. This is obviously less time consuming. So to clarify, on day one I soak raw barley in water for about 24hrs, the only other thing to mention is that I take the floating gubbins off the top with a sieve.
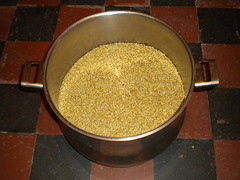
After it's soaked for about 24hrs I drain it threw a sieve taking anything that isn't barley out, i.e. other seeds peas, bits of chaf etc. I then stuck it in a strong placky bag, the sort the super markets advertise for reusing. and put it in the airing cupboard.
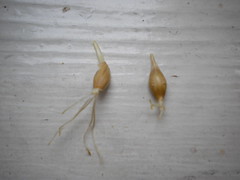
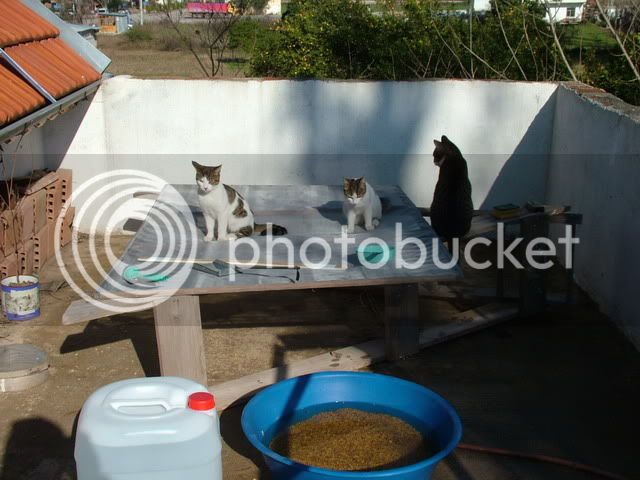
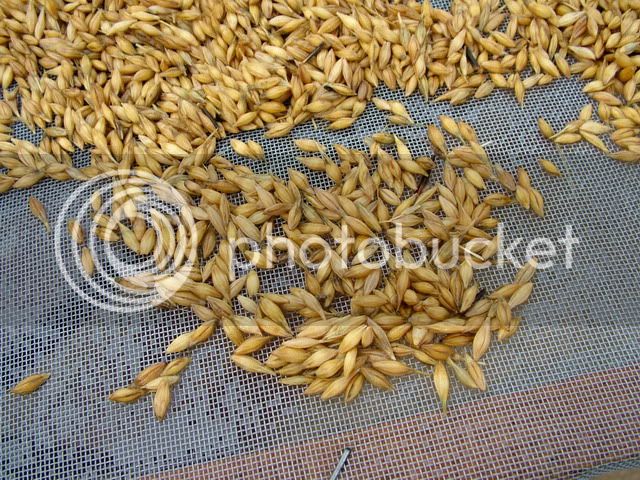
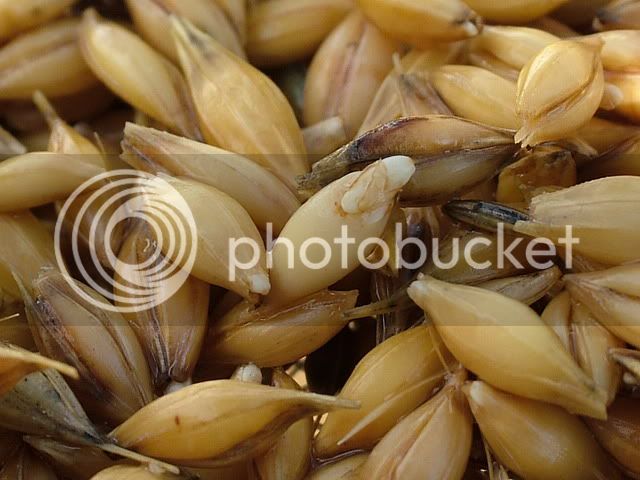
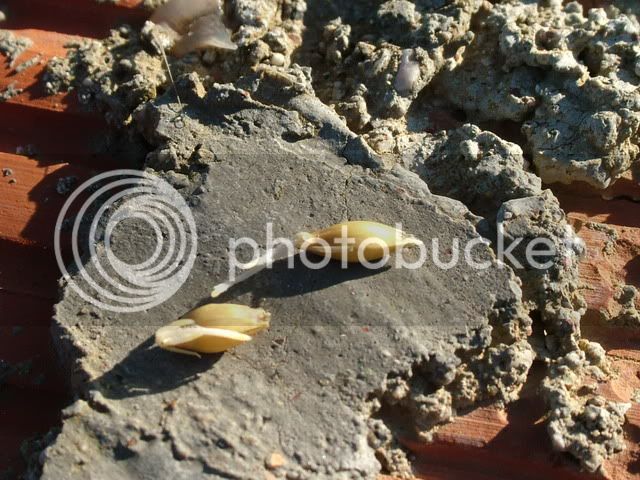
After another 24hrs or so it will start chitting (growing roots/sprouting). from this point on I try and give it a mix as much as possible, if pos upwards of twice a day. As the process continues the roots get longer and the barley needs couching (mixing) more often, but really its just important to make sure its not too wet and doesn't start to get moldy.
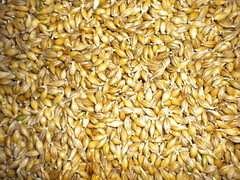
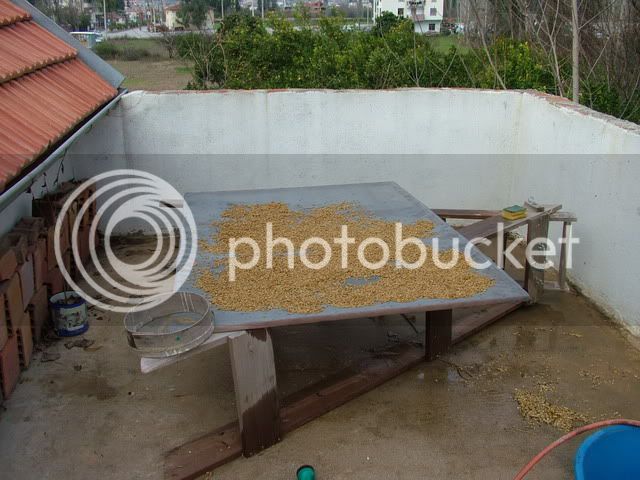
By Saturday the acrospire was upwards of 50% the length of the grain. What your looking for is 75%. This batched seemed a little more random than the last batch, but I was planning on brewing on Sunday so decided to start malting on Saturday morning. On average I would have put it at a little under 65%, really it could have done with another day or so.
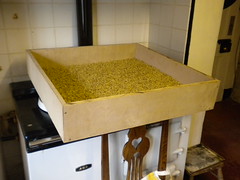
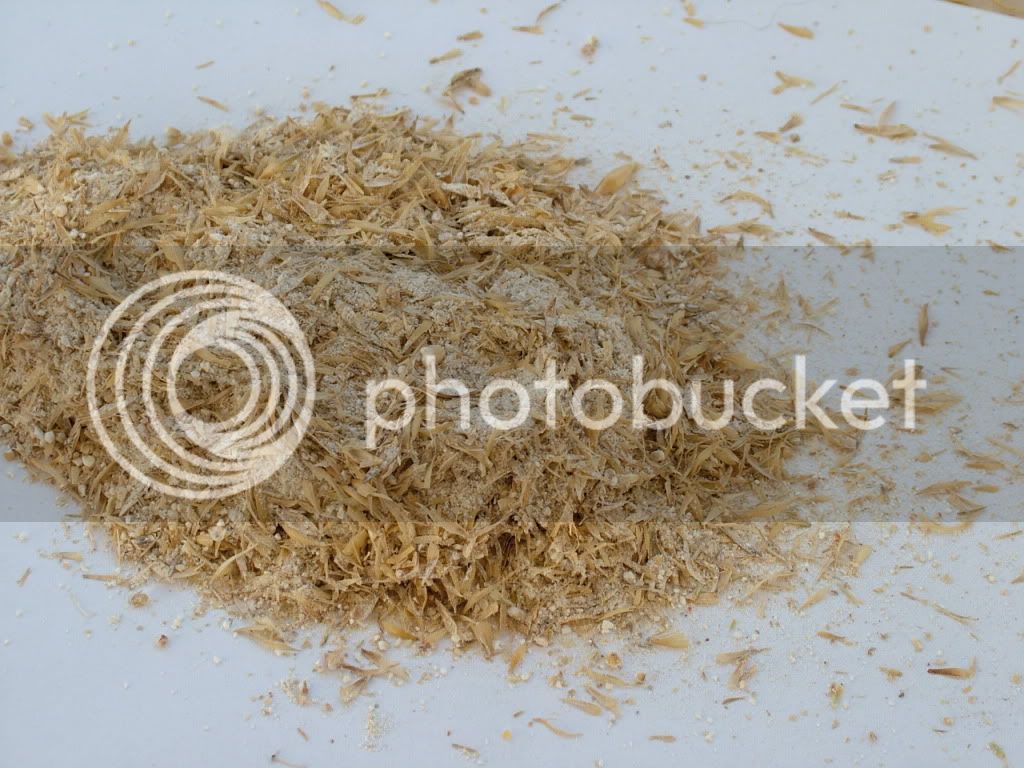
On to the difficult bit, well difficult for me anyway. The malting of the Barley. At the moment we only have an Aga, its good on one hand because I don't spend any extra cash on electricity/gas etc, but you can't control the blooody thing. So, my solution is a box which I sit on the top, kind of replicating the traditional heated wooden floors. However it takes an age to dry out. I started it on Saturday morning and its still going. Had it ontop of the logburner and trying everything to cure it. From what I can gather its very easy in a conventional cooker, the main thing is to keep it under 60 deg. If you want darker malt you simply do it for longer, but keep it under 60, so my research leads me to believe anyway. I like mine darker than marris otter or similar, so give them a bit longer, and with some to get more of a caramel flavor by popping them in the aga. Thats the best thing about doing your own malt, you can make them bespoke to exactly what you want, for your brew.
So thats basically it. If any of you have any questions I'll do my best. If any of you have suggestions they would be most appreciated. I'll ad some photo's in a mo, and pos carry on the thread to the brew, so the whole process from raw barley to finished brew. Hope its of interest.
This is only the second time I've done this, and the way I did it this time was very lazy and unscientific. However, seems to have come out pretty well, and with a bit more patients would be as good as any.
I haven't called this a 'how to', as it is more of an illustration, but should give you a basic idea. If you are having a go yourself then I would defo geek up malting on the tinterweb. Seems to be quite a bit of info, and a few videos aswell. Anyway on to the Malting.
On Monday (28th March) I put the raw Barley on to soak for 24 hrs. I put 5Kg in, but added a good dosh more to allow for loss. The last batch I did 7Kg and ended up with just under 6Kg so would expect near as dammit 85%. However I'm expecting better efficiency this time round. There's a lot of different ways people soak the barley, some a number of days, some even do 2hrs in water, then 2hrs out, over a 24hr period. Personally I don't see any benefit of doing this, and if anything I think they start chitting quicker by simply soaking them in water for around 24hrs. This is obviously less time consuming. So to clarify, on day one I soak raw barley in water for about 24hrs, the only other thing to mention is that I take the floating gubbins off the top with a sieve.
After it's soaked for about 24hrs I drain it threw a sieve taking anything that isn't barley out, i.e. other seeds peas, bits of chaf etc. I then stuck it in a strong placky bag, the sort the super markets advertise for reusing. and put it in the airing cupboard.
After another 24hrs or so it will start chitting (growing roots/sprouting). from this point on I try and give it a mix as much as possible, if pos upwards of twice a day. As the process continues the roots get longer and the barley needs couching (mixing) more often, but really its just important to make sure its not too wet and doesn't start to get moldy.
By Saturday the acrospire was upwards of 50% the length of the grain. What your looking for is 75%. This batched seemed a little more random than the last batch, but I was planning on brewing on Sunday so decided to start malting on Saturday morning. On average I would have put it at a little under 65%, really it could have done with another day or so.
On to the difficult bit, well difficult for me anyway. The malting of the Barley. At the moment we only have an Aga, its good on one hand because I don't spend any extra cash on electricity/gas etc, but you can't control the blooody thing. So, my solution is a box which I sit on the top, kind of replicating the traditional heated wooden floors. However it takes an age to dry out. I started it on Saturday morning and its still going. Had it ontop of the logburner and trying everything to cure it. From what I can gather its very easy in a conventional cooker, the main thing is to keep it under 60 deg. If you want darker malt you simply do it for longer, but keep it under 60, so my research leads me to believe anyway. I like mine darker than marris otter or similar, so give them a bit longer, and with some to get more of a caramel flavor by popping them in the aga. Thats the best thing about doing your own malt, you can make them bespoke to exactly what you want, for your brew.
So thats basically it. If any of you have any questions I'll do my best. If any of you have suggestions they would be most appreciated. I'll ad some photo's in a mo, and pos carry on the thread to the brew, so the whole process from raw barley to finished brew. Hope its of interest.