


Oldspeckledgit
Active Member
This is how I built my MT. I decided to raise it up on a base to allow the necessary pipework from the bottom drain to run underneath. I thought it might be easier than cutting into the base with an angle grinder which is ok if you are good at that sort of thing. I was afraid I might ruin my nice shiny pot!
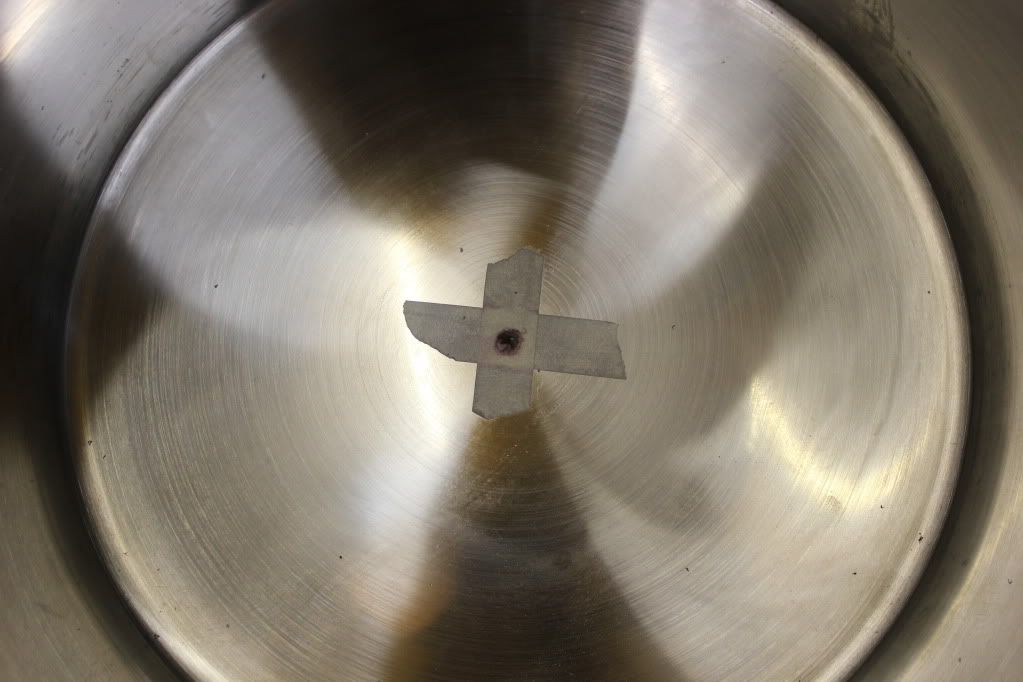
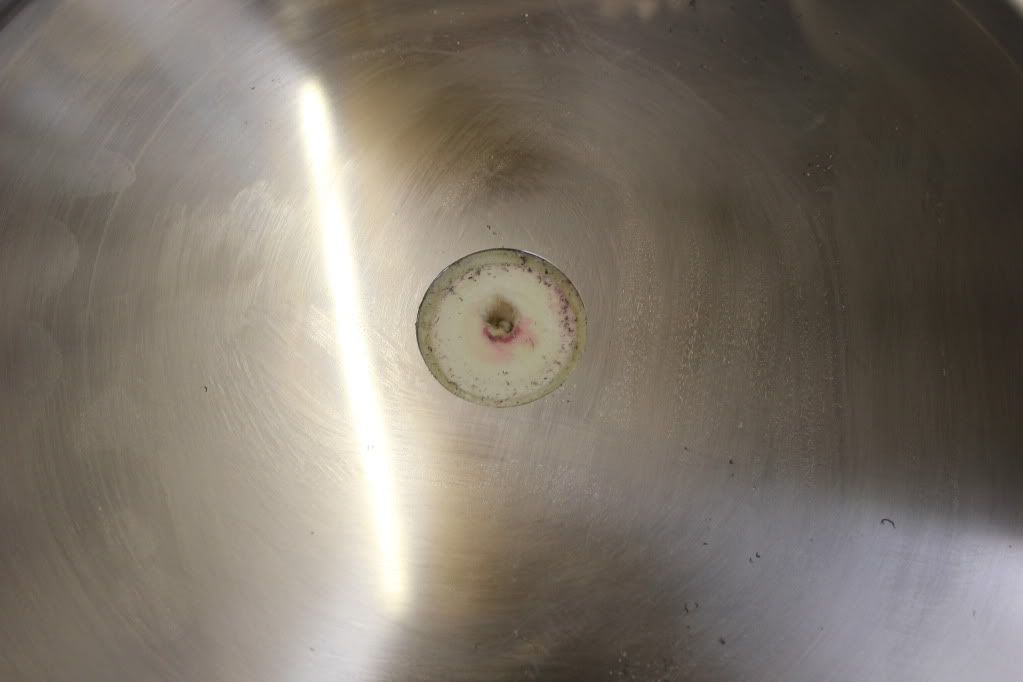
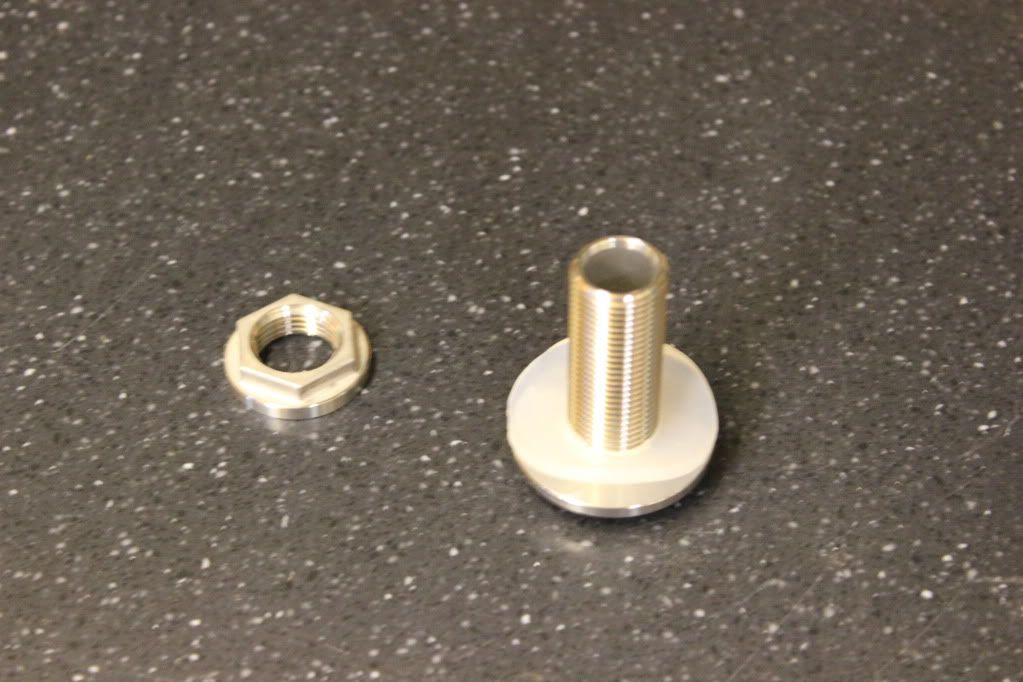
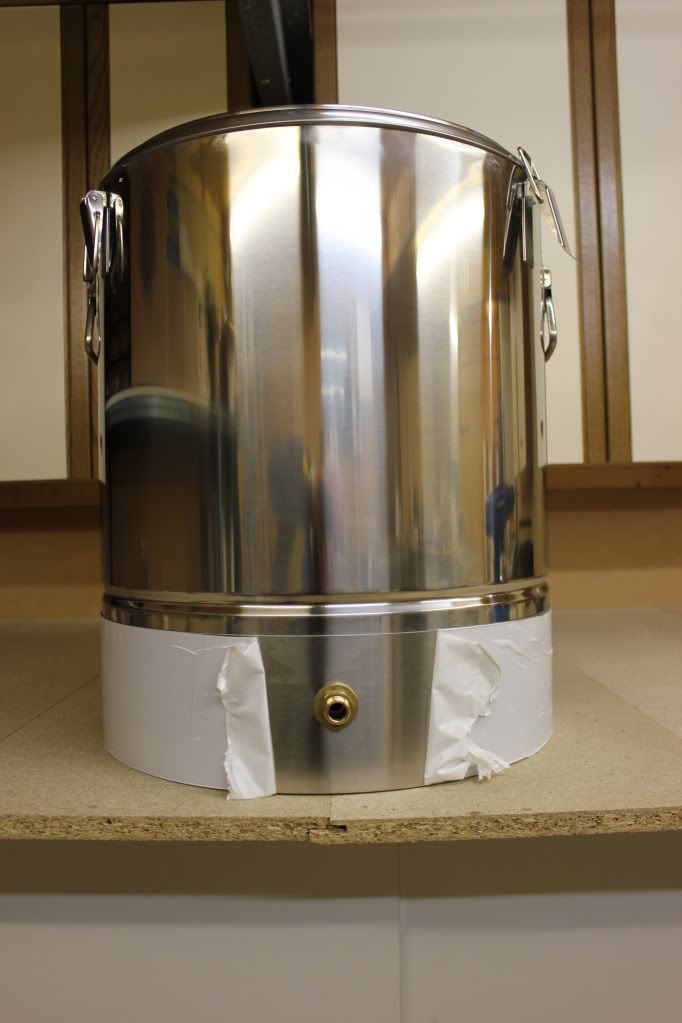
I used a 50ltr thermopot. First I drilled a pilot hole and then a 10mm hole in the centre from the inside right through the outer skin.
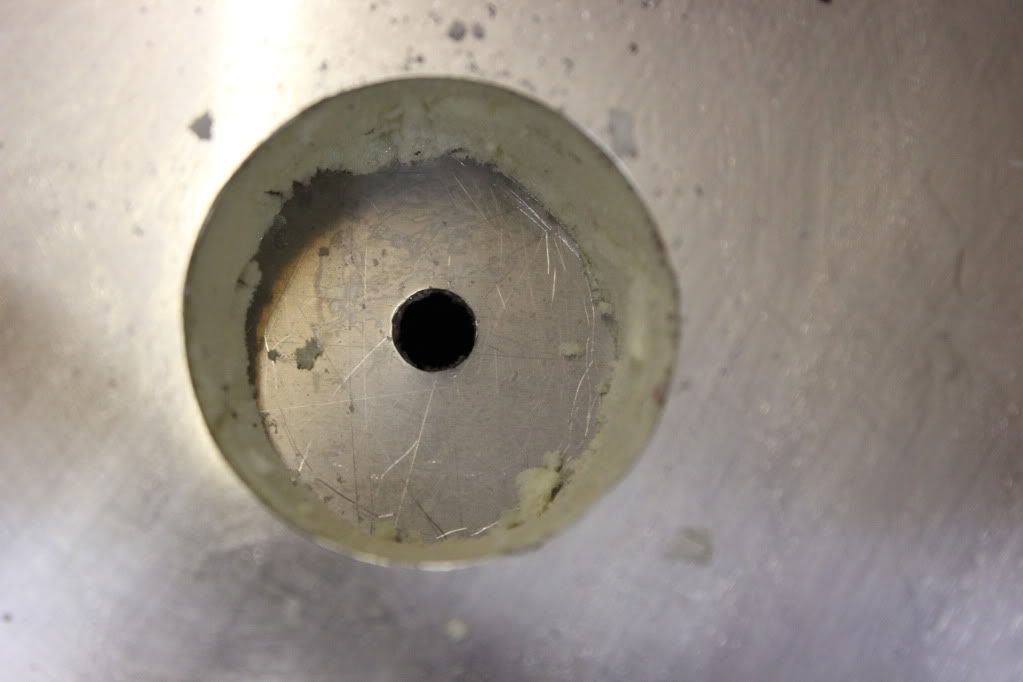
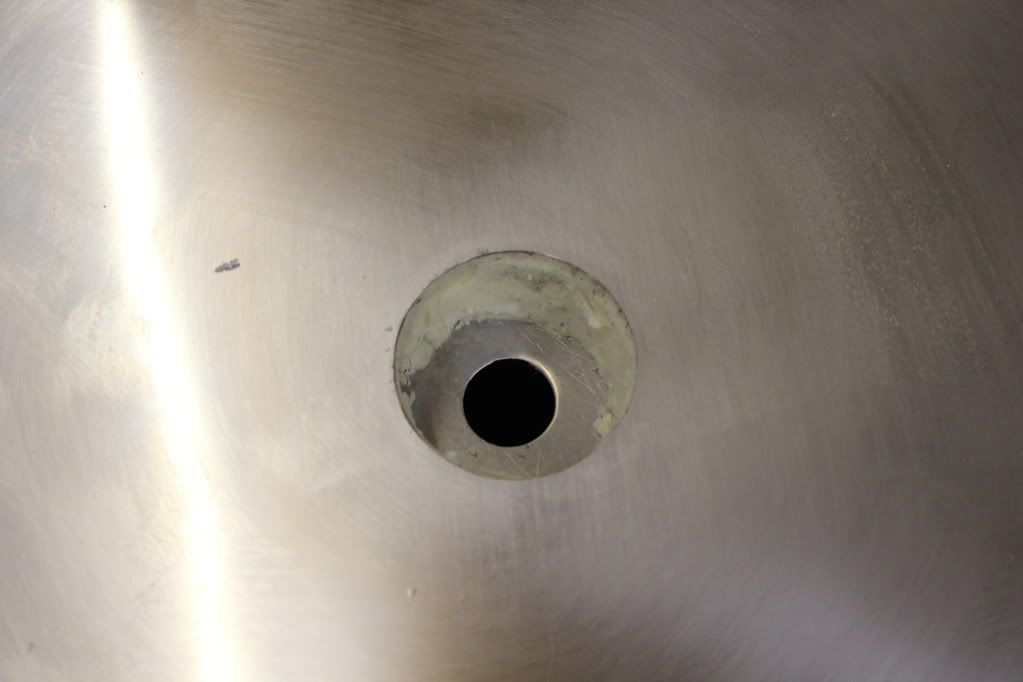
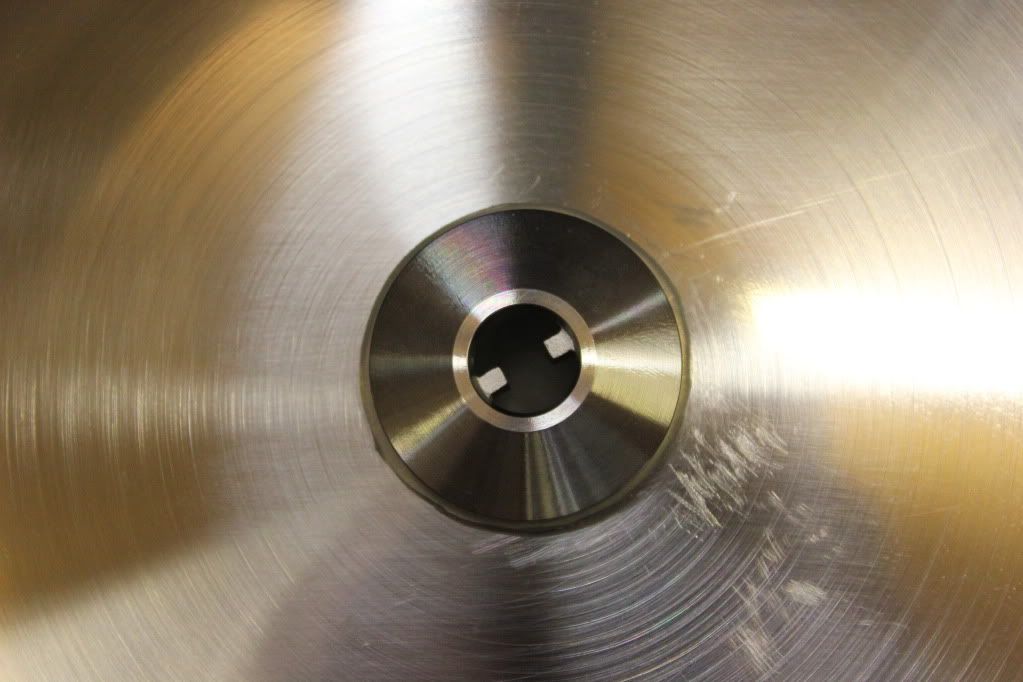
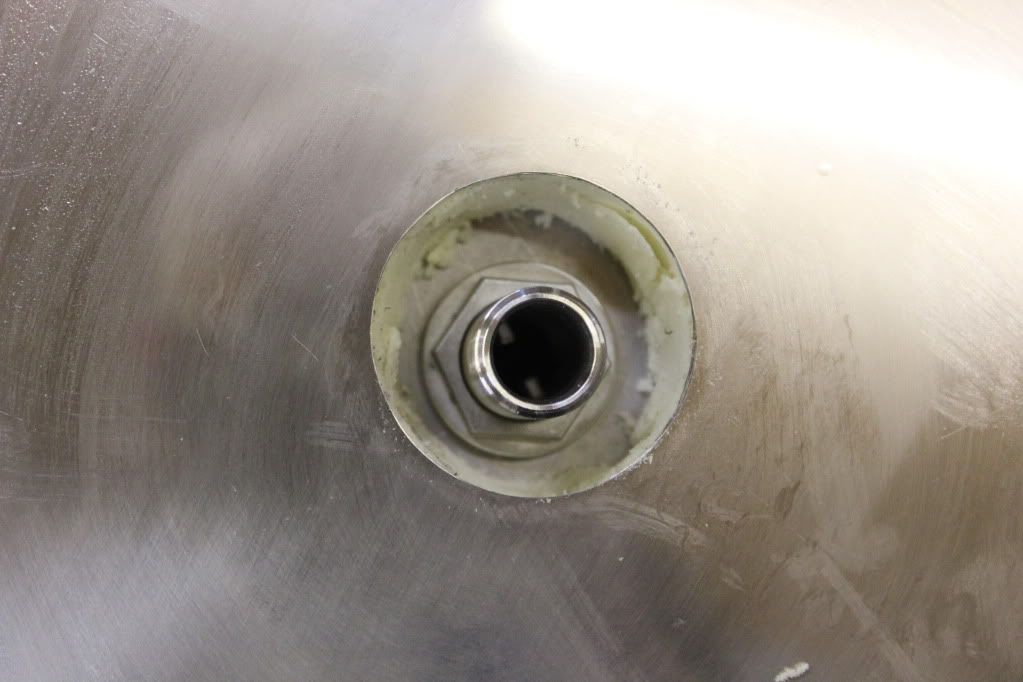
Then a 50mm hole from the outside. This would enable me to use a qmax cutter on the inner skin for the stainless steel skin fitting to for the bottom drain. I cut out the foam insulation from the hole in order to fit the bottom drain and 90 degree elbow, then replaced insulation with a piece of polystyrene cut to shape.
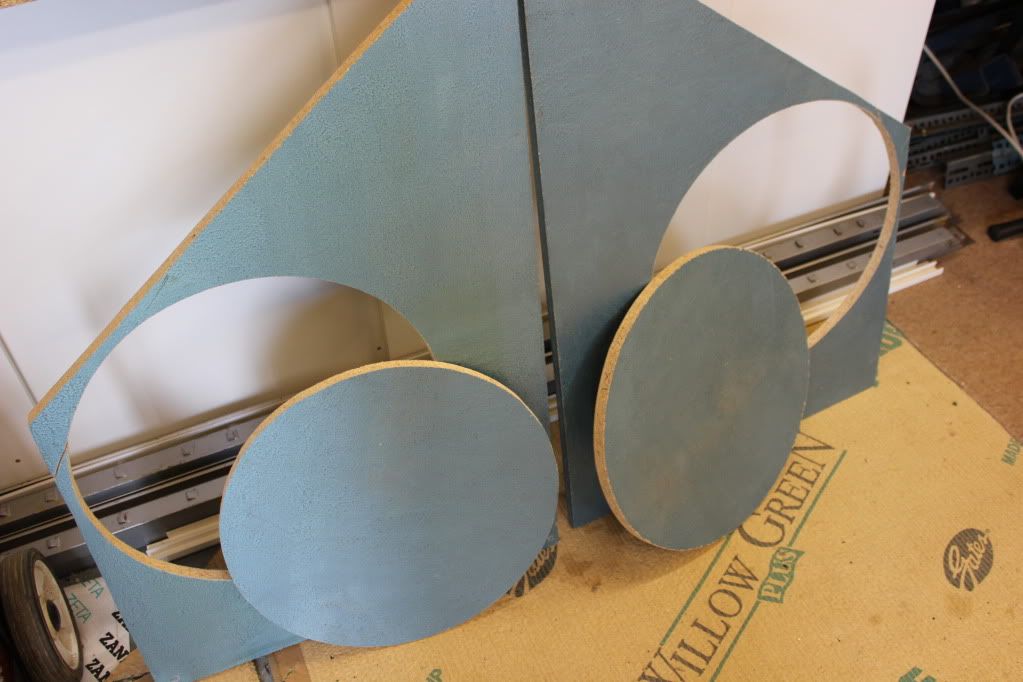
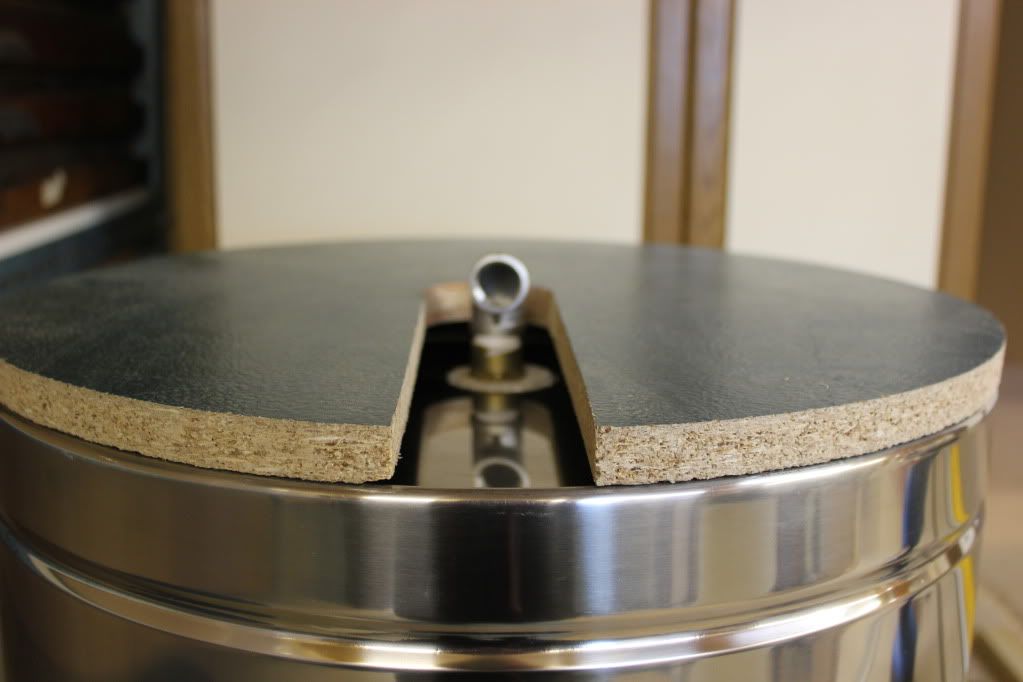
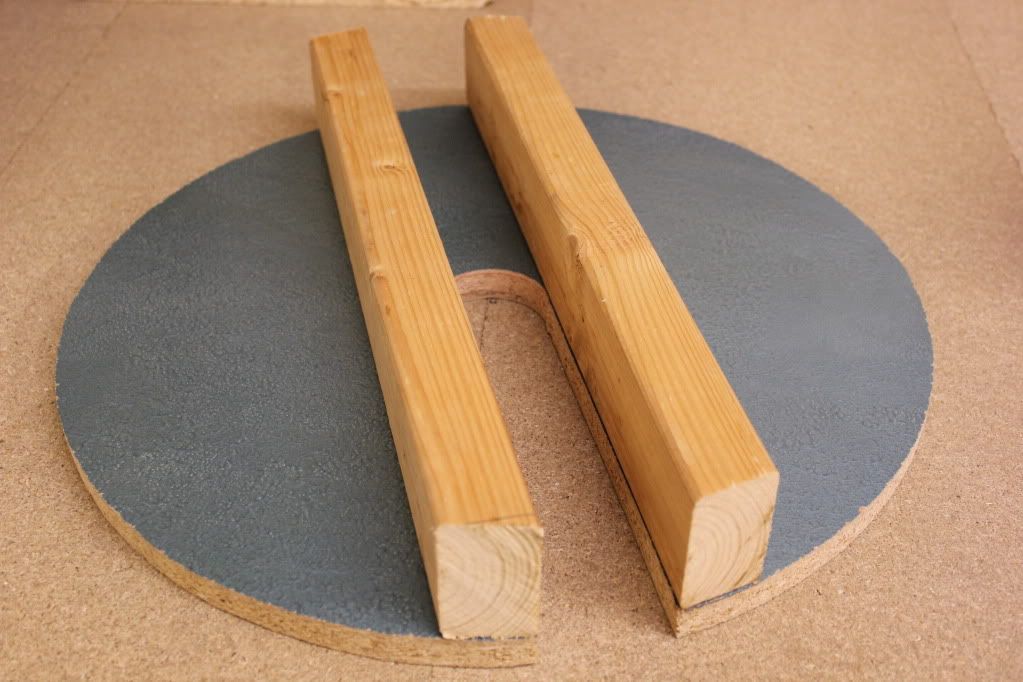
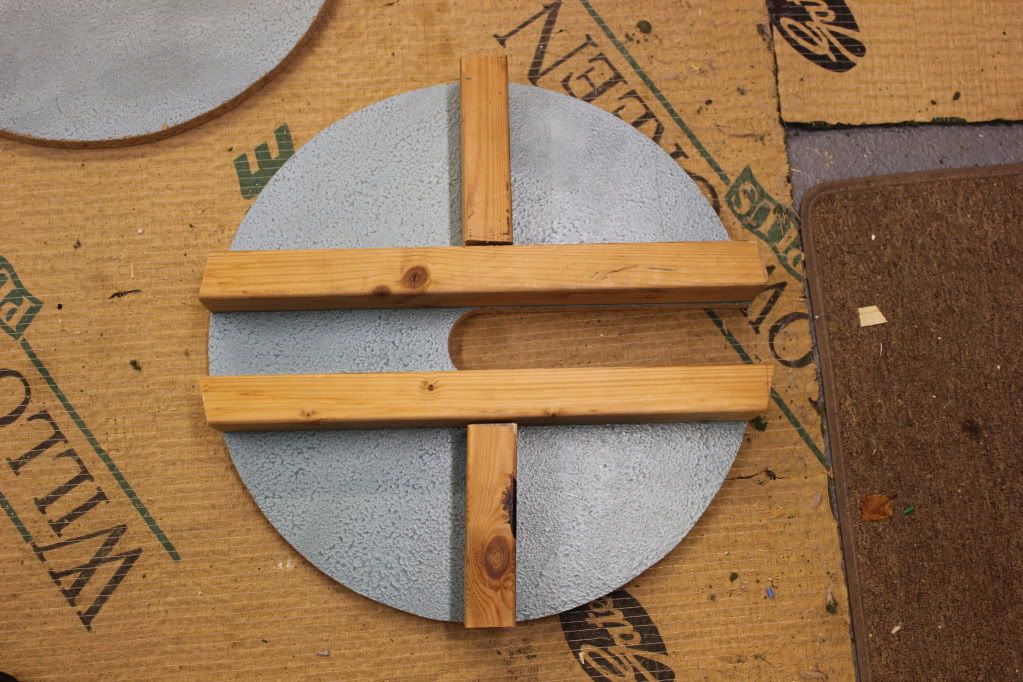
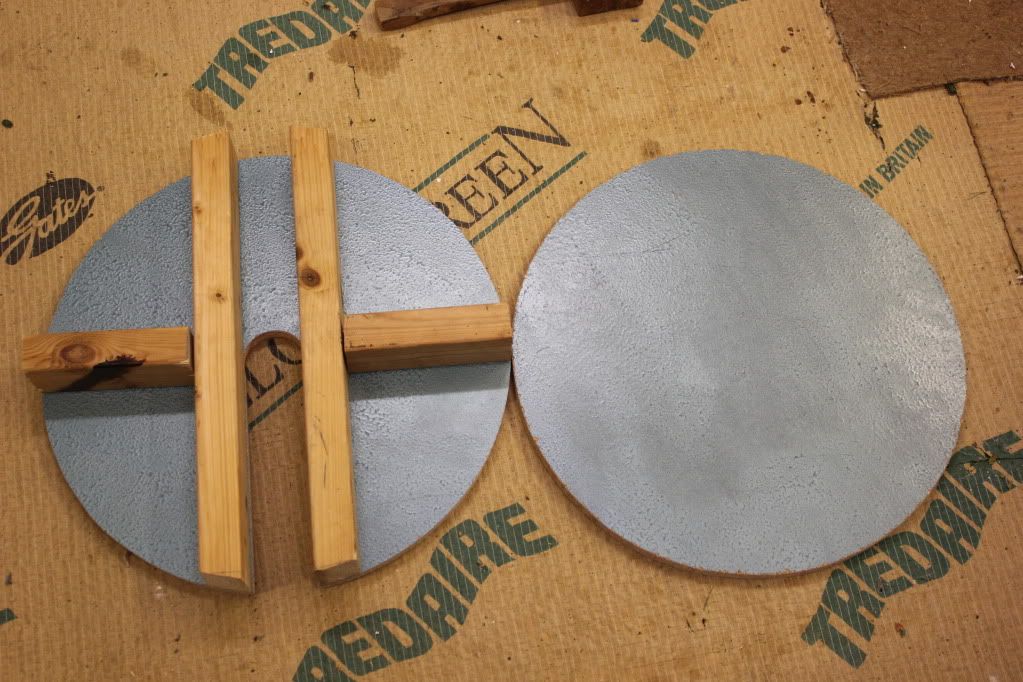
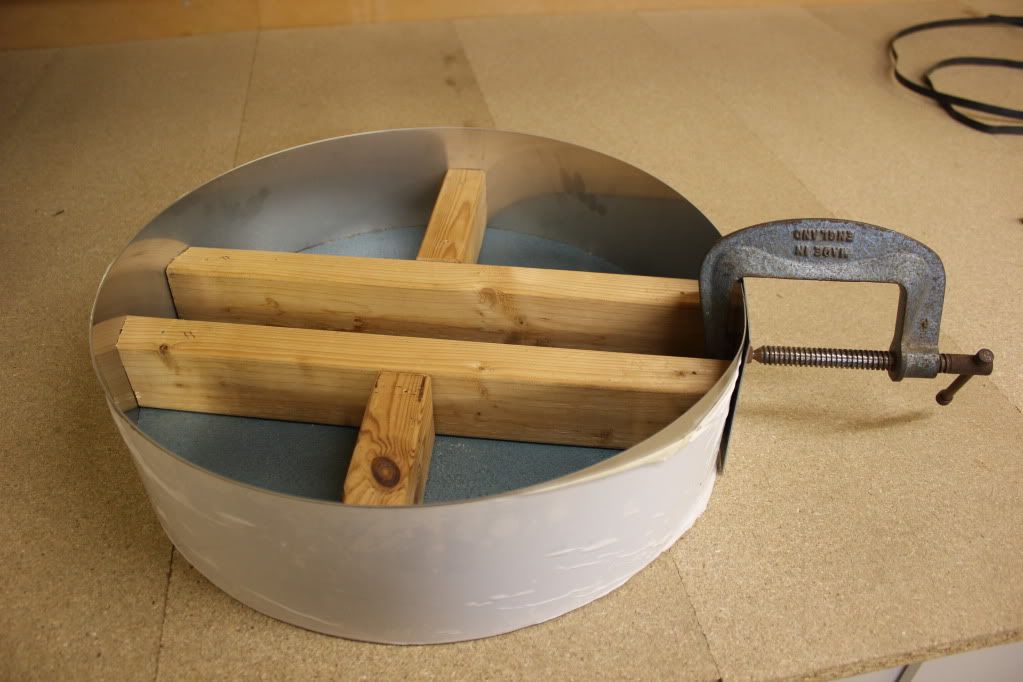
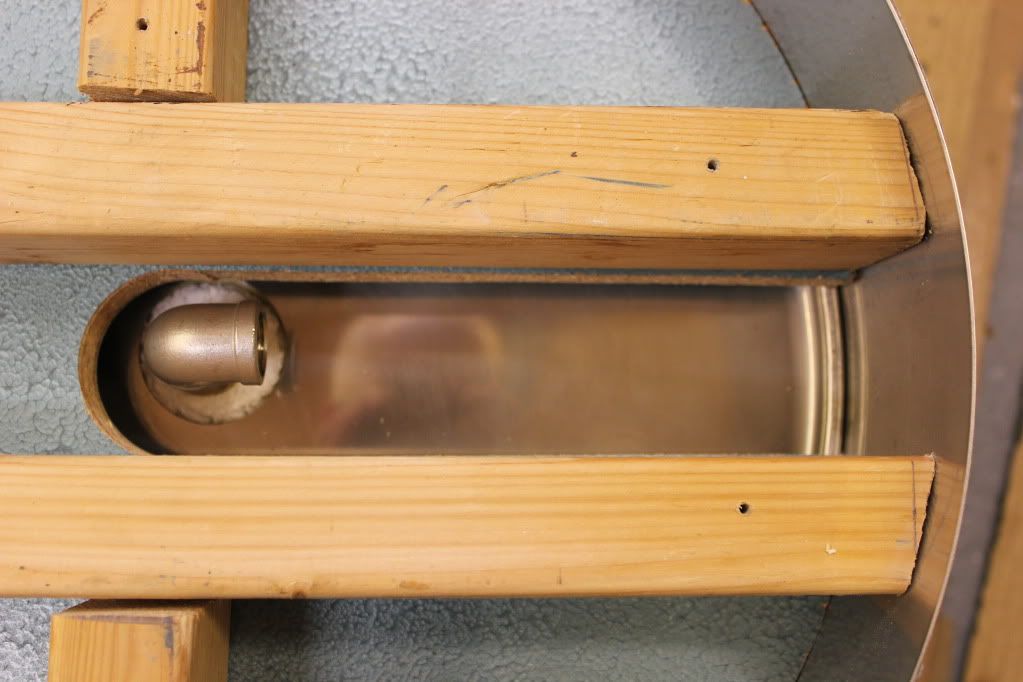
Then I cut two wooden circles exactly the same size as the pot. The idea was to screw some strips of wood between these two circles so that the base was about 100mm deep. I could then accommodate the pipework in the space in between.
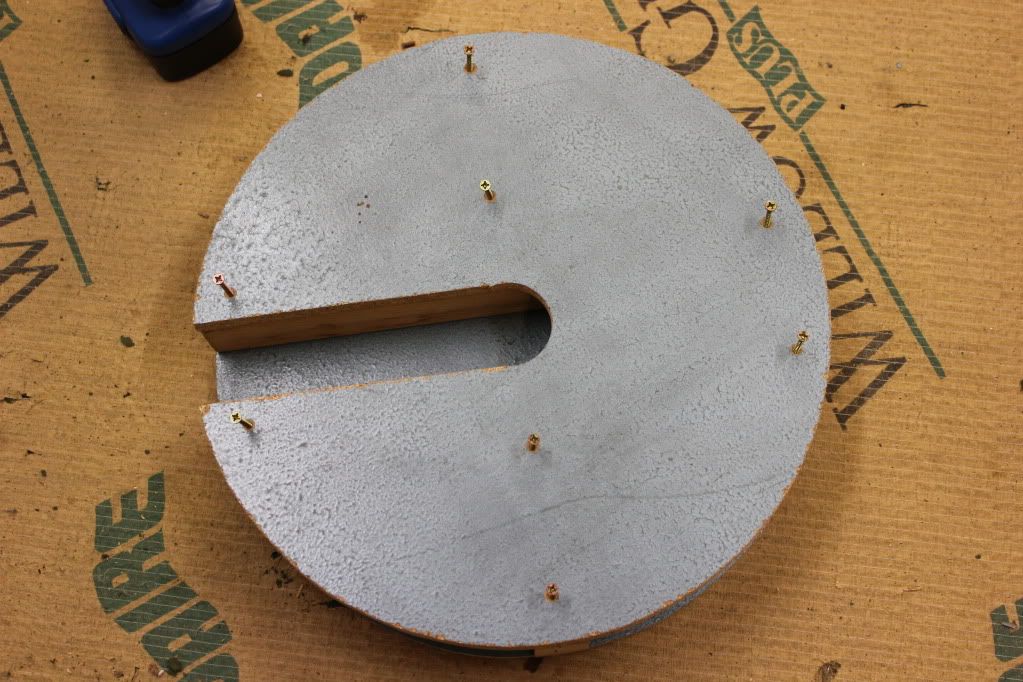
I cut a 60mm hole in one of the wooden circles and cut from this a slot to the outside edge (see pics)
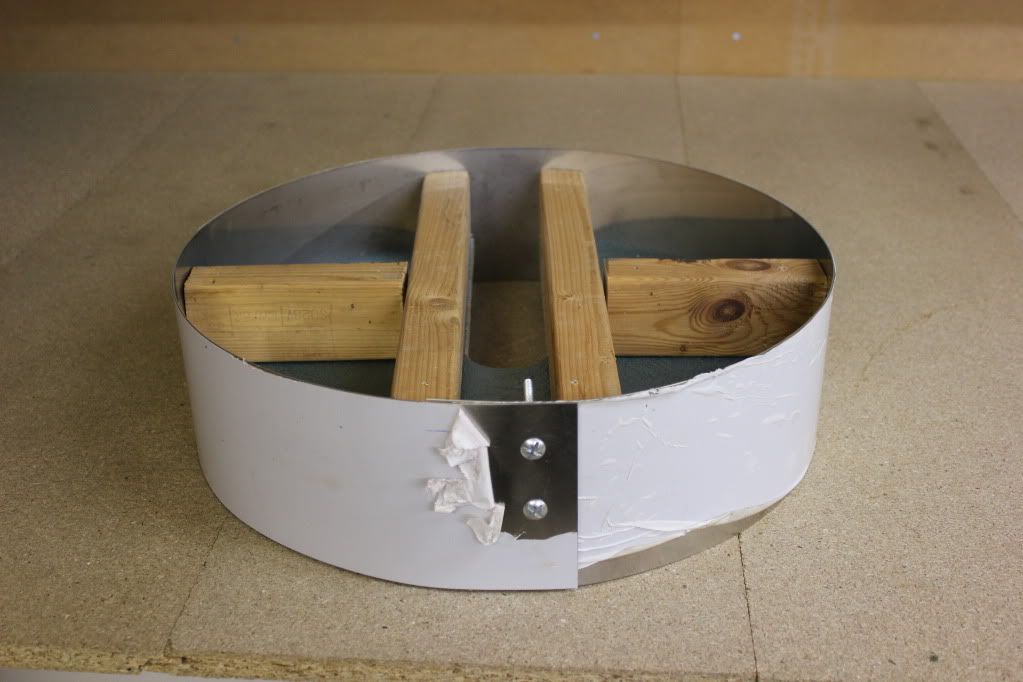
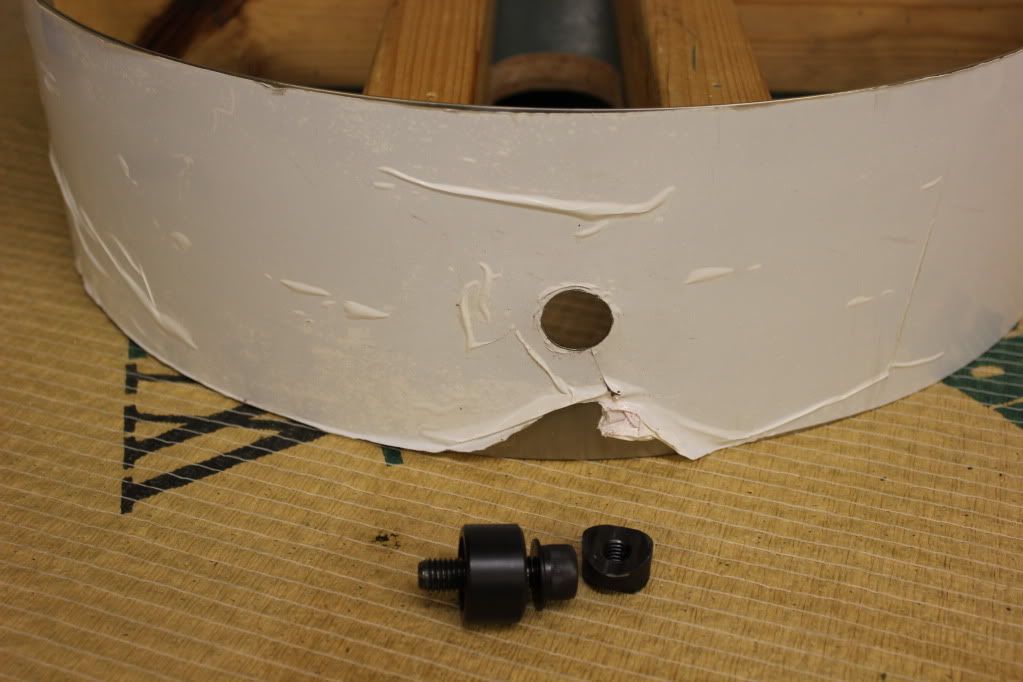
I then fitted a strip of stainless steel 1500mm x 125mm to base by clamping, drilling and bolting together.
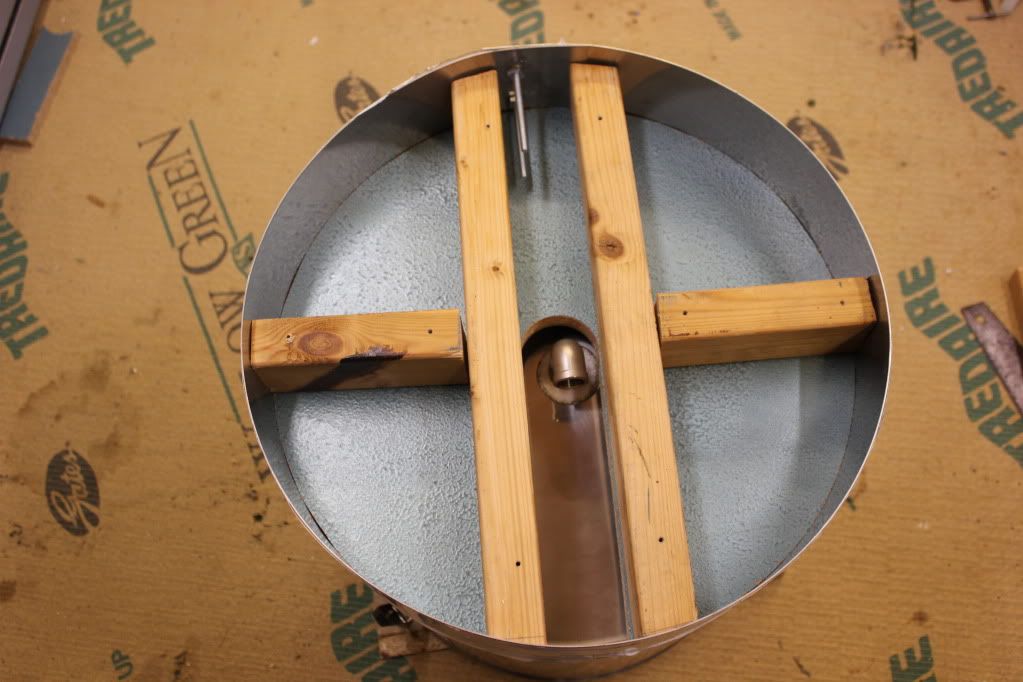
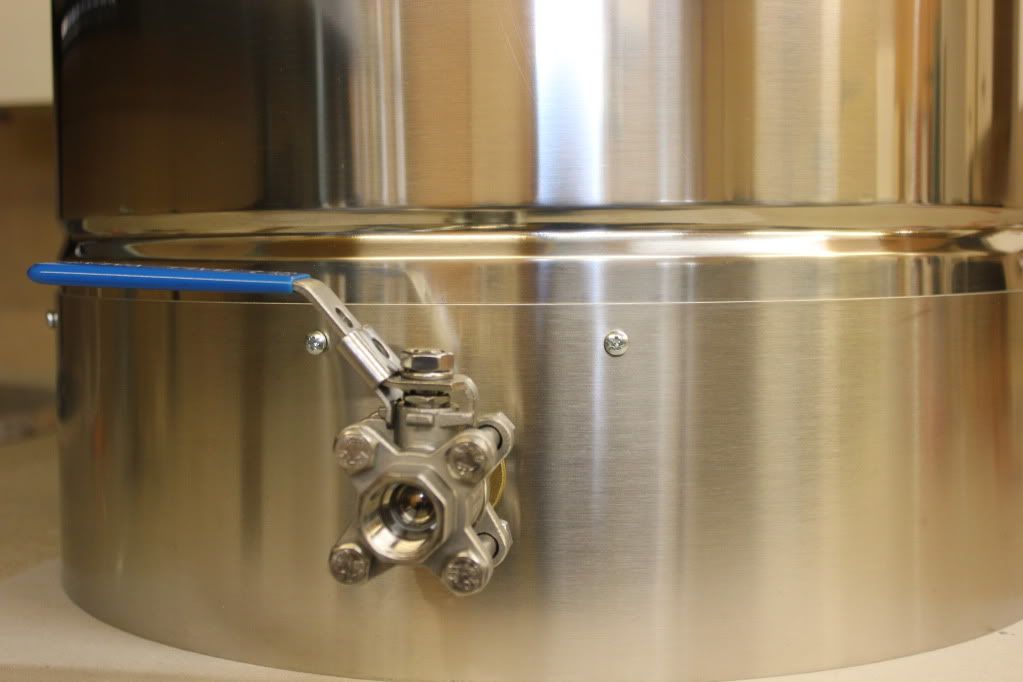
Cut a hole with the qmax for the ball valve, and fitted the pipework.
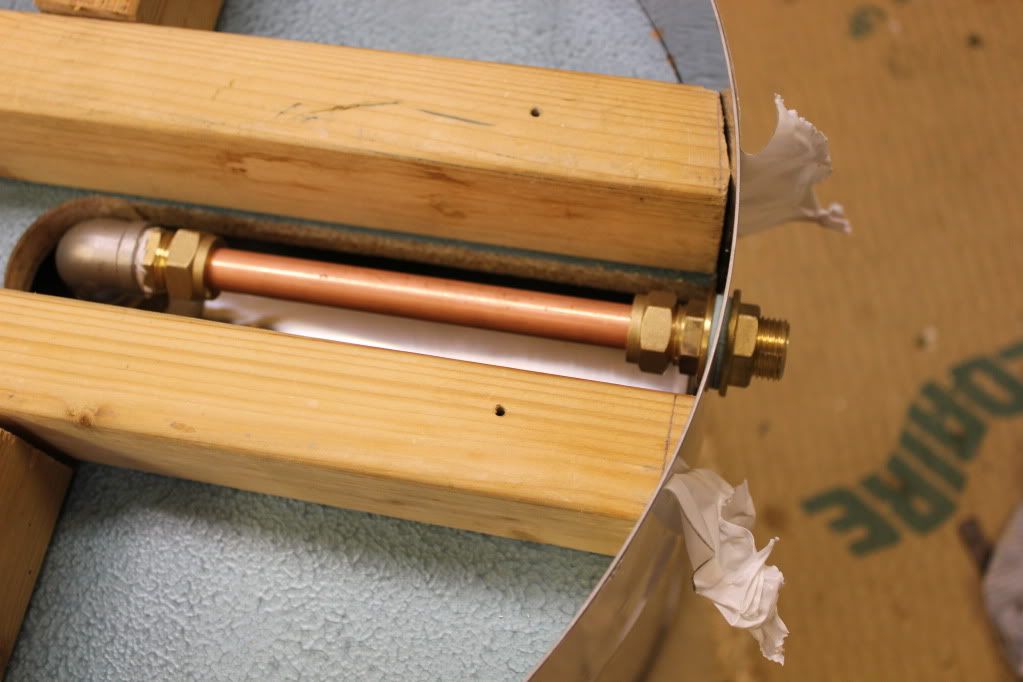
Fitted ball valve, then screwed bottom circle in place ( having cut a 60mm hole to make it easy to remove in future if I need to).
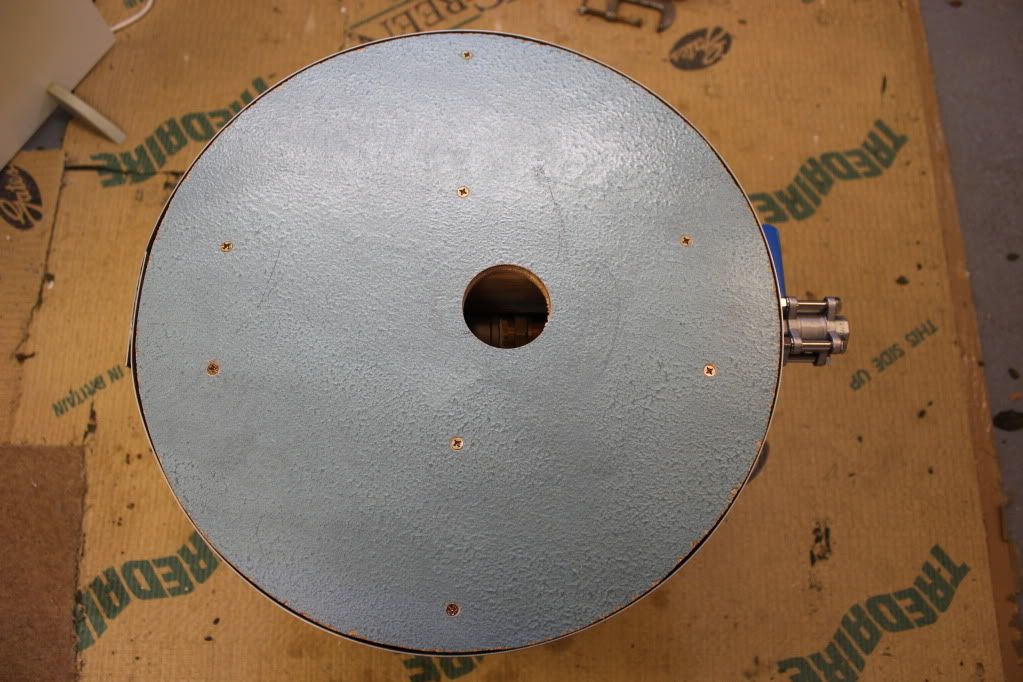
As the wooden part of the base is 100mm deep and the s/s strip is 125mm, it left 25mm of steel for the pot to slip into.
I then put a few self tapping screws through s/s strip and bottom lip of pot to hold it all together.


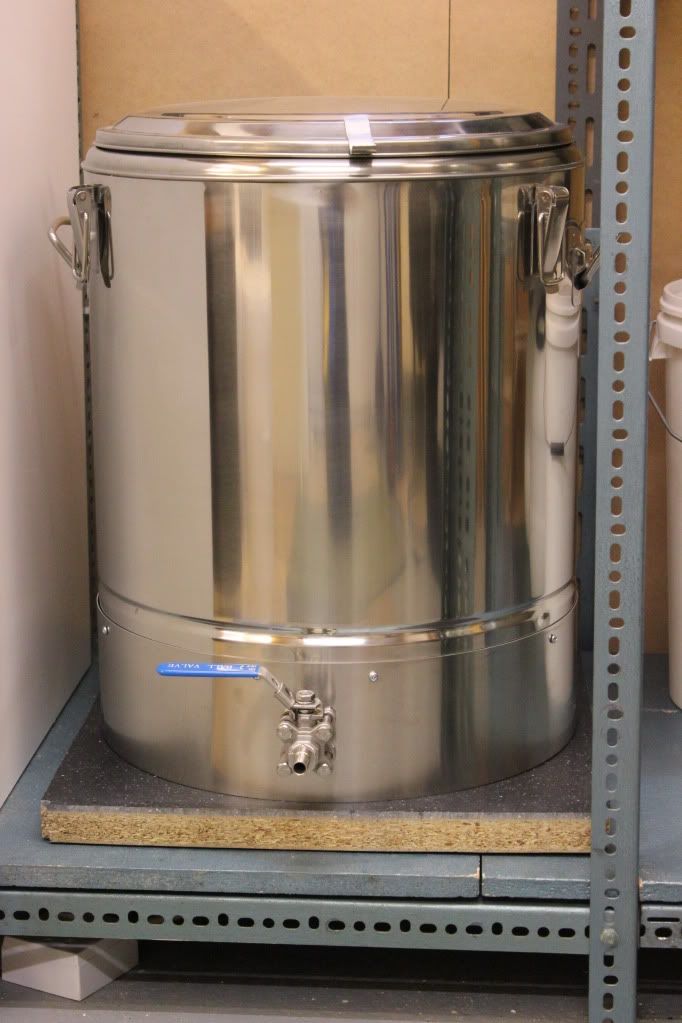
Thats about it - I'm really pleased with the result, and relieved that I've now finished my build (for now!) and I can get on with the good bit of this hobby!!
I used a 50ltr thermopot. First I drilled a pilot hole and then a 10mm hole in the centre from the inside right through the outer skin.
Then a 50mm hole from the outside. This would enable me to use a qmax cutter on the inner skin for the stainless steel skin fitting to for the bottom drain. I cut out the foam insulation from the hole in order to fit the bottom drain and 90 degree elbow, then replaced insulation with a piece of polystyrene cut to shape.
Then I cut two wooden circles exactly the same size as the pot. The idea was to screw some strips of wood between these two circles so that the base was about 100mm deep. I could then accommodate the pipework in the space in between.
I cut a 60mm hole in one of the wooden circles and cut from this a slot to the outside edge (see pics)
I then fitted a strip of stainless steel 1500mm x 125mm to base by clamping, drilling and bolting together.
Cut a hole with the qmax for the ball valve, and fitted the pipework.
Fitted ball valve, then screwed bottom circle in place ( having cut a 60mm hole to make it easy to remove in future if I need to).
As the wooden part of the base is 100mm deep and the s/s strip is 125mm, it left 25mm of steel for the pot to slip into.
I then put a few self tapping screws through s/s strip and bottom lip of pot to hold it all together.
Thats about it - I'm really pleased with the result, and relieved that I've now finished my build (for now!) and I can get on with the good bit of this hobby!!
 :
: