


regaltabs
Not happy with change
Hi, I have been waiting to knock up my stir plate since I got Yeast by Chris White with Jamil Zainasheff for Christmas. I am planing to get a few different strains going to build up a bank and extend my brewing knowledge.
Sorry if this is a bit picture heavy but I am sure it will help.
First the kit list and where I got it. All prices include P&P
HORNBY R912 POWER UNIT 220 - 240V OUTPUT14.2V. eBay £5.20
Pack of 5 Neodymium disc magnets 20mm diameter x 3mm eBay £4.20
Computer CPU PC Cooling Fan 120*120*25mm eBay £1.65
Large Project Box Enclosure Type Z1-P 197 x 188 x 70 mm eBay £7.35
6 x SELF ADHESIVE METAL FLAT STRIPS eBay £2.69
Magnetic stirring bar eBay £4.40
Genuine Ford Rubber Anti-Slip Mat For Your Dashboard Size Approx 22cm X 18cm eBay £1.50
500ml Conical flask eBay £6.99
1ltr Conical flask eBay £7.79
2ltr Conical flask eBay £15.00
Wilkos Bolts M4 x 50mm 3 packs(needed the nuts) £4.47
Total cost including flasks(expensive parts) £61.24 without flasks £31.46
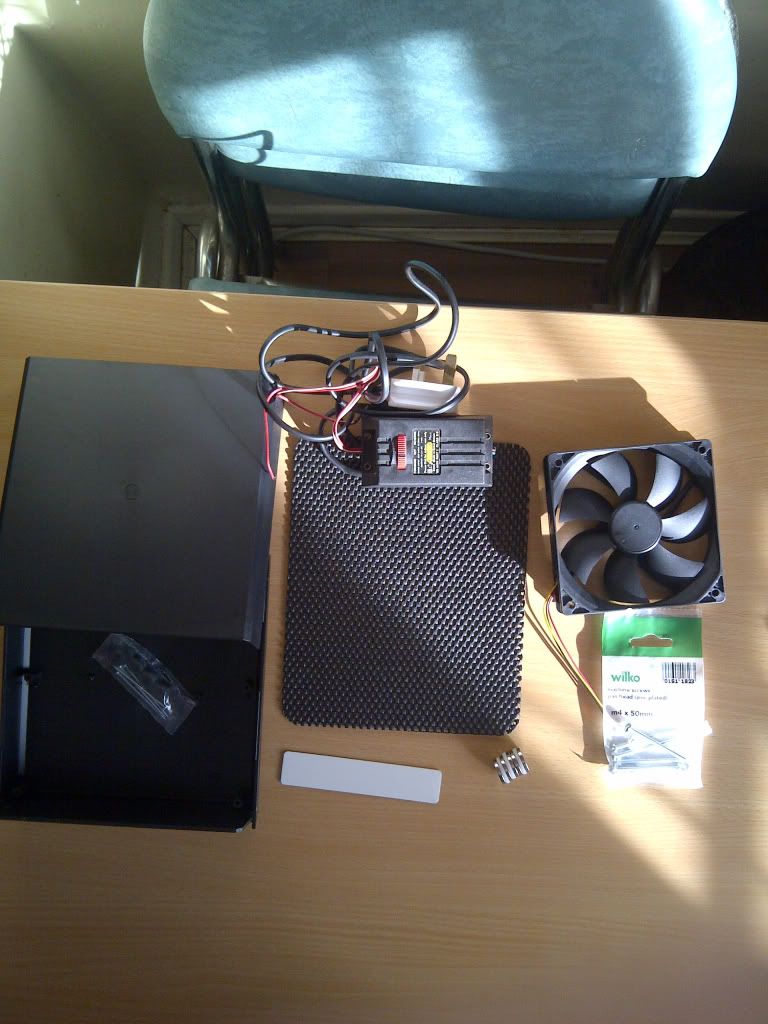
The kit
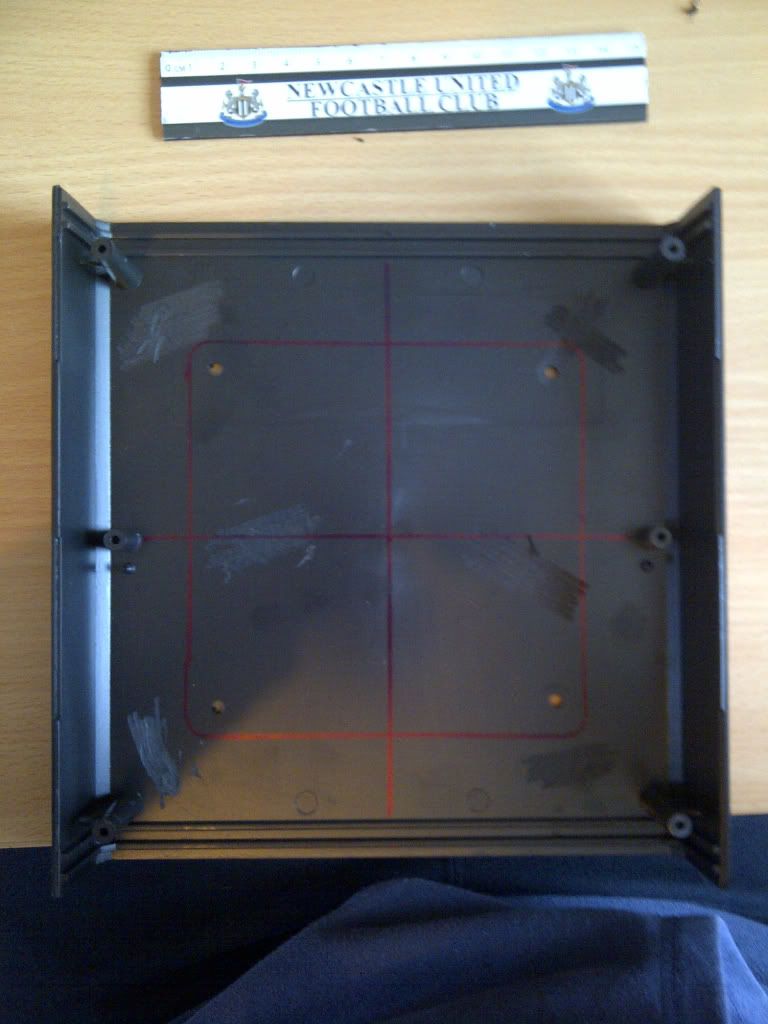
First I ground down the moulding parts on the box and found the centre. I marked this and found the centre of the fan. I lined up the fan and drew around it and marked the holes before drilling them.
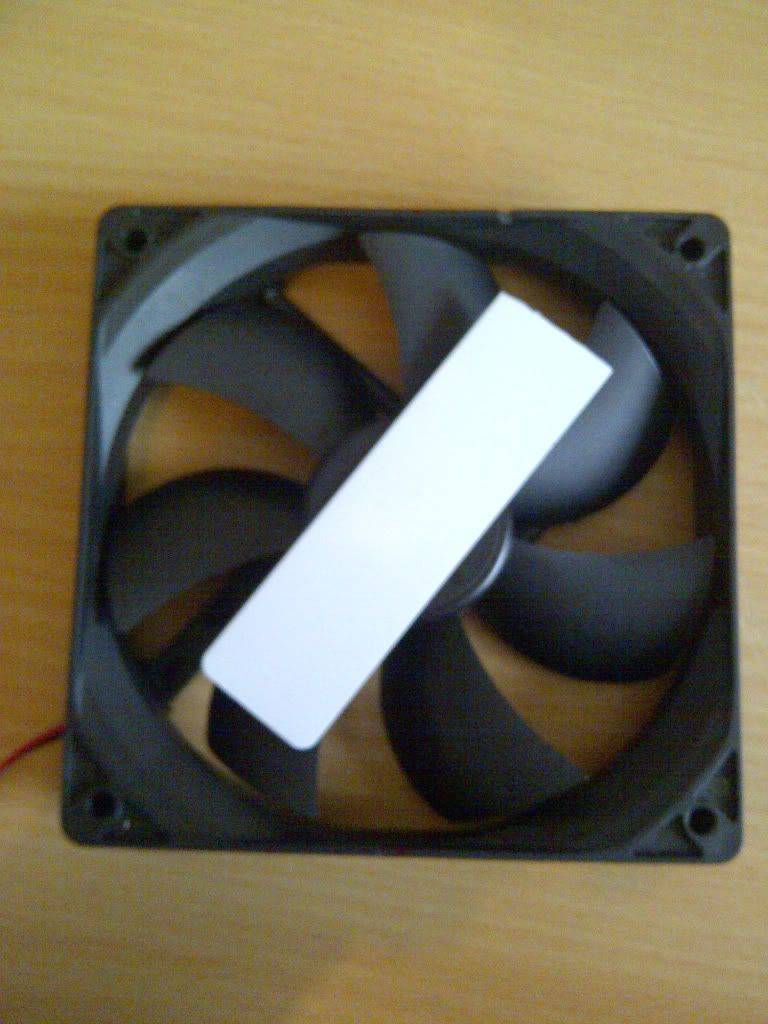
Next the fan. I cut 3cm off one of the metal strips then peeled the back off and stuck it to the centre of the fan.
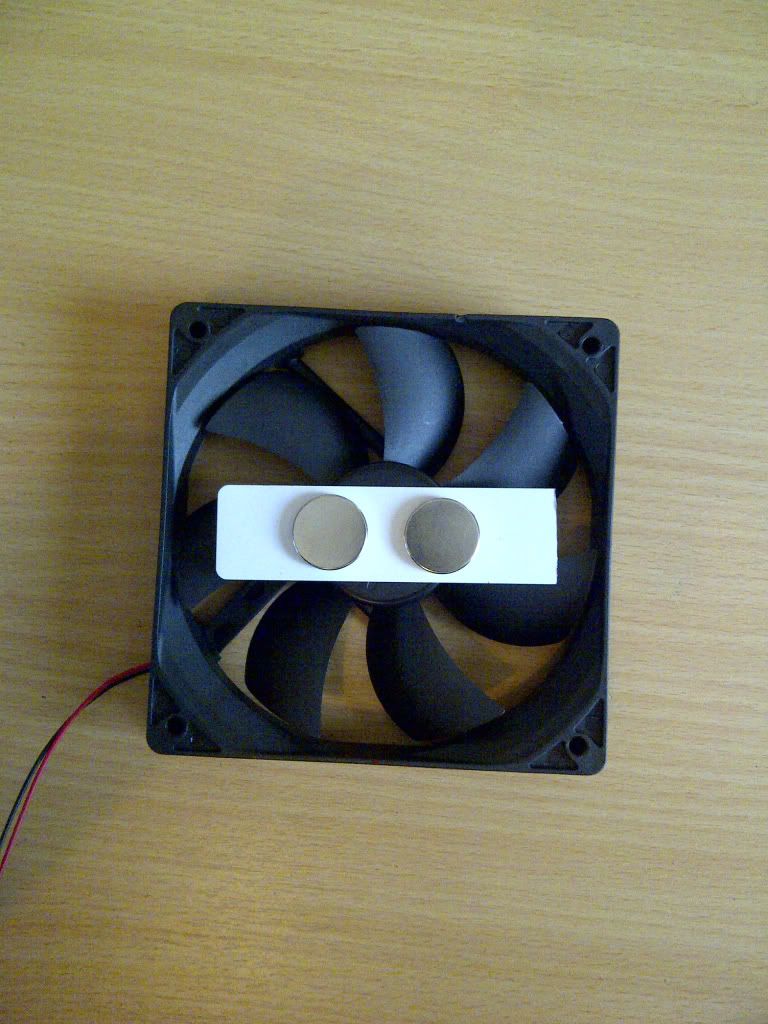
Then added the magnets.
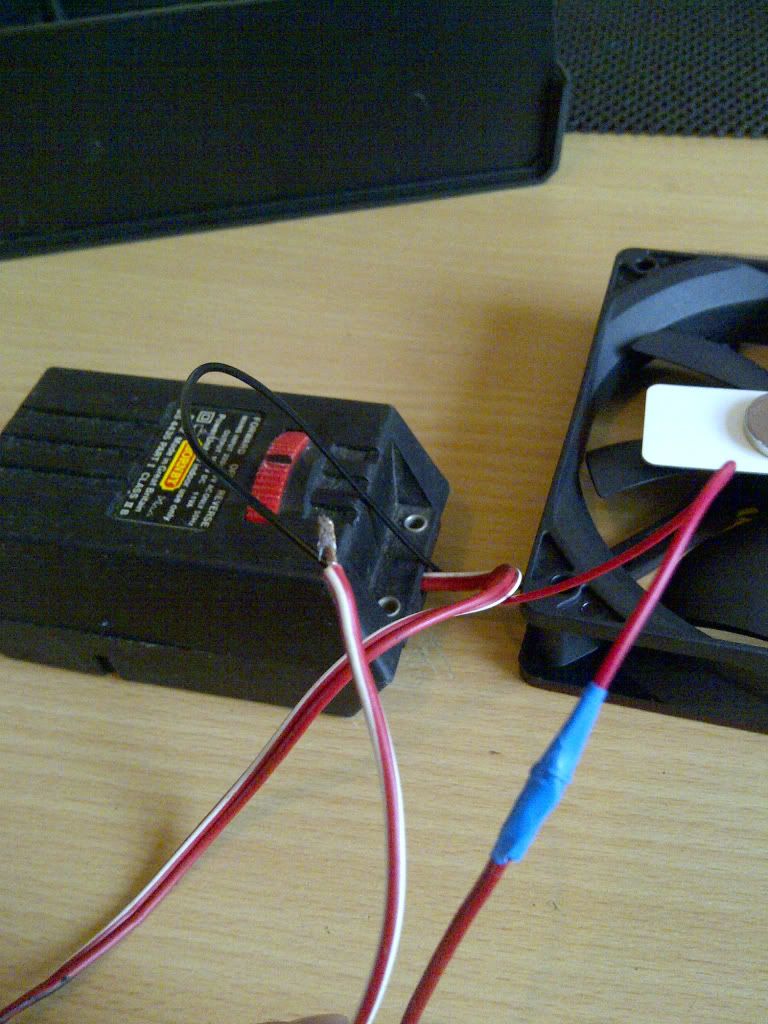
I wired the fan to the train controller (I removed the yellow wire and wired the red to the red and the black to the red and white wire) Once done I tested the motor and played about with the magnet position (it will not spin if the magnets are too close together).
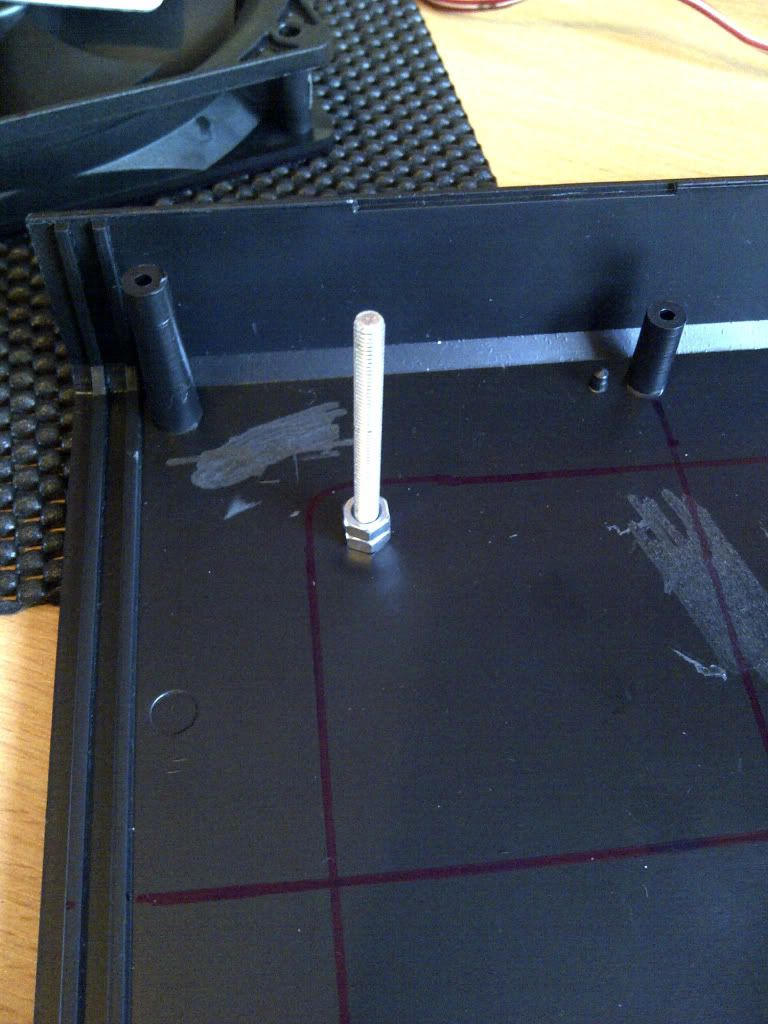
I put the bolts on and used the extra nuts to give the fan and magnets space to spin.
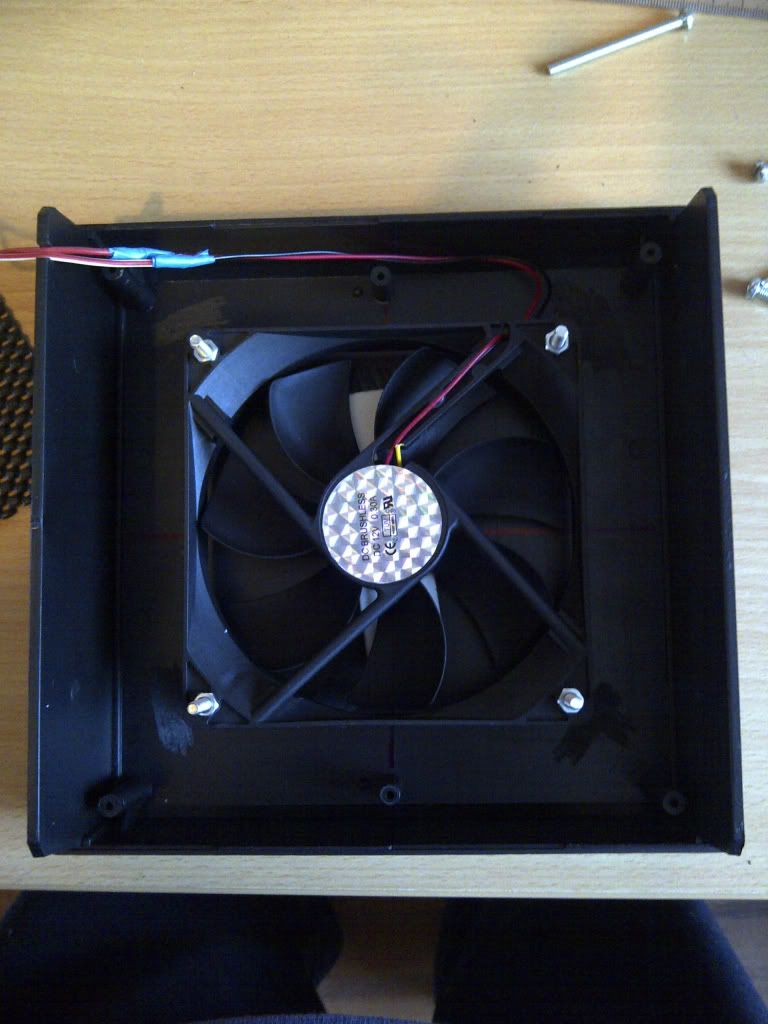
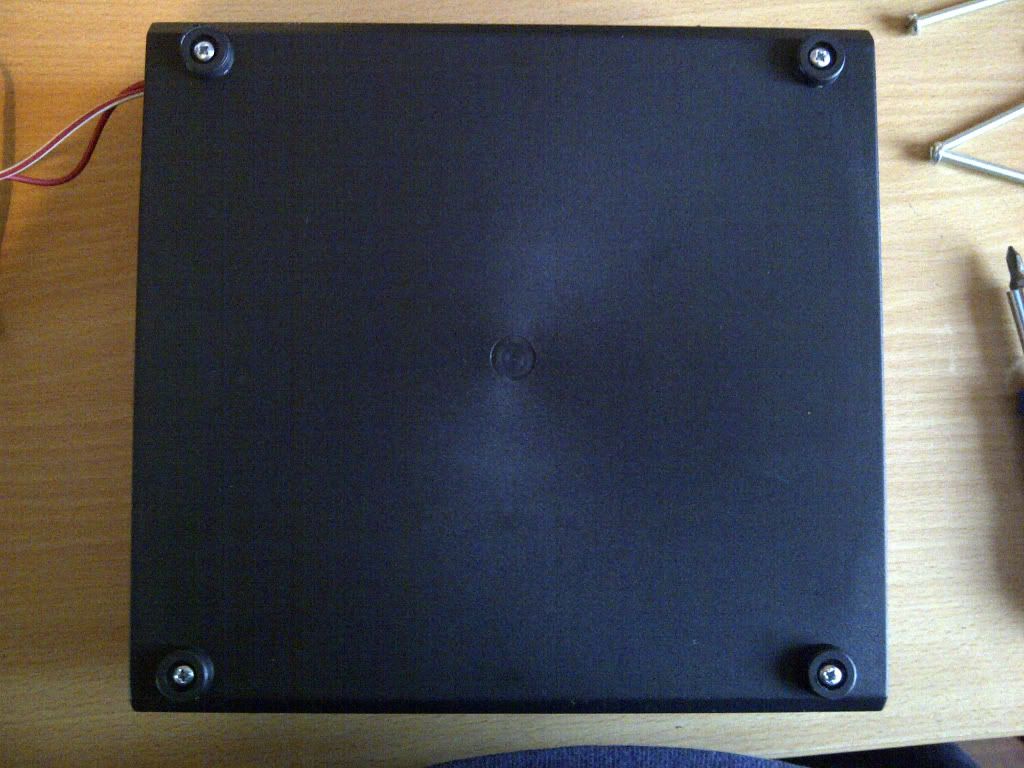
Once all 4 bolts where added I put the fan in and added the last nut to secure it in position.
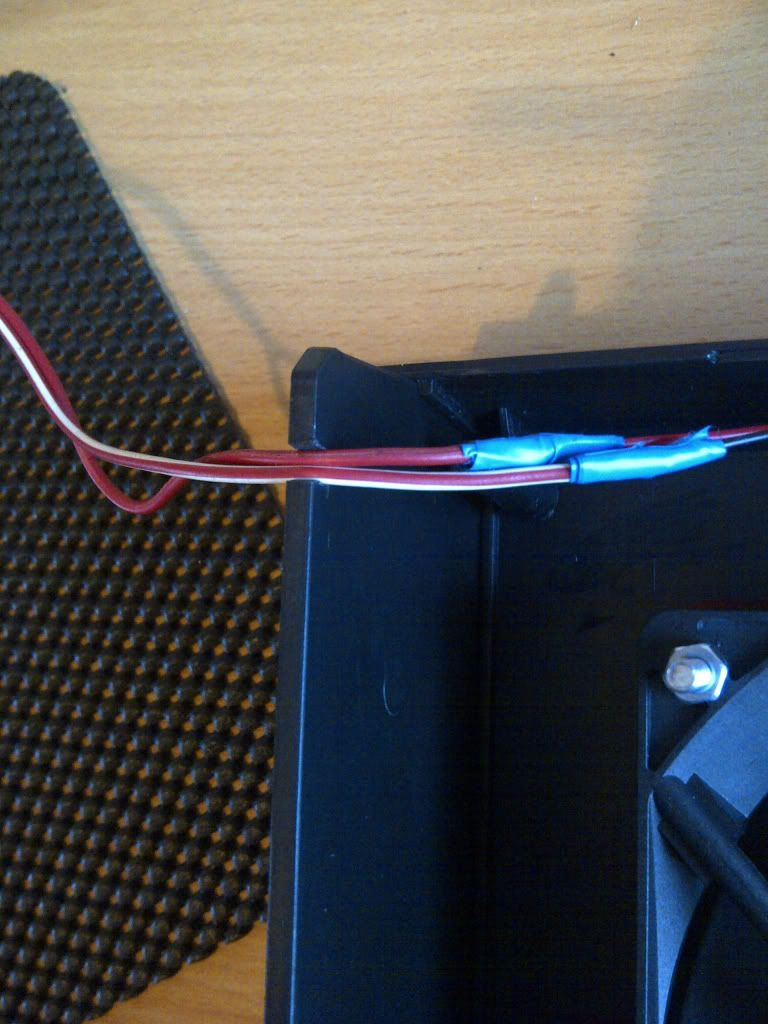
I cut a grove out of one of the side panels to pass the wire through.
I then put the base on and the feet and screwed it down.
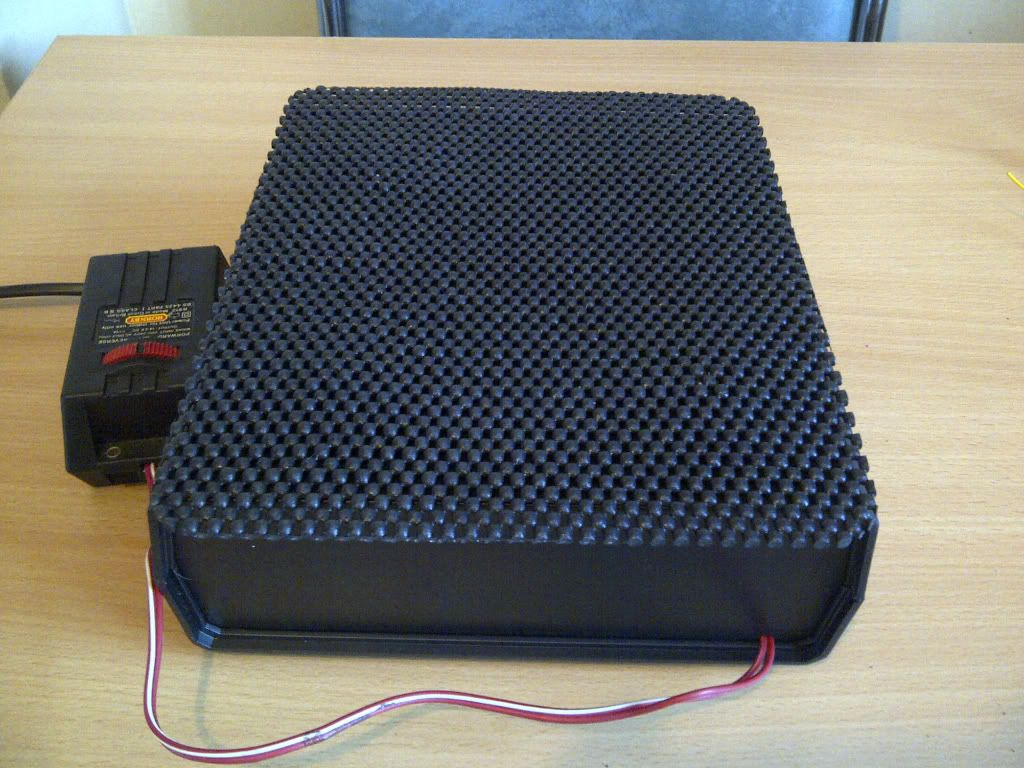
Placed the rubber slip mat on the top and I was done
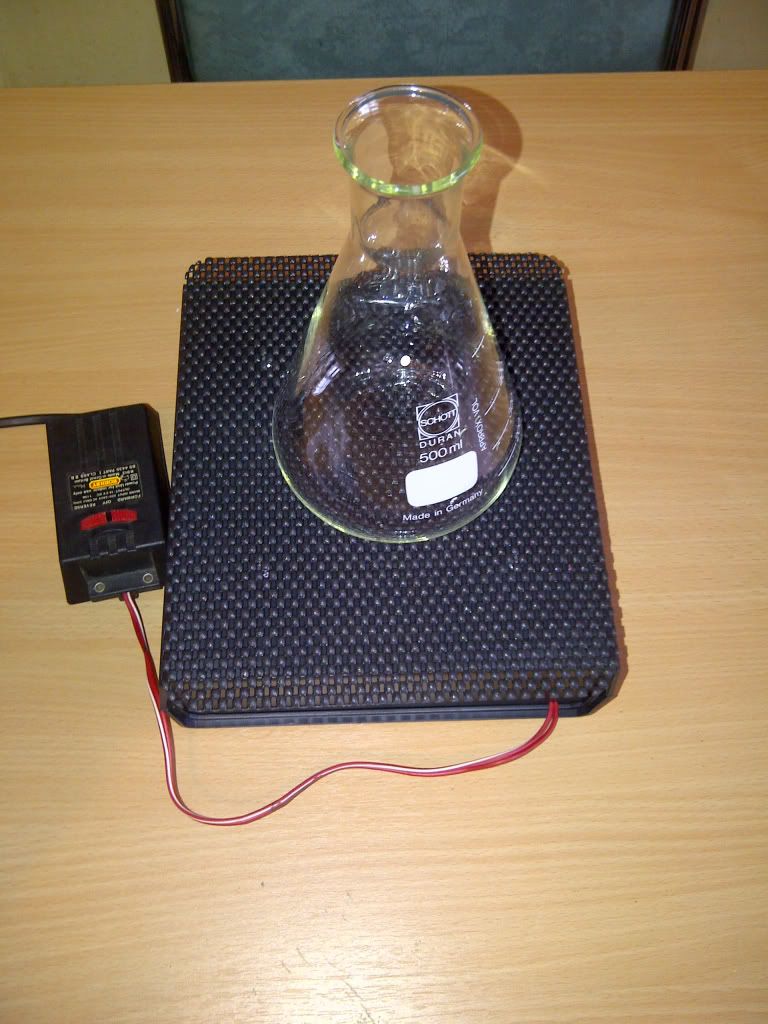
500ml conical flask in place.
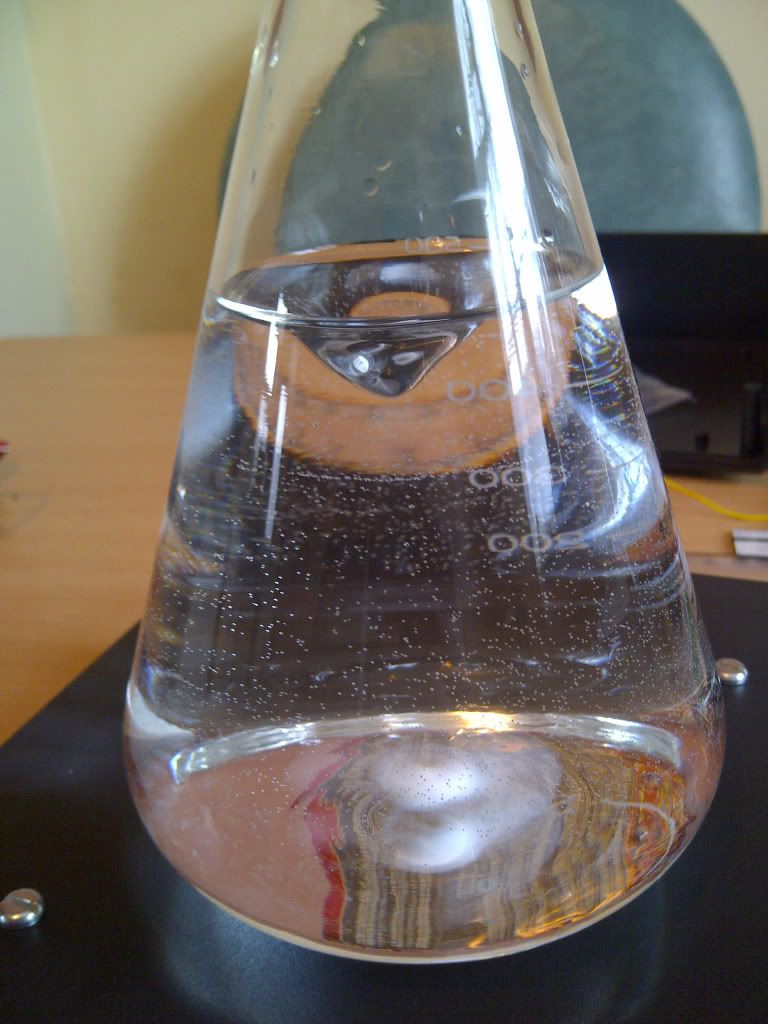
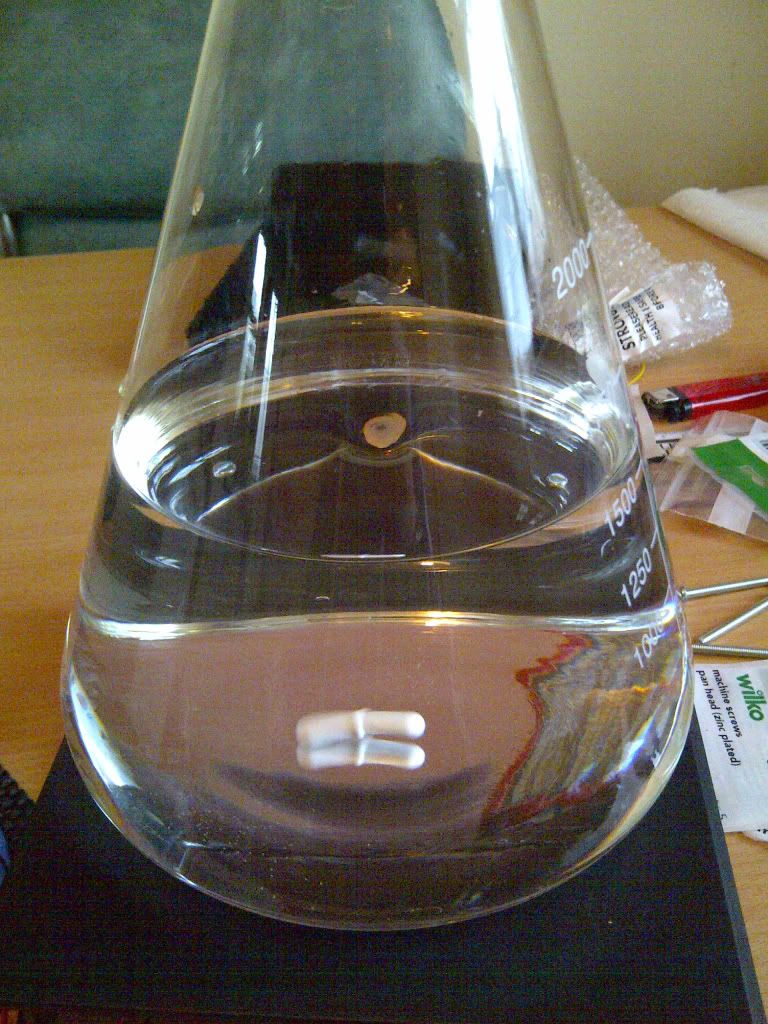
Test shots of 500ml flask and 2ltr flask
I hope this helps someone to build there own stir plate :thumb:
Sorry if this is a bit picture heavy but I am sure it will help.
First the kit list and where I got it. All prices include P&P
HORNBY R912 POWER UNIT 220 - 240V OUTPUT14.2V. eBay £5.20
Pack of 5 Neodymium disc magnets 20mm diameter x 3mm eBay £4.20
Computer CPU PC Cooling Fan 120*120*25mm eBay £1.65
Large Project Box Enclosure Type Z1-P 197 x 188 x 70 mm eBay £7.35
6 x SELF ADHESIVE METAL FLAT STRIPS eBay £2.69
Magnetic stirring bar eBay £4.40
Genuine Ford Rubber Anti-Slip Mat For Your Dashboard Size Approx 22cm X 18cm eBay £1.50
500ml Conical flask eBay £6.99
1ltr Conical flask eBay £7.79
2ltr Conical flask eBay £15.00
Wilkos Bolts M4 x 50mm 3 packs(needed the nuts) £4.47
Total cost including flasks(expensive parts) £61.24 without flasks £31.46
The kit
First I ground down the moulding parts on the box and found the centre. I marked this and found the centre of the fan. I lined up the fan and drew around it and marked the holes before drilling them.
Next the fan. I cut 3cm off one of the metal strips then peeled the back off and stuck it to the centre of the fan.
Then added the magnets.
I wired the fan to the train controller (I removed the yellow wire and wired the red to the red and the black to the red and white wire) Once done I tested the motor and played about with the magnet position (it will not spin if the magnets are too close together).
I put the bolts on and used the extra nuts to give the fan and magnets space to spin.
Once all 4 bolts where added I put the fan in and added the last nut to secure it in position.
I cut a grove out of one of the side panels to pass the wire through.
I then put the base on and the feet and screwed it down.
Placed the rubber slip mat on the top and I was done
500ml conical flask in place.
Test shots of 500ml flask and 2ltr flask
I hope this helps someone to build there own stir plate :thumb:


