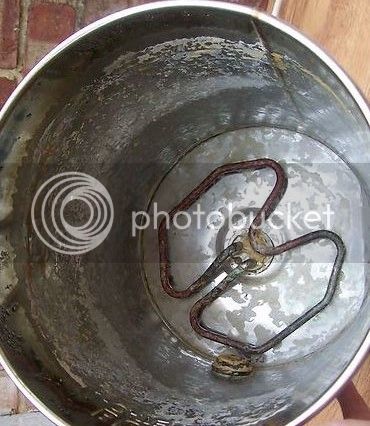
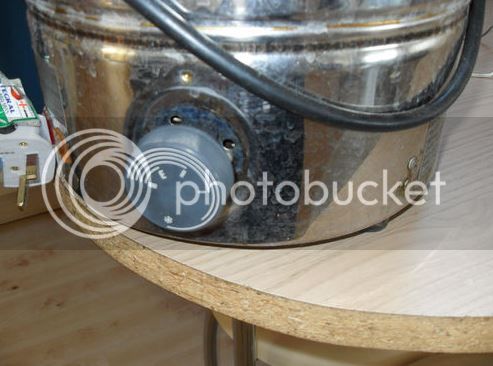
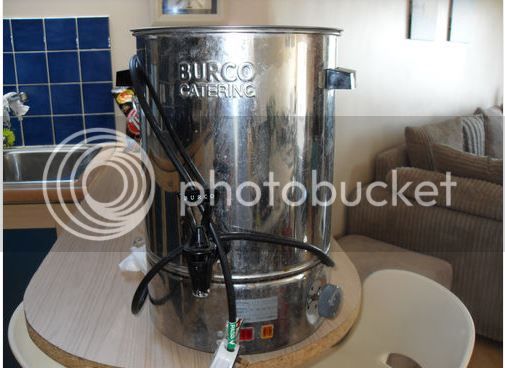
Just recently I asked the forum for advice on building a HERMS and was grateful for the response, so I thought I would post up my efforts. My chosen vessel is a Baby Burco 10L water heater, as I managed to pick up one of these very cheaply on ebay - it cost me the grand sum of £6.50! As cheap as it was, it was in a bad state. The element was corroded, it was badly scaled, the lid knob was cracked, and it was missing the correct temperature dial. The washer in the tap was also faulty causing the tap to constantly dribble. The pics show the poor thing as picked up:
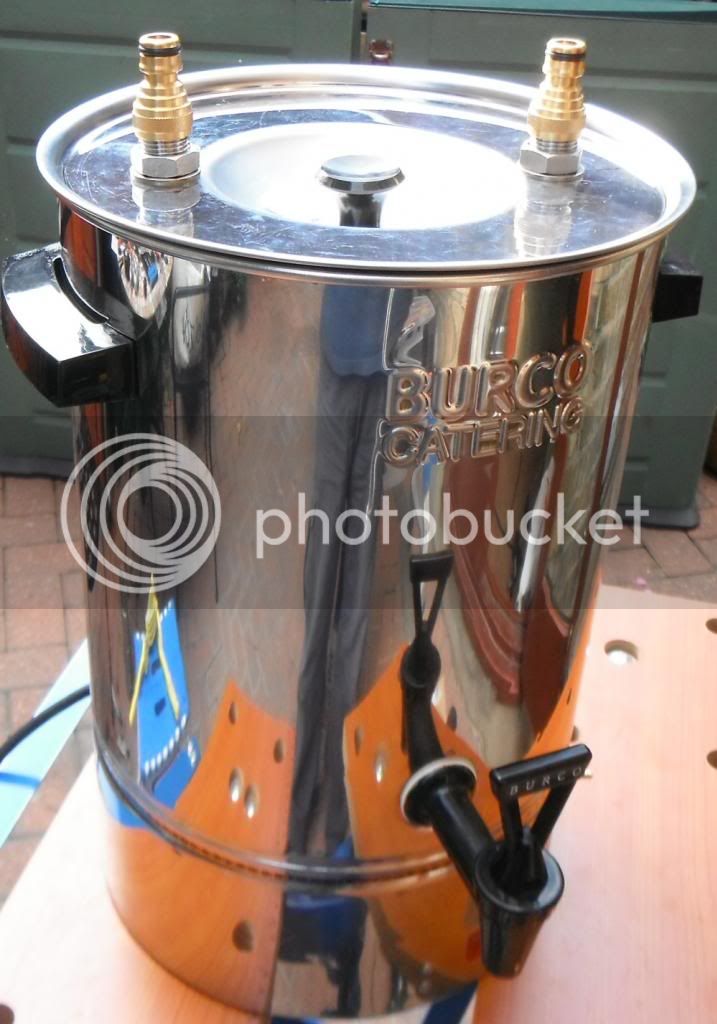
After a good clean, descale and a new element this is now what it looks like:
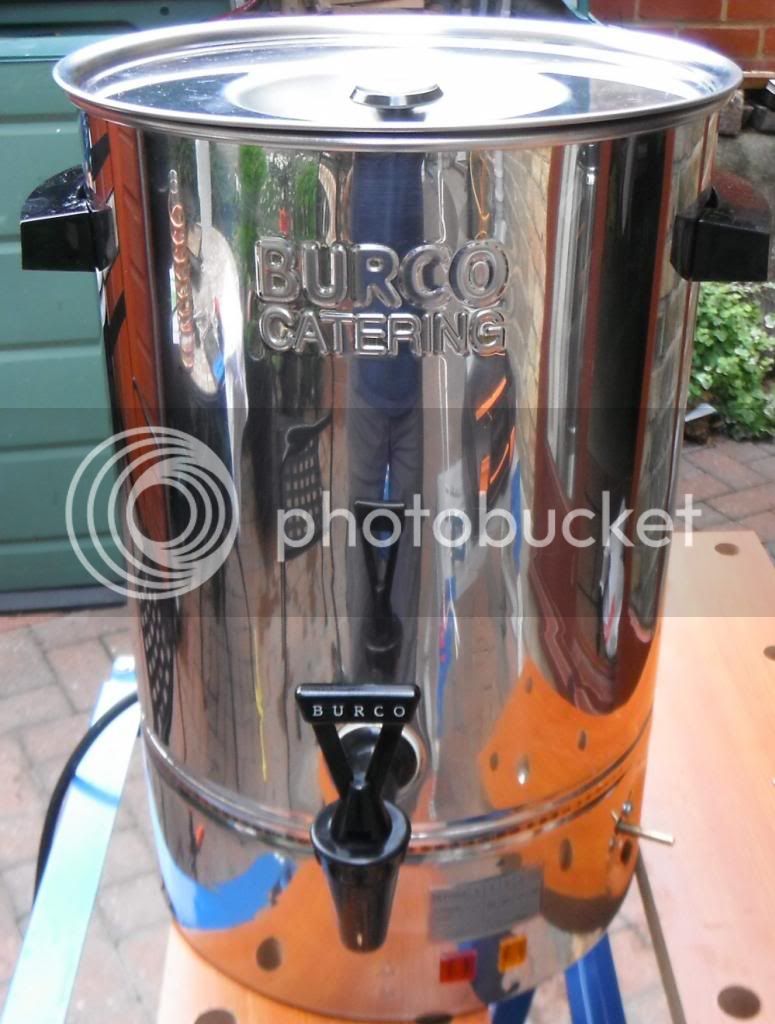
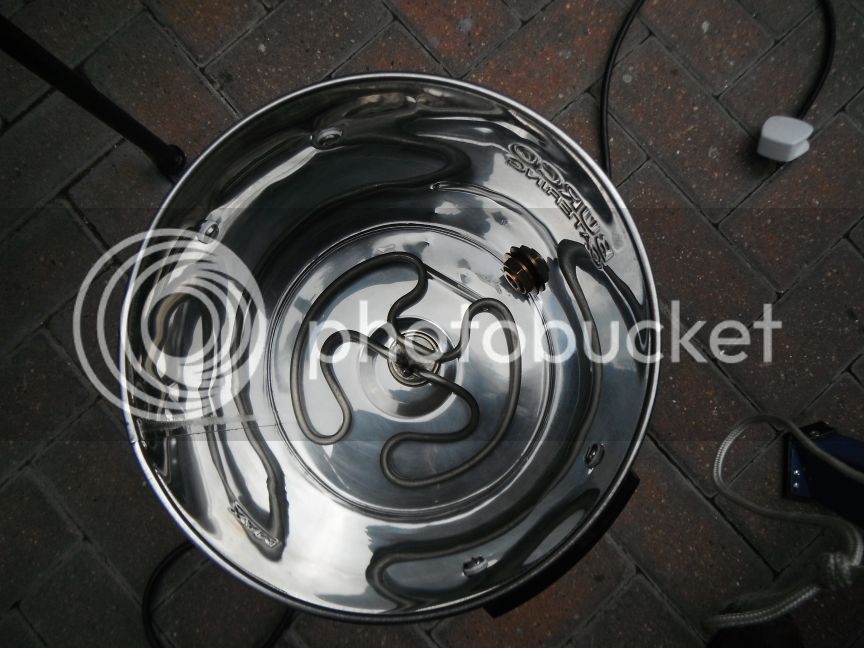
I had a spare lid knob so replaced the broken one, and I have ordered a new control knob. A new tap washer was made up from 4mm silicon sheet. As it happens, I also had a spare 2.75 kW Burco element as well - it was given to me when I purchased a F33L model many years ago. A quick check on the wiring and thermostat showed all was now in working order.
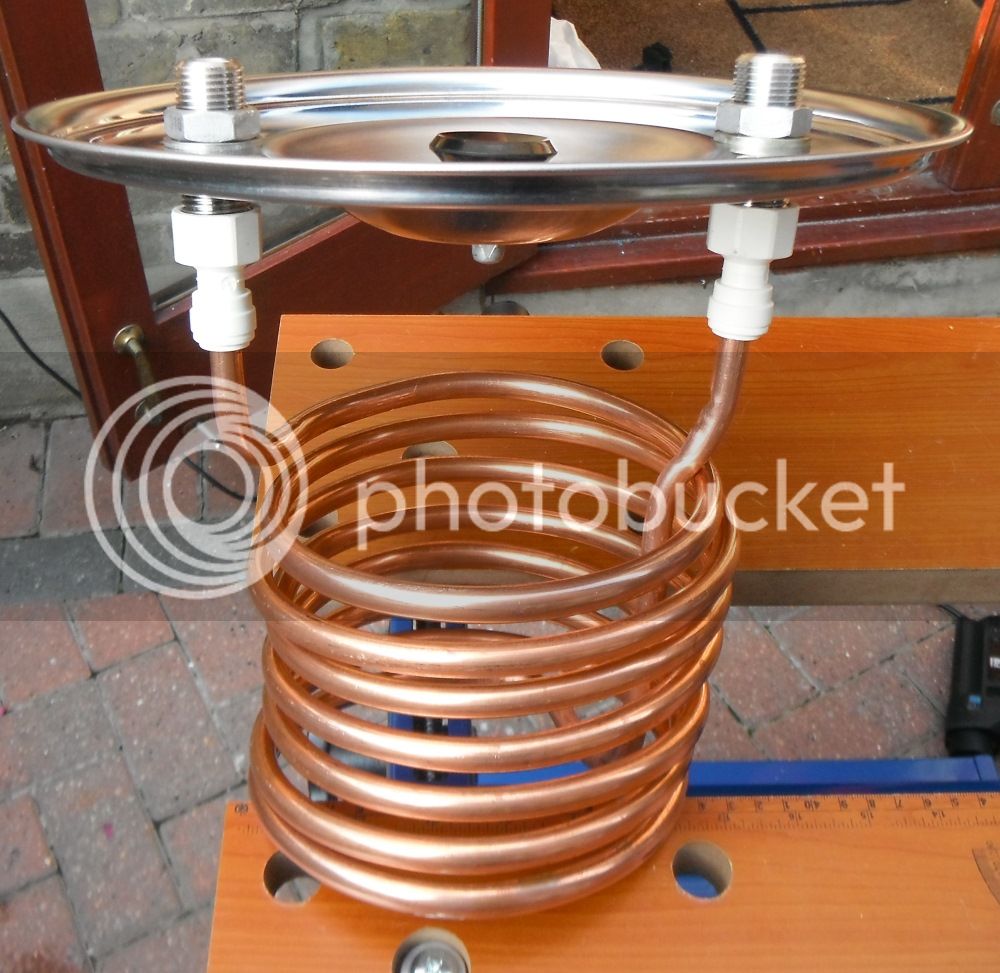
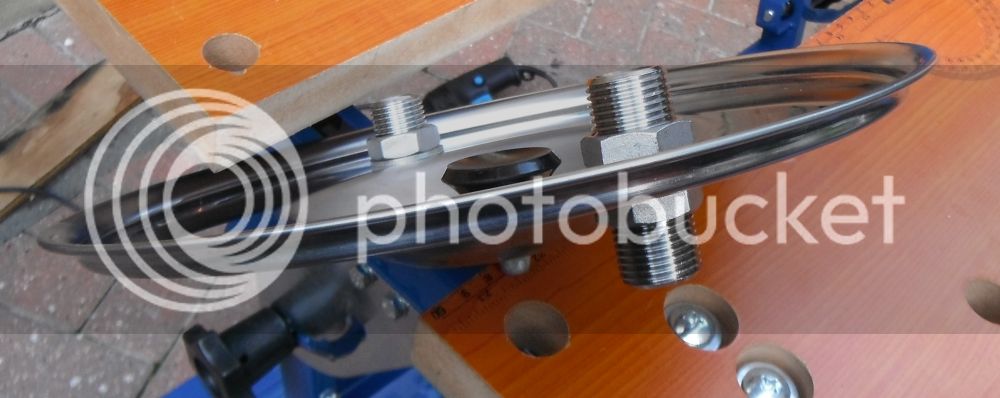
So on with the HERMS build. I had 4 metres of 10mm copper coil left over from an immersion cooler I made, so I wound this around an Ikea utensil holder to get a nice tight shape. The coil is 155mm diameter and 130mm high, with about 7.5 turns. I have used JG 1/2" female push fit fittings to hold the coil to the lid, so that I can easily remove the coil to make sure the inside is dry after rinsing by placing it in the oven. It was suggested to me that any residual water or mash liquor in the copper coil could lead to verdigris forming, which I believe is poisonous. The internal dimensions of the 10L Burco are very similar to the size of a 6L therompot, which other members have often used for a HERMS. The stainless steel fittings on the lid are 1/2" BSP 50mm parallel nipples fitted either side of the lid with 1/2" BSP SS nuts. Under each nut I have used a stainless steel 1/2" BSP Dowty washer. My connections to the heat exchanger is by 1/2" BSP CK brass female hose couplings. The pictures I hope explain the construction:
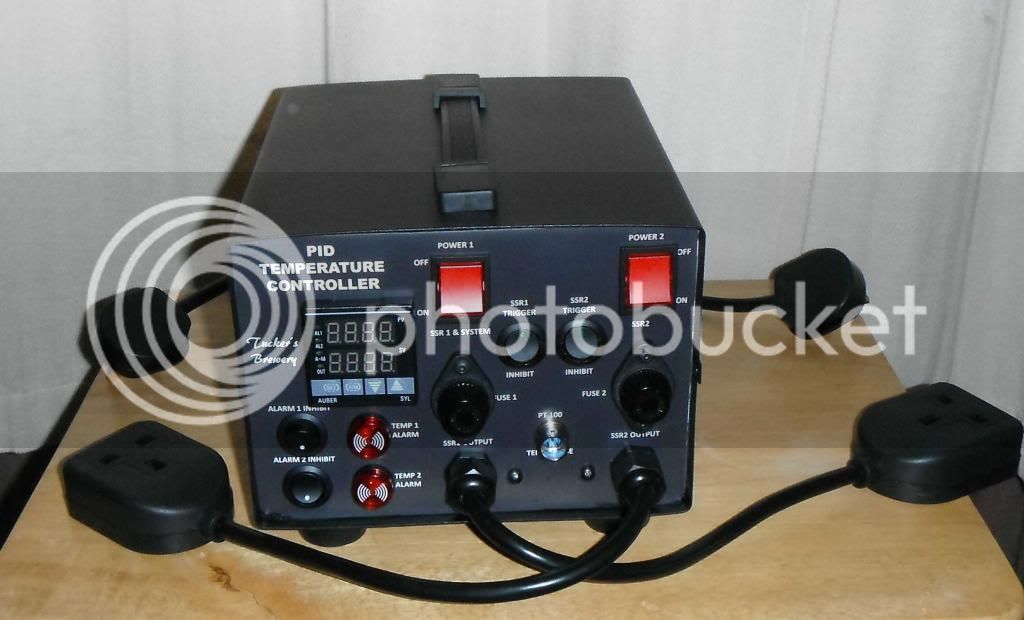
It's all been tested for water tightness, so the next step is to train my PID. I'm looking forward to using it for my next brew
After a good clean, descale and a new element this is now what it looks like:
I had a spare lid knob so replaced the broken one, and I have ordered a new control knob. A new tap washer was made up from 4mm silicon sheet. As it happens, I also had a spare 2.75 kW Burco element as well - it was given to me when I purchased a F33L model many years ago. A quick check on the wiring and thermostat showed all was now in working order.
So on with the HERMS build. I had 4 metres of 10mm copper coil left over from an immersion cooler I made, so I wound this around an Ikea utensil holder to get a nice tight shape. The coil is 155mm diameter and 130mm high, with about 7.5 turns. I have used JG 1/2" female push fit fittings to hold the coil to the lid, so that I can easily remove the coil to make sure the inside is dry after rinsing by placing it in the oven. It was suggested to me that any residual water or mash liquor in the copper coil could lead to verdigris forming, which I believe is poisonous. The internal dimensions of the 10L Burco are very similar to the size of a 6L therompot, which other members have often used for a HERMS. The stainless steel fittings on the lid are 1/2" BSP 50mm parallel nipples fitted either side of the lid with 1/2" BSP SS nuts. Under each nut I have used a stainless steel 1/2" BSP Dowty washer. My connections to the heat exchanger is by 1/2" BSP CK brass female hose couplings. The pictures I hope explain the construction:
It's all been tested for water tightness, so the next step is to train my PID. I'm looking forward to using it for my next brew

 )
)