oldjiver
Landlord.
As I am addicted to my plastic mash tun (IGLOO) I have lacked a bit of tin (stainless) But I have sold my semi-shiny ACE boiler and ordered a 33litre boiler from Rob the Miller. Got to sort out the element now.

oldjiver said:....... Got to sort out the element now.
Elementry my dear Pakman, probably Chinese if it's like most electrical equipment. :lol:Pakman said:oldjiver said:....... Got to sort out the element now.
Would that be an Indian element or an African? :lol:
Have you tried screwing it in (worth the ask)...it's just a case of going round the existing hole with a file, it'll be noisy and time consuming but you should get an engineers fit :grin:My 2.6kw element is exactly 40mm, the same as the hole, so it wont quite go in. Any advice on filing or grinding a little off will be appreciated.
Thanks Vossy. The thread starts about a quarter inch behind so no screw in. I have ordered the bits off ebay as suggested, and bought a bit of appropriate cable so its just a job of putting it together and getting filing.Vossy1 said:Have you tried screwing it in (worth the ask)...it's just a case of going round the existing hole with a file, it'll be noisy and time consuming but you should get an engineers fit :grin:My 2.6kw element is exactly 40mm, the same as the hole, so it wont quite go in. Any advice on filing or grinding a little off will be appreciated.
Re the lead, if it's the old 3 pin type Backer sell them...but at a cost! There was also a link here a little while ago about an ebay seller...worth a search.
evanvine said:Why not go for an Asda/Tesco 2.2kW element, 38mm?[/quote
Too many hangy wires I think!
hairybiker said:You can plug in a standard IEC connector on to them, I do. :thumb:
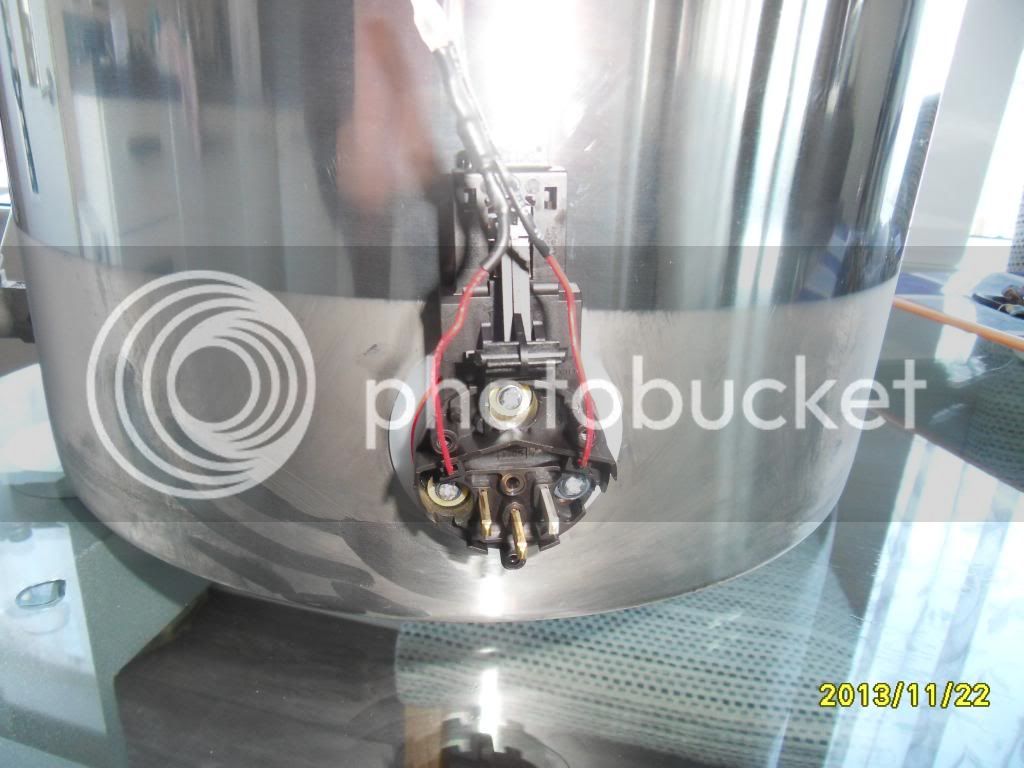
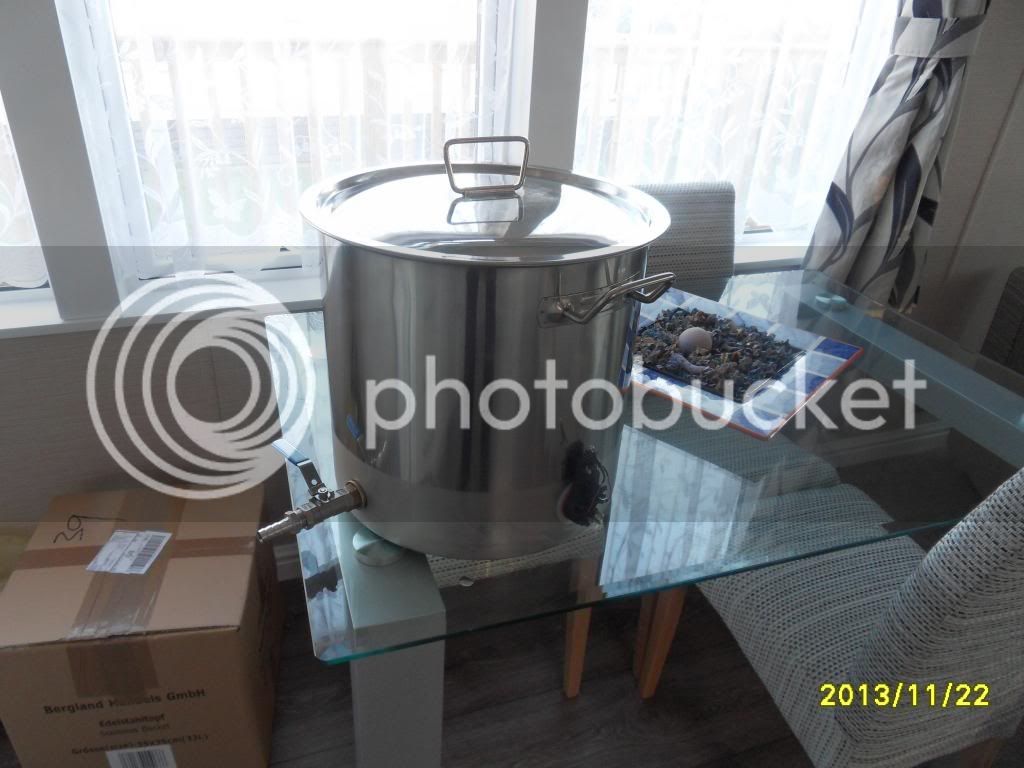
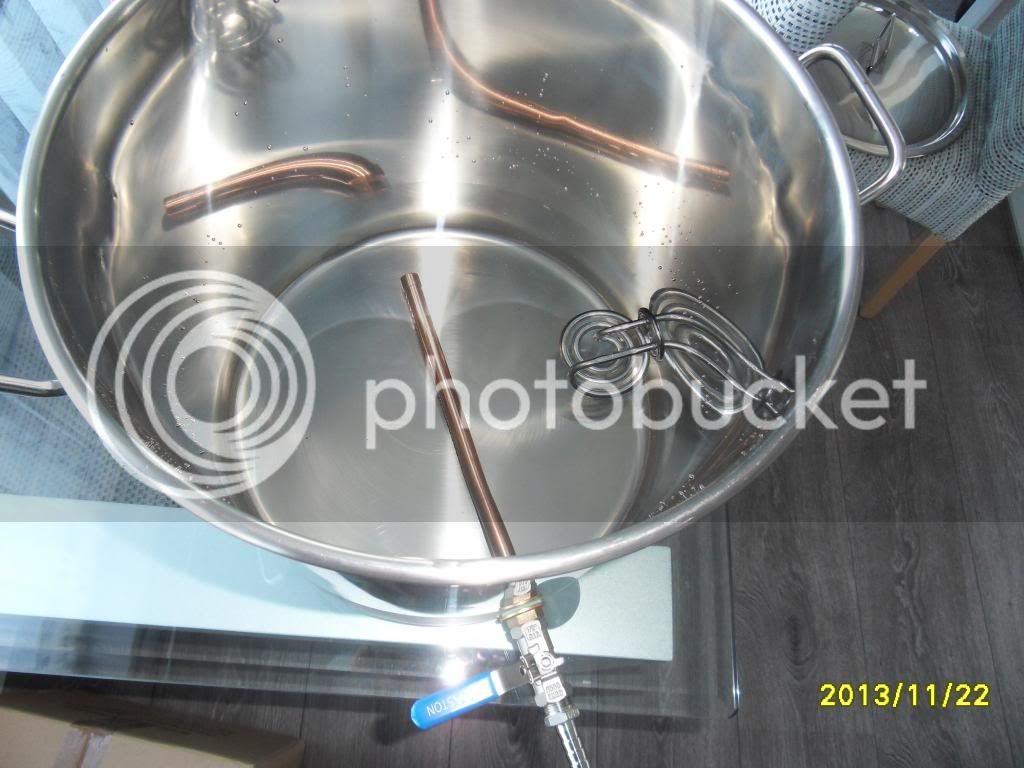
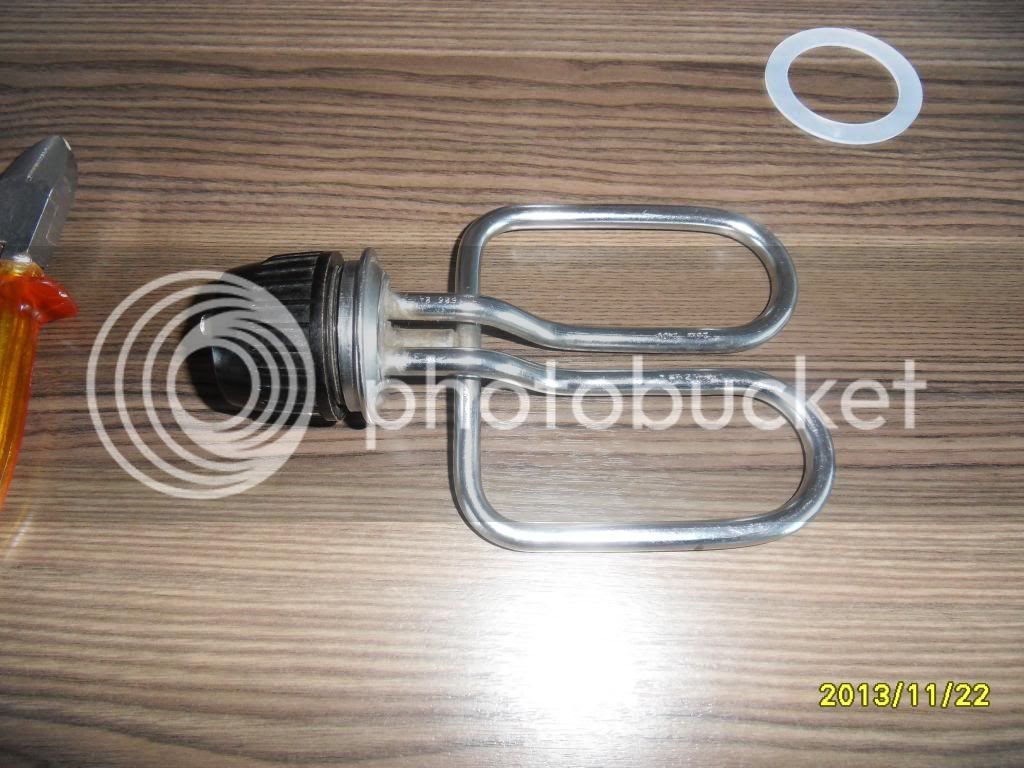
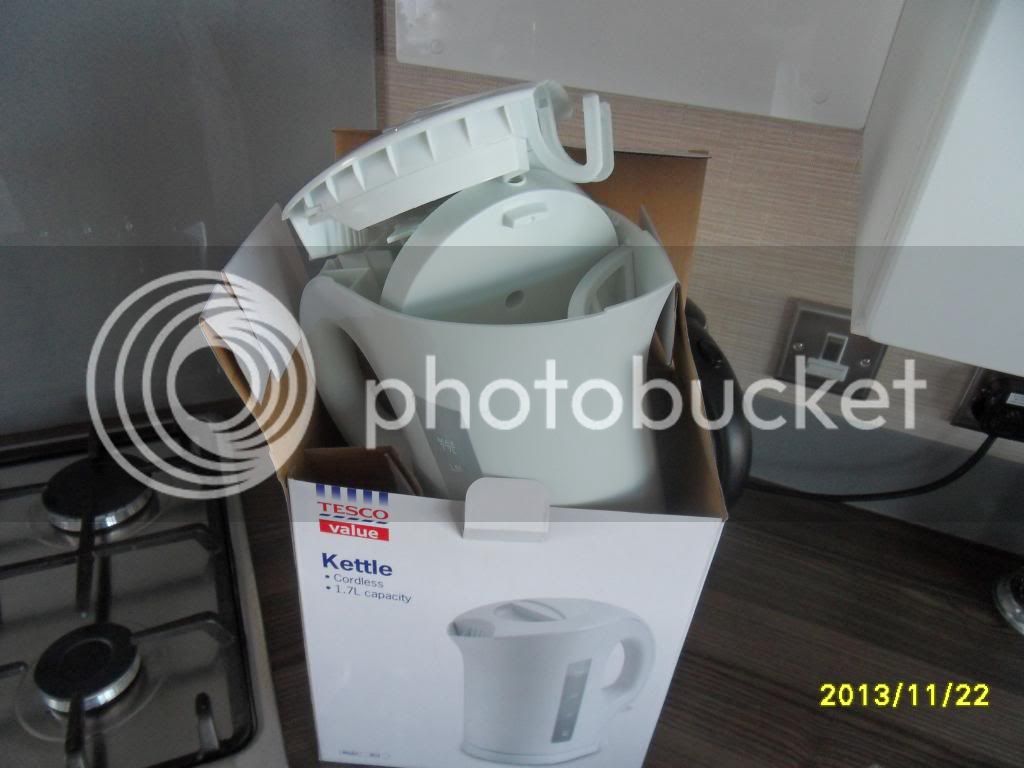
My 2.6kw element is exactly 40mm
supercooper said:The little disc in the centre is a boil dry safety cut out. It will not turn off the element at boiling point, so it's worth leaving it in there. It certainly does no harm.
The other disc is the one that controls the element, and you've quite rightly removed it with the rest of the moulding, including the little white pin that will more than likely fall out when the switch lever is removed.
A great how-to.
For some reason, the disc in the centre(or more importantly, the tiny pin behind it) needs to be removed on stainless set-ups. I have just found this out by having the elements cycle on and off on my new stainless boiler. I had to drain it, remove the elements and the annoying disc and pin, reassemble and get boiling. PITA. it never happened on my plastic setup. Must be due to heat transfer.
:wha:[/quote
I have removed the disc and cut off the pin. Can I take it that the element is permanently on? (having taken off the switch I suppose so)
I am saving the 2.6kw for if I do decide to open up the hole a bit in case the 2.2kw is not enough.Vossy1 said:Looking good o. A little tip, once used hot re tighten the backing nut, try this after the 1st few brews, there will probably be a fair bit of movement at 1st. How much do you want for the element, is it a 2.75kw :hmm:
EDIT, question answered
My 2.6kw element is exactly 40mm
Enter your email address to join: