


So last night I attempted my first all grain brew with some friends from my brew club and it was really fun, if at times frantic. The whole experience has me hooked but as it was our first time with an all grain setup there were bound to be problems with equipment that we had never used before and so on. The only major let down I felt we faced was the total volume we got out of the brew in the end which I attribute to boil off not being accounted for, bad measurements from one vessel to another(we have no way to really measure how much liquid is in our boil kettle as of yet(we might make a measuring stick or something short term), and a bad recipe conversion(us vs imperial gal). We are going to be buying a pump to complement the setup soon as well. We will also be looking into switching up the connections to tri-clamps as our quick connects lacked a good seal in some situations unless the female barb was upright.
Profile: HomeBrew recipe for an IPA, similar to BrewDog Punk IPA. Bright golden, and medium-bodied with flavors of citrus, grapefruit, and piney hops. Moderate hop bitterness, more in line with an American Pale Ale. 5Gallons (22.73Liters), 5.6% ABV, 45 IBUs
Ingredients:
Malts
11.5lbs (5.216k) Maris Otter Extra Pale Malt
Hops
1/2oz. (14.174g) Chinook 13%a, 60 minutes
1oz. (28.349g) Ahtanum 6%a, 15 minutes
1/2oz. (14.174g) Nelson Sauvin 12%a, 15 minutes
1/2oz (14.174g) Simcoe 13%a, 10 minutes
1/2oz. (14.174g) Chinook 13%a, at flameout
1/2oz. (14.174g) Nelson Sauvin 12%a, at flameout
1/2oz. (14.174g) Simcoe 13%a, at flameout
Total 1oz (28.349g) each of Chinook, Ahtanum, Nelson, Simcoe
Yeast
WLP007 Dry English Ale or Wyeast 1098 British Ale
Instructions:
Mash all grains for 1 hour at 152f (66.6c) degrees.
Sparge at 170f (76.6c) degrees.
One hour boil with hop regimen above.
Ferment at 63-68f (17.2-20c) degrees.
Rack to keg or secondary and age for 4-5 weeks.
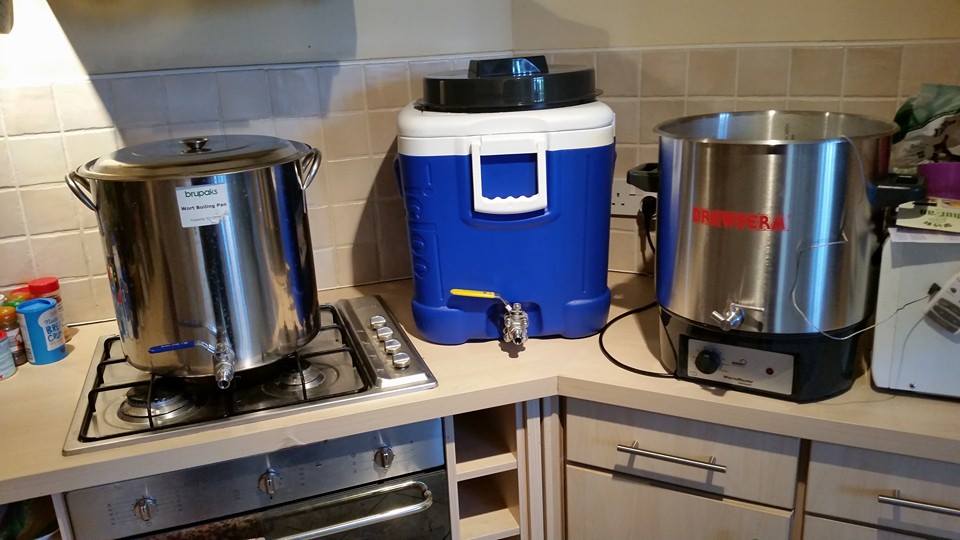
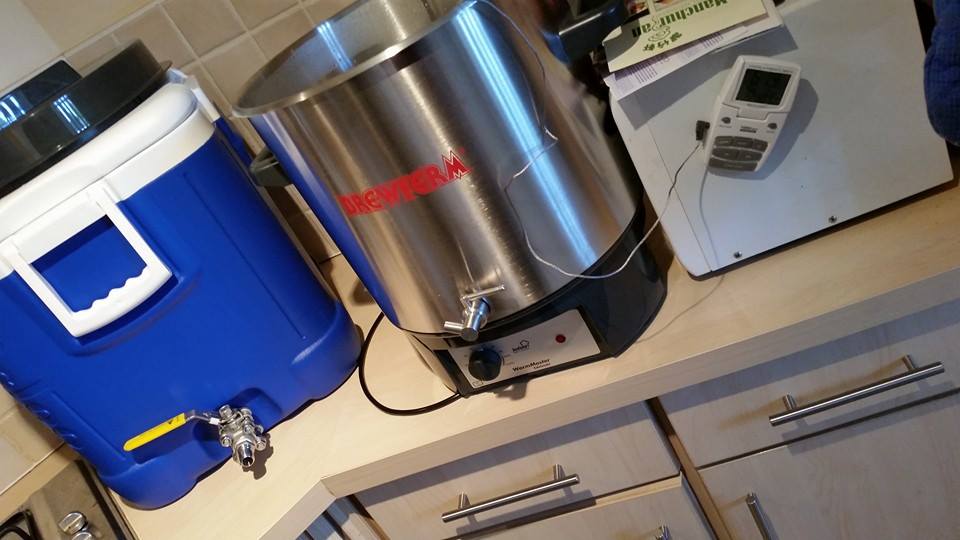
The basic Setup
Our HLT getting up to temp(the thermometer went haywire during mashing, resetting its base temp up by 40*, ambient temp in my flat now 61* lol)
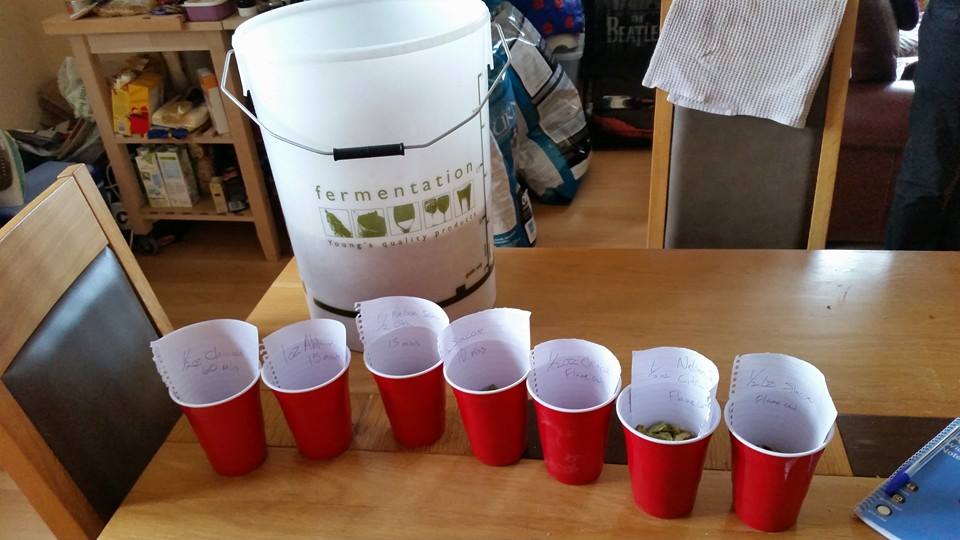
Here is our hop and grist line up for the night
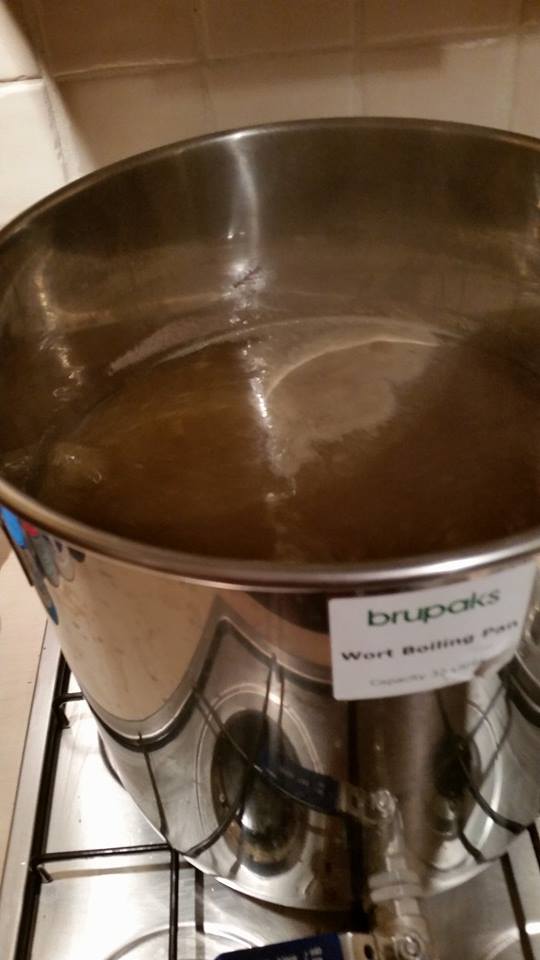
The wort boiling away. I forgot to get the mash in pictures as it was one of the things we had a problem with. Had to manual Vaurlof it and grain kept getting stuck under the screen.
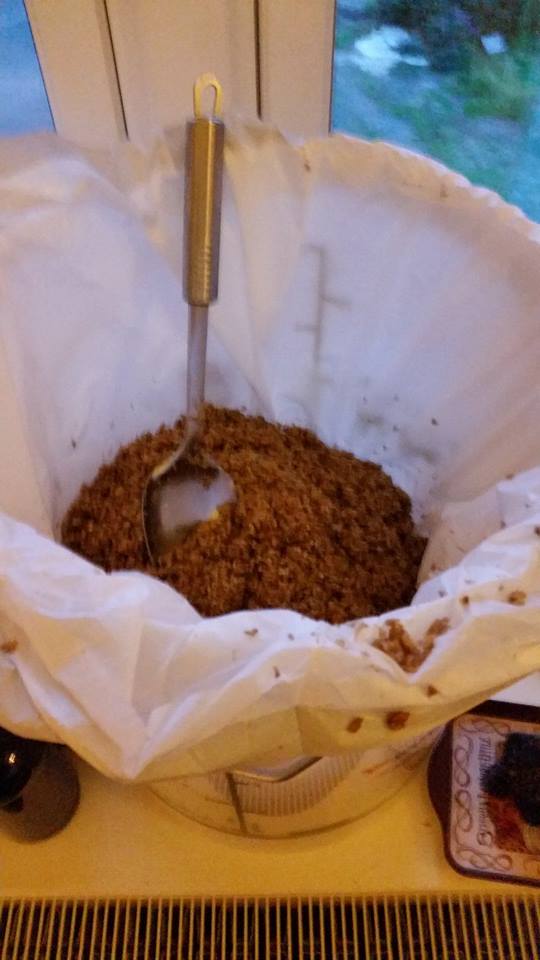
All of the spent grain. We need to find a use for this, might go to the local wooded area for the wildlife...
Our heat exchange system cooled the batch of brewed wort down to 20c in 10 minutes.
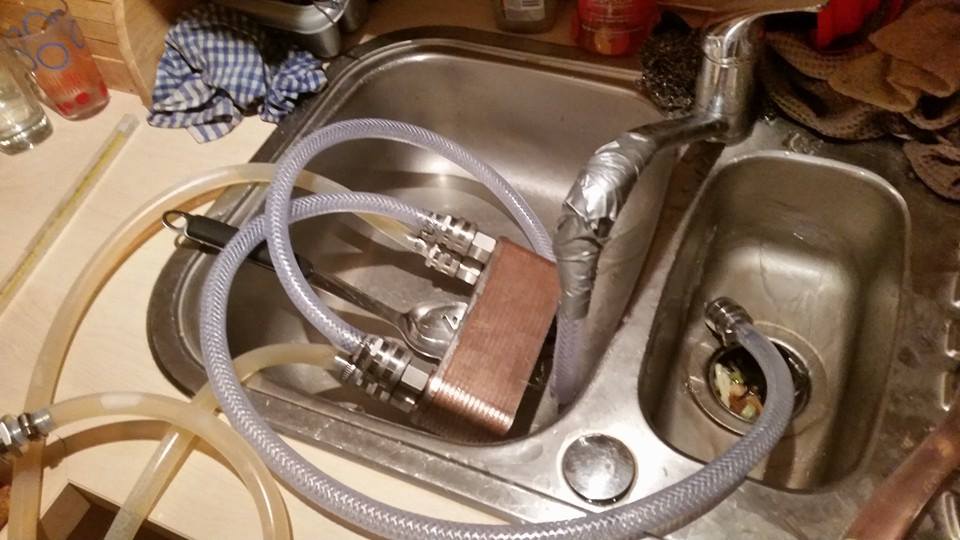
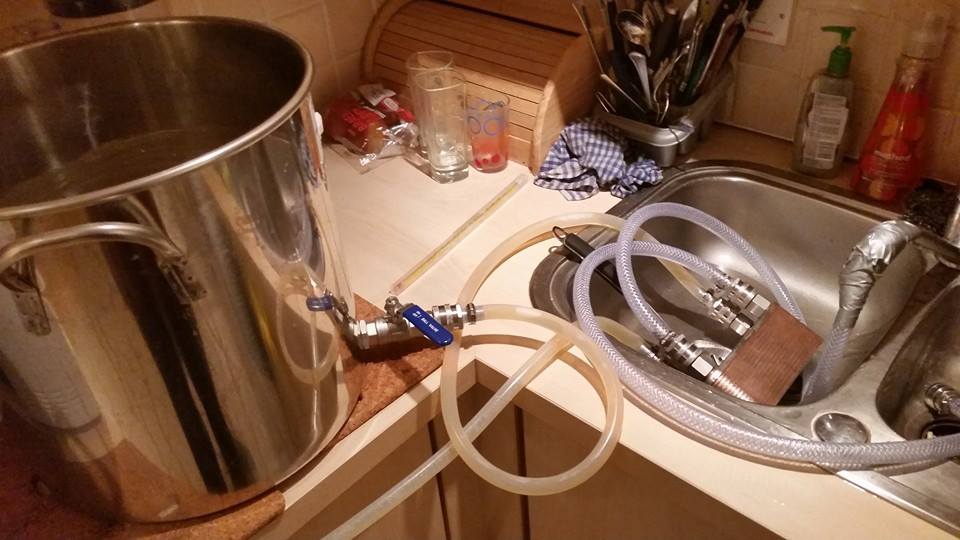
Our ghetto heat exchange setup. Complete with duct tapped kitchen faucet. We have no idea what size connectors connect to it as 1/2" too small and 3/4" too large. Maybe 5/8"?? Off to b&q to guess and test some more lol.
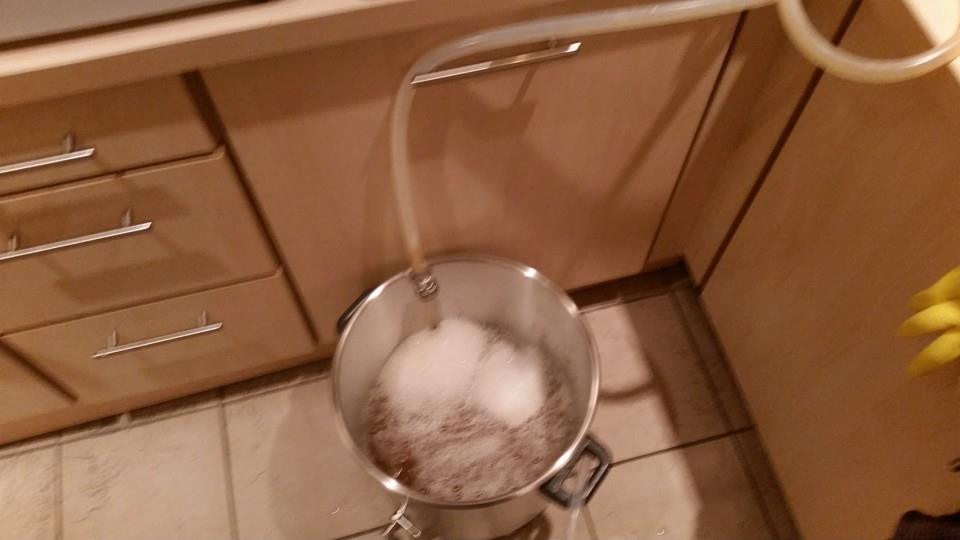
Since we didn't have a pump, everything was gravity fed. This is the cooled wort going back into our hlt prior to our gravity reading.
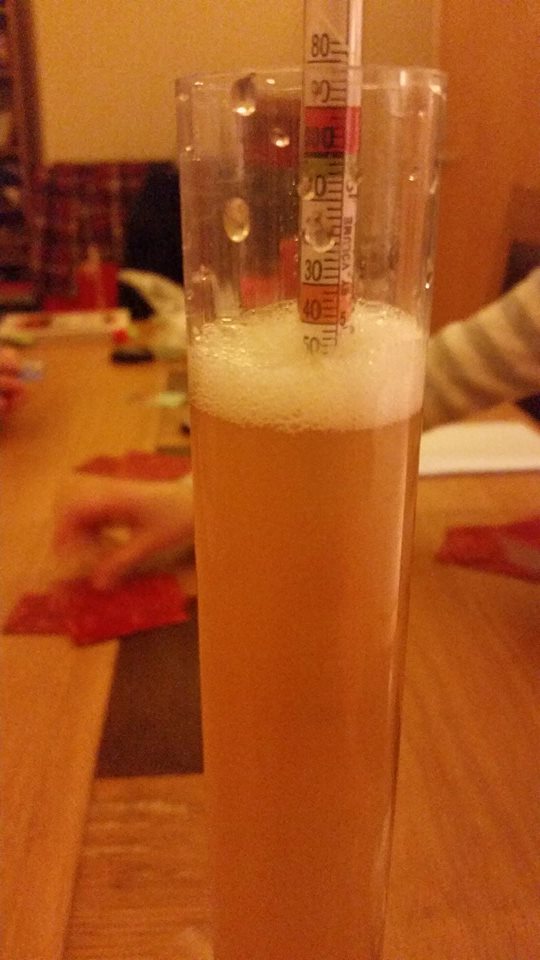
Our gravity reading, or well foam... Ill have to snag some of the photos my wife got sans-foam.
Profile: HomeBrew recipe for an IPA, similar to BrewDog Punk IPA. Bright golden, and medium-bodied with flavors of citrus, grapefruit, and piney hops. Moderate hop bitterness, more in line with an American Pale Ale. 5Gallons (22.73Liters), 5.6% ABV, 45 IBUs
Ingredients:
Malts
11.5lbs (5.216k) Maris Otter Extra Pale Malt
Hops
1/2oz. (14.174g) Chinook 13%a, 60 minutes
1oz. (28.349g) Ahtanum 6%a, 15 minutes
1/2oz. (14.174g) Nelson Sauvin 12%a, 15 minutes
1/2oz (14.174g) Simcoe 13%a, 10 minutes
1/2oz. (14.174g) Chinook 13%a, at flameout
1/2oz. (14.174g) Nelson Sauvin 12%a, at flameout
1/2oz. (14.174g) Simcoe 13%a, at flameout
Total 1oz (28.349g) each of Chinook, Ahtanum, Nelson, Simcoe
Yeast
WLP007 Dry English Ale or Wyeast 1098 British Ale
Instructions:
Mash all grains for 1 hour at 152f (66.6c) degrees.
Sparge at 170f (76.6c) degrees.
One hour boil with hop regimen above.
Ferment at 63-68f (17.2-20c) degrees.
Rack to keg or secondary and age for 4-5 weeks.
The basic Setup
Our HLT getting up to temp(the thermometer went haywire during mashing, resetting its base temp up by 40*, ambient temp in my flat now 61* lol)
Here is our hop and grist line up for the night
The wort boiling away. I forgot to get the mash in pictures as it was one of the things we had a problem with. Had to manual Vaurlof it and grain kept getting stuck under the screen.
All of the spent grain. We need to find a use for this, might go to the local wooded area for the wildlife...
Our heat exchange system cooled the batch of brewed wort down to 20c in 10 minutes.
Our ghetto heat exchange setup. Complete with duct tapped kitchen faucet. We have no idea what size connectors connect to it as 1/2" too small and 3/4" too large. Maybe 5/8"?? Off to b&q to guess and test some more lol.
Since we didn't have a pump, everything was gravity fed. This is the cooled wort going back into our hlt prior to our gravity reading.
Our gravity reading, or well foam... Ill have to snag some of the photos my wife got sans-foam.

