- Joined
- Oct 17, 2011
- Messages
- 4,116
- Reaction score
- 984
**** IM NOT A SPARKY NOR AM I QUALIFIED IN ANY ELECTRICAL TRADE..... dont take my electrical suggestions as gospel and if ive made a blunder please shout!!
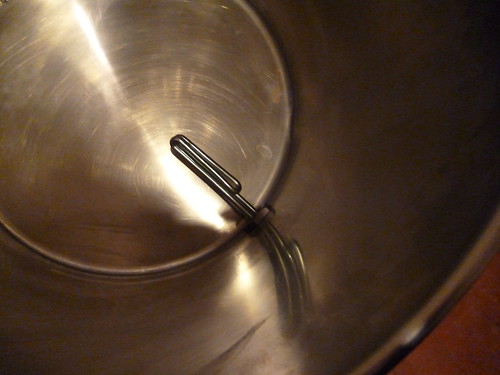
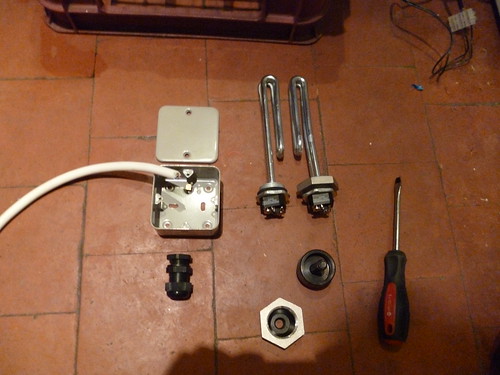
If talking about the locknuts for the elements i linked to.. yes 1" bsp.. and yes the nuts go in the inside the washer on the outside to make the seal, i have one element pictured with washer and one with locknut.
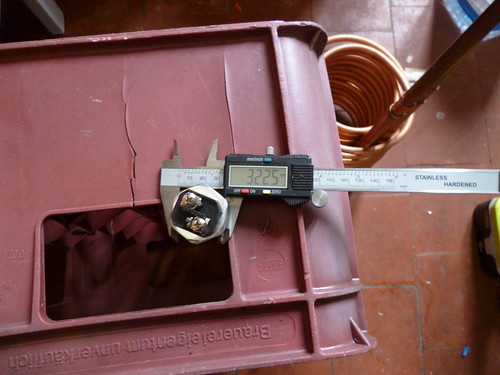
use a 32.5mm 1" bsp equivelant qmax to cut the hole,
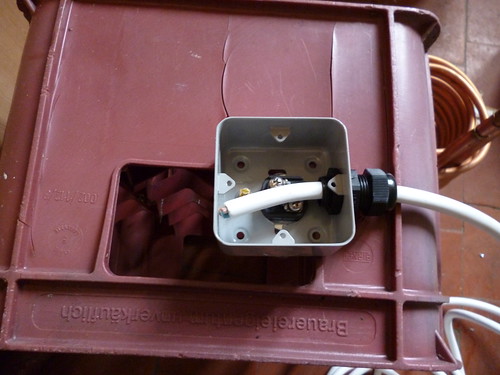
to wire and enclose use a MK metal clad blank faced single gang box.(3-£4).. hope i got it right.. u can see 1 in the pic. Use the same qmax punch to hole the rear of the box, this should fit snugly over the element rear. feed the
cable in thru a 22mm gland, and side of the box popout, use thick heat proof cable, im going a bit overboard with 2.5mmsq butyle rubber coated cable but got it for a knock down price of £6 for the 3m + odd left off the reel
")
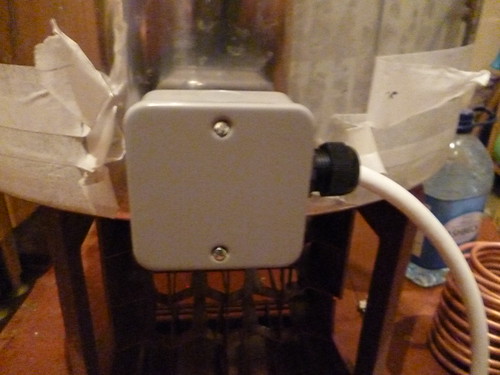
wire earth to the box terminal and live and neutral to the 2 element terminals, there is no distinction. tighten the gland and face off the box...
I dont know if earthing the box this way is a reliable earth for the pot?? however i rely on a rcd to trip in case of problems if your circuit is not rcd protected look into this more. im beyond what i know for certain here..
hope thats helpfull...
**edit use some heat proof glue to secure the box on the element if you feel it needs it. if using jbweld or a similar epoxy consider if you need to change an element and spot the glue where it will be easy to drill cut off in 2 or 3 places only
And if your question was about locknuts for other elements at least you know my plan im copying from someone else.. ivanmalley of Jims, who sold me the locknuts among other SS bsp bs21 fittings... 95p each b4 vat for the locknuts