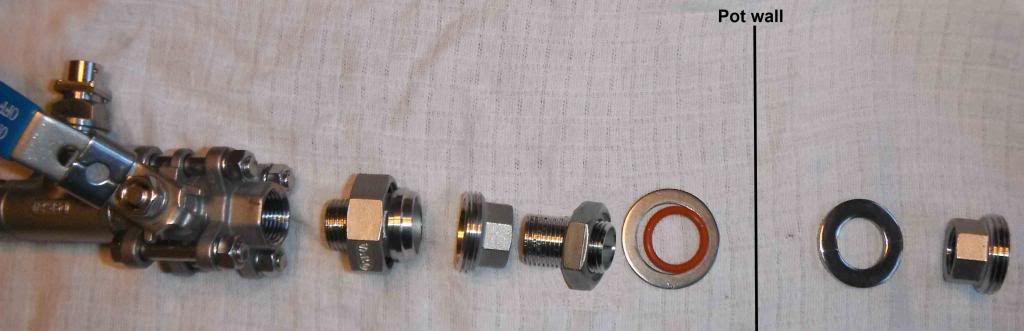
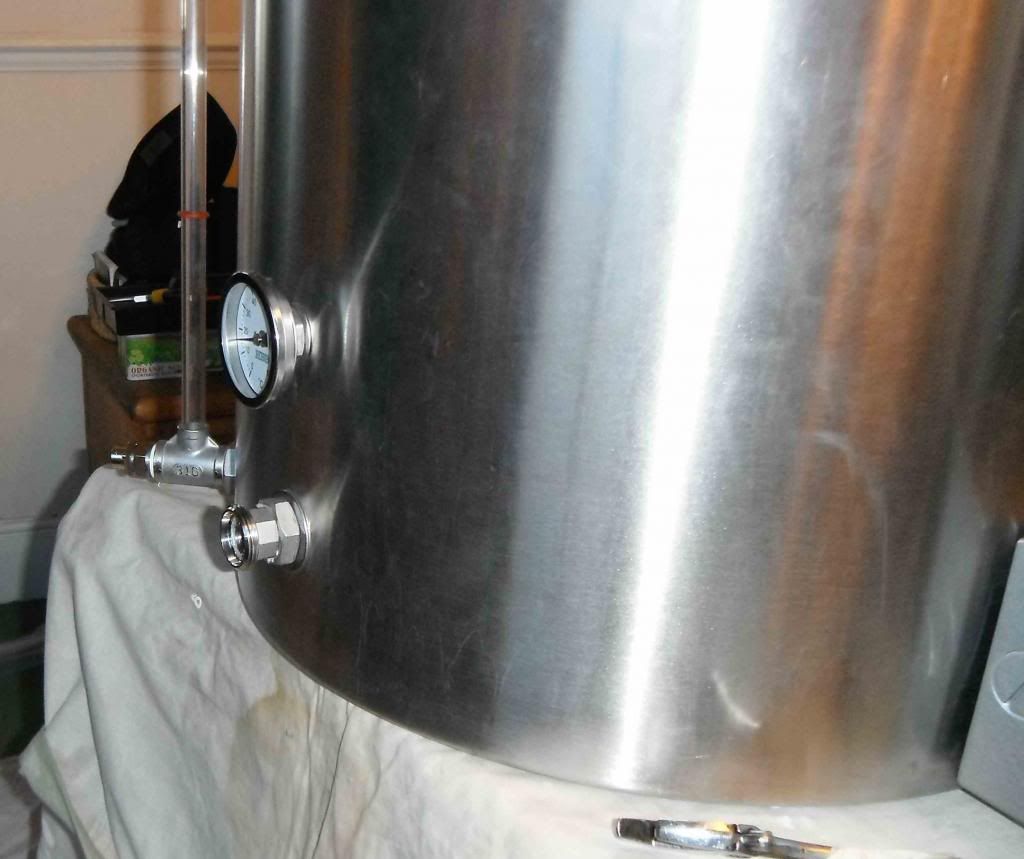
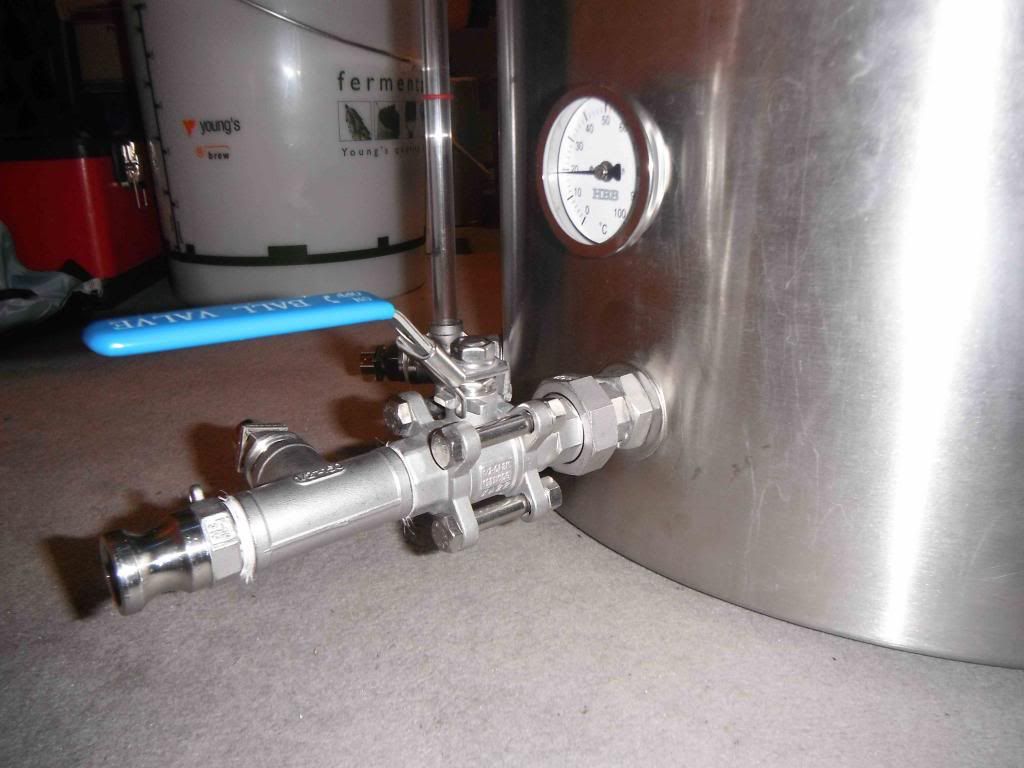
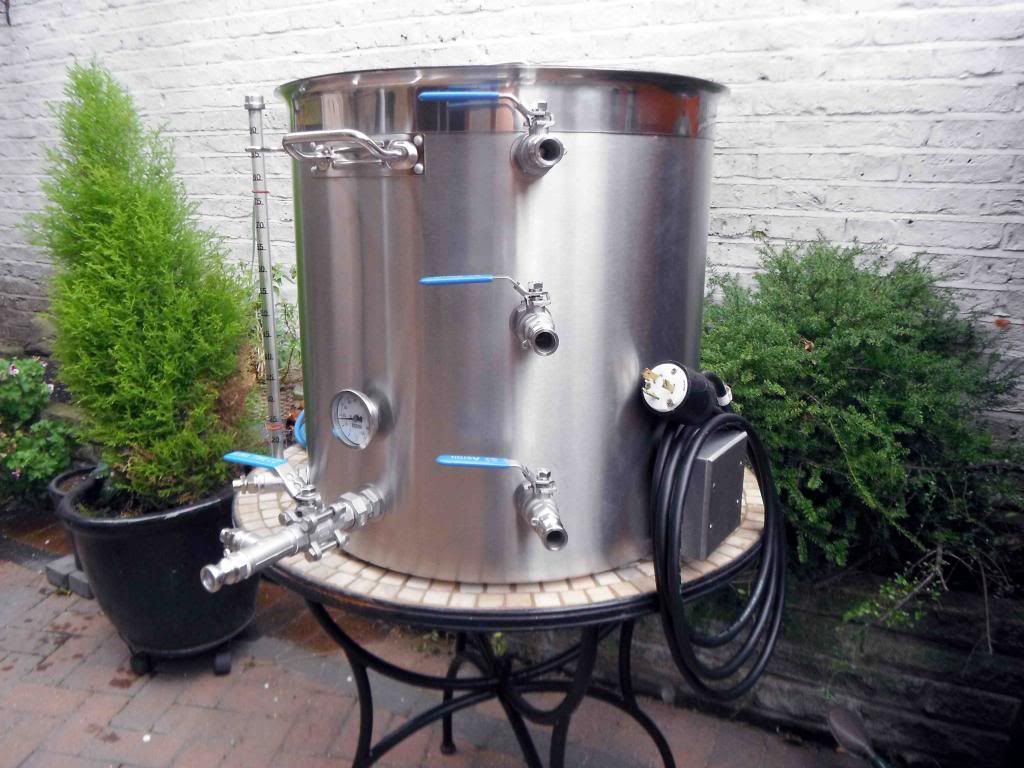
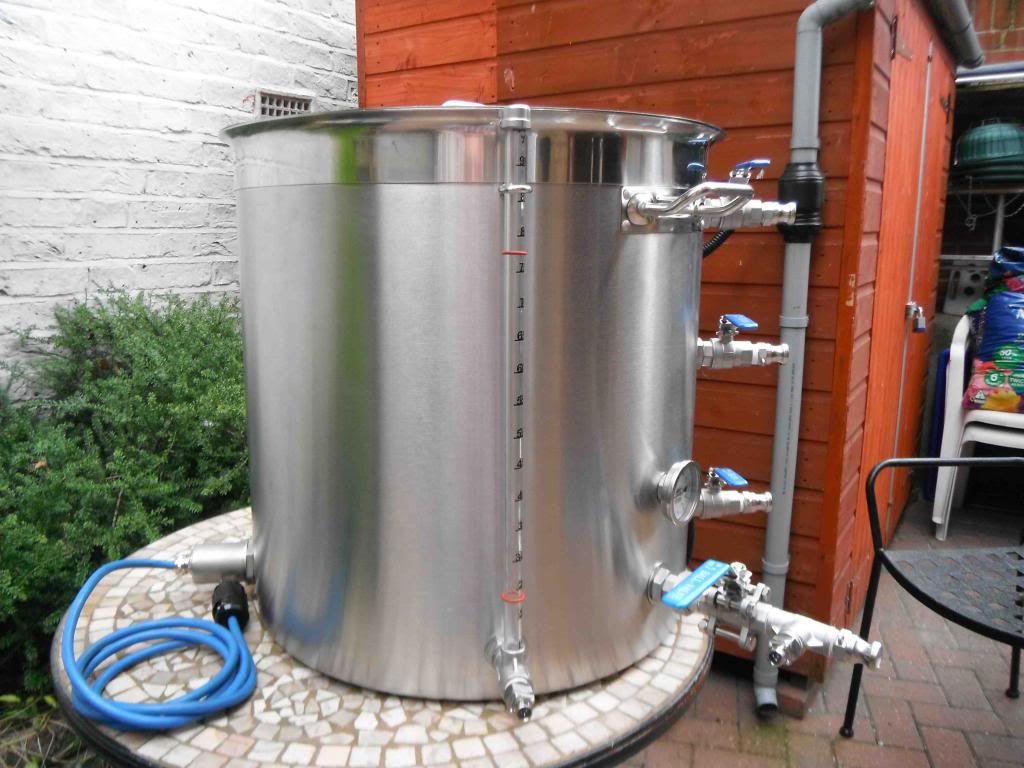
I previously posted in instalments the construction of My Electric Brewery and since completing the project I have made further changes in the light of using it. The first alteration arises because of the long length of the combined ball valve and T piece temperature probe on the output of the HLT. This is not a problem when the HLT pot is in situ, but has caused difficulties when trying to store the pot. I do not have much storage space in my property, so all my brewing pots are stored in the loft. Despite recently enlarging the size of the loft hatch, I found that the length of the output arrangement, plus the diameter of the pot, was too long to clear the opening of the loft. I therefore have rebuilt the connection of the ball valve to the HLT utilising a male cone seat union. This means that the tap assembly and attached temperature probe T piece can be easily unscrewed for storage purposes. Disconnected, this has given me 6.5 inches less pot width to try and squeeze into the loft - it just about fits through the loft hatch now! The new ball valve arrangement is shown below:
The second change I have made concerns the HERMS set up. As I have previously indicated, the inspiration for My Electric Brewery has come from the US Electric Brewery site:
http://www.theelectricbrewery.com/. Their HLT pot has a HERMS heat exchanger coil built inside it. Originally, I proposed to ignore this and continue to use my modified separate HERMS pot (
http://www.thehomebrewforum.co.uk/viewtopic.php?f=13&t=48771&sid=f7c8c598571ebfe4e82c37f20891f942). However, I decided I would like to try their arrangement as an alternative, if only for the fact that it means one less pot on the brew stand. So I have gone ahead and fitted a stainless steel coil that is 1/2 inch od and 50ft long. The dimensions of the coil in the pot are 15.5 inches diameter and 7 inches high. It is mounted to the pot by stainless steel stud compression fittings on 1/2 inch BSP ball valves, fitted in the weldless manner I have used before. It sits low in the pot about a quarter-inch above the element. Keeping the coil as low possible in the kettle ensures that the coil will remain submerged as much as possible as you use up water from the HLT. I do not like the idea of fitting something in a pot that cannot be easily removed, so once again I have used cone seat unions on the coil input and out valves to enable its easy removal. Pictures below show the coil fitting.
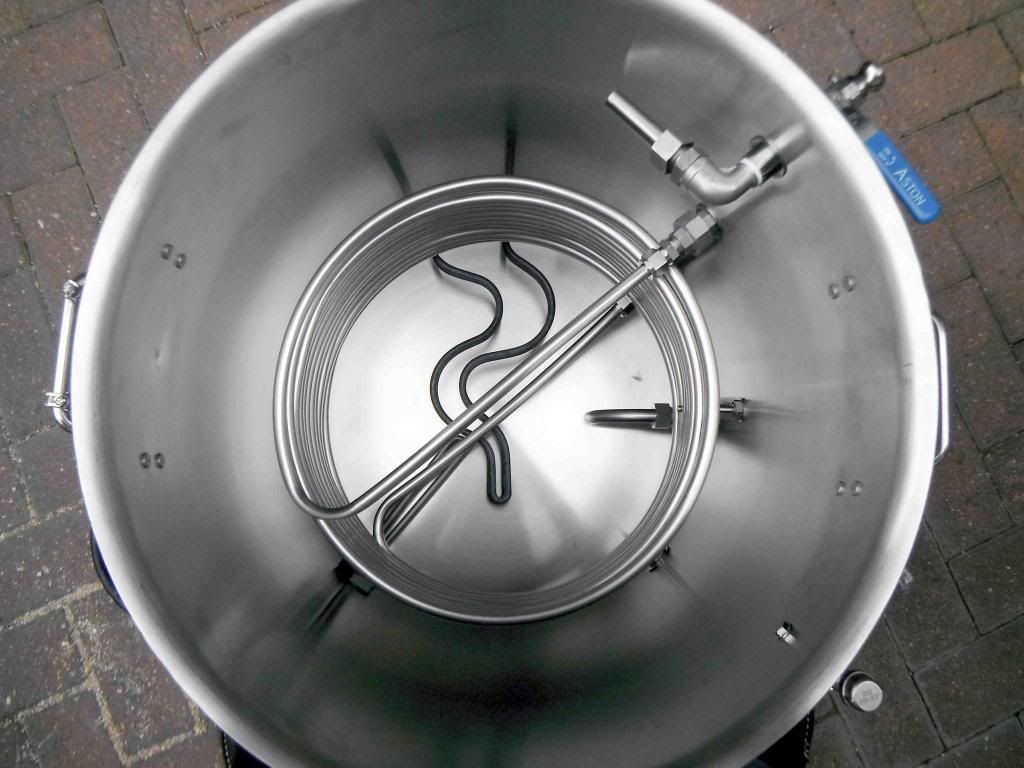
I know that there has been quite a lot of debate on the Forum as to whether a large HERMS coil in a large pot can be as effective as perhaps a small coil in a domestic kettle. The key concern being whether the temperature response time is too slow in a large set up. Anyhow, I thought I would give it a try. If I find the arrangement does not work to my satisfaction over time I will take the coil and ball valves out and close the holes off neatly with blanking plugs. Since fitting the coil I have carried out one brew with it and so far it seems to work well with no excessive delay in terms of temperature control.
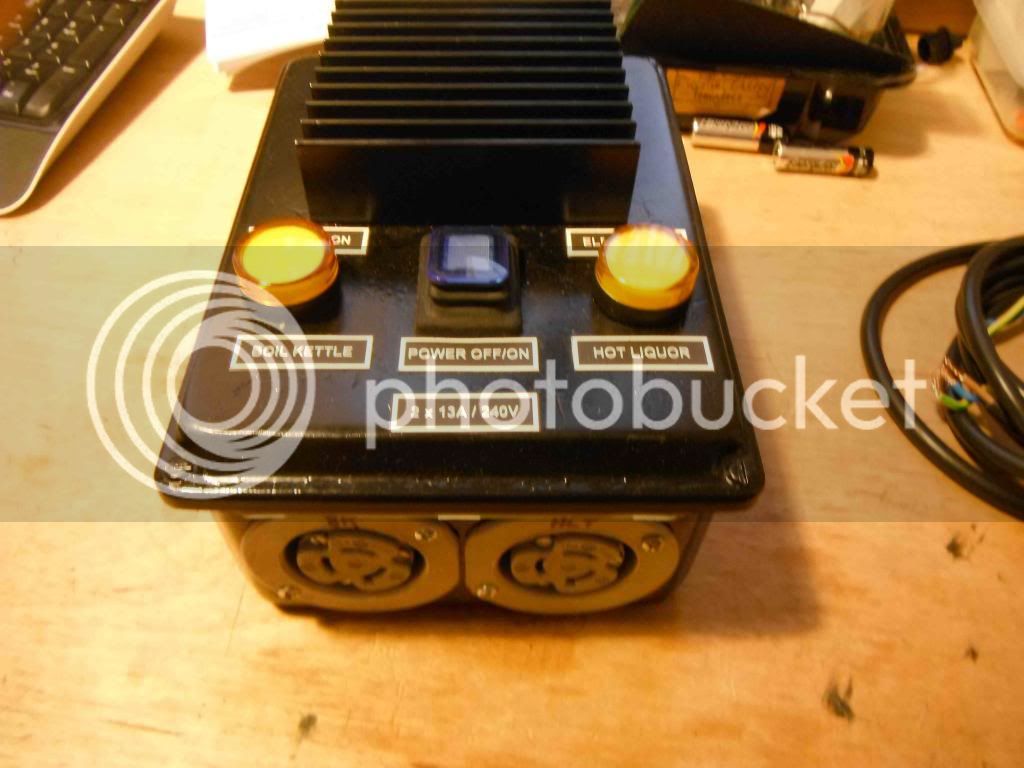
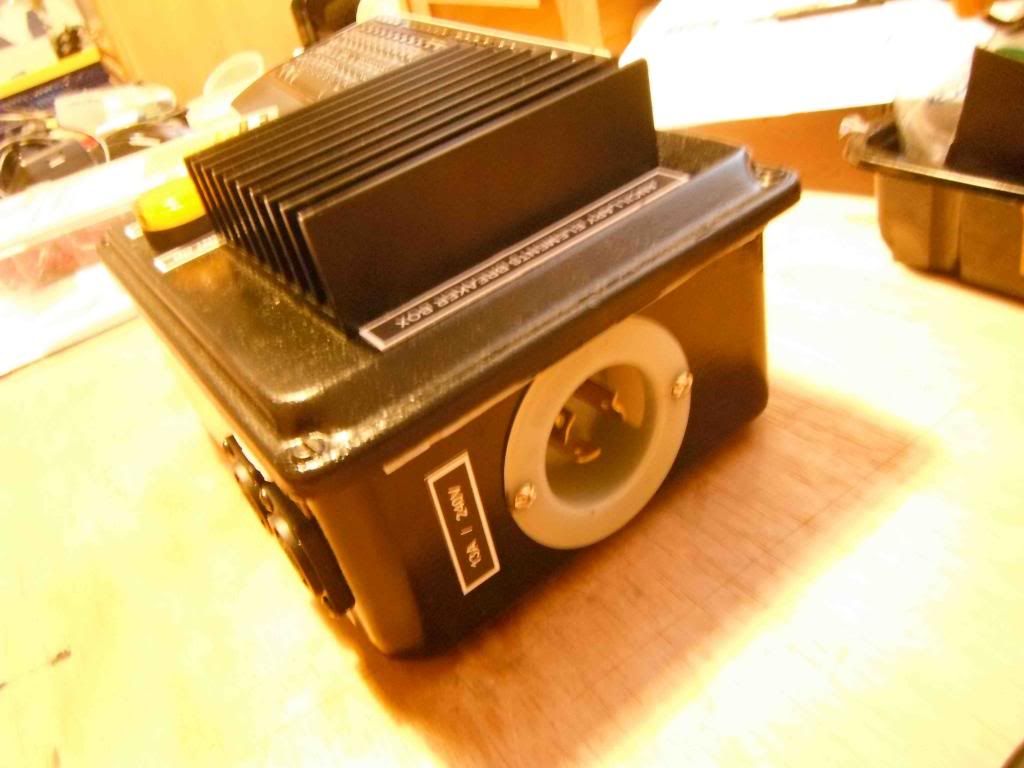
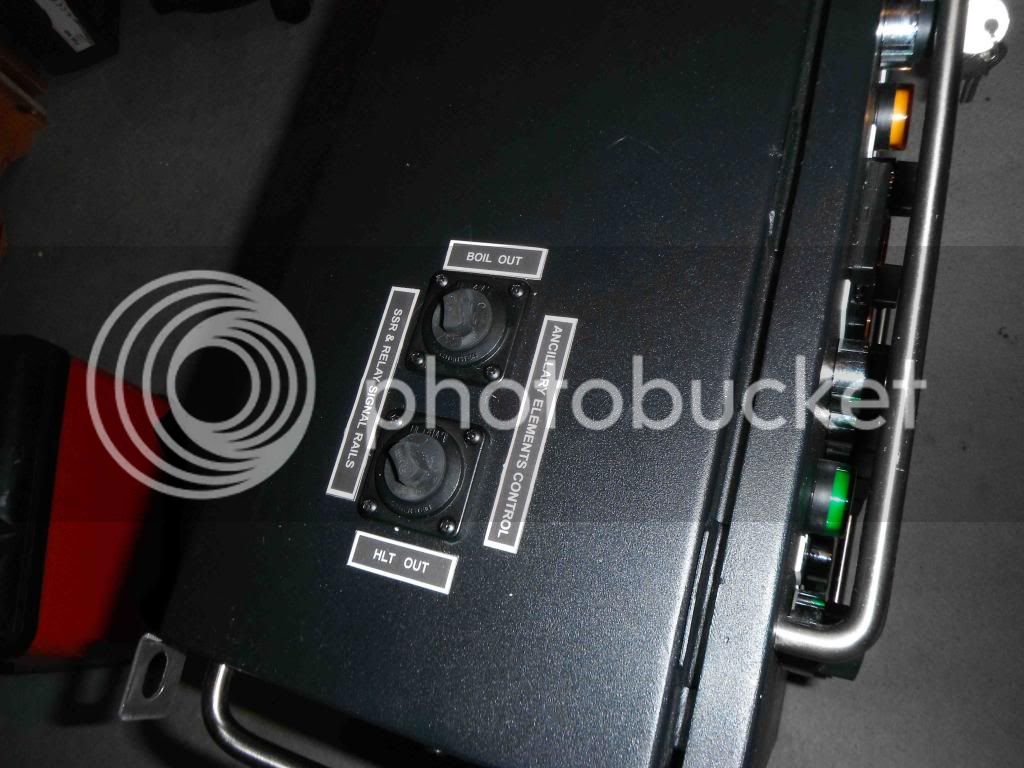
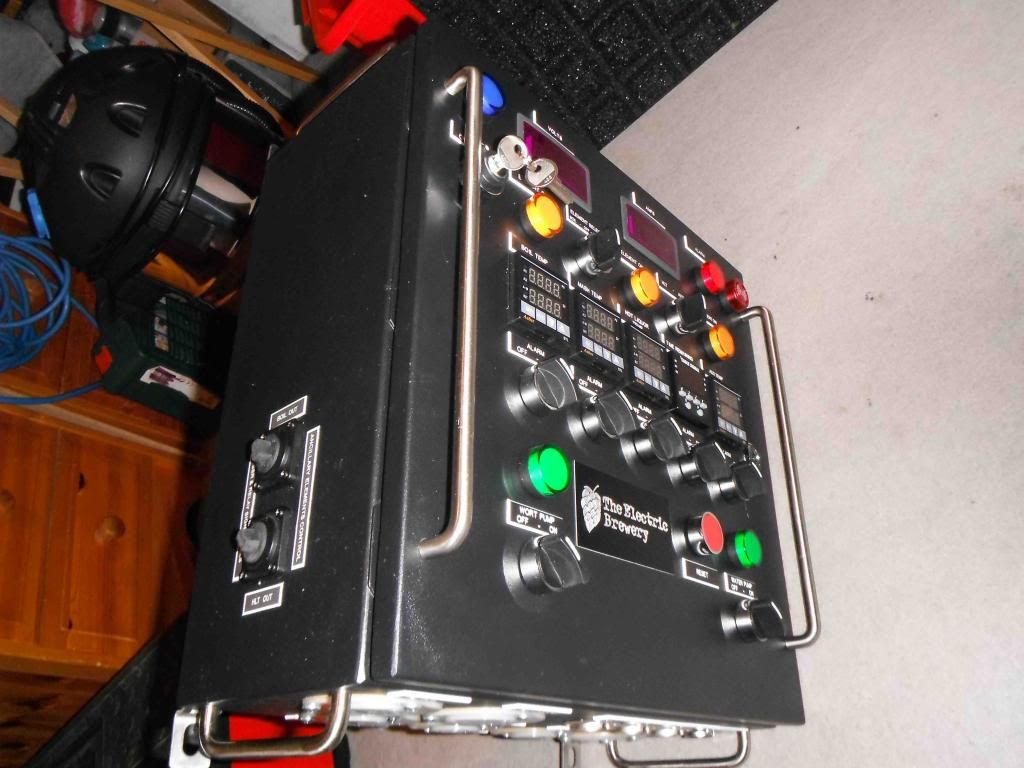
The last refinement to the HLT is the fitting of an additional element - you can just see it to the left under the coli in the interior photo of the pot above. I found that, due to its size, the pot was taking a long while to get to temperature. I bought one of angelhomebrew's 2400w stainless steel elements and it has really made a difference to rise times. To control this element in tandem with the existing 5500w element in the pot, I have constructed a stand-alone relay and switch box with its own 25 amp SSR. This is connected to control lines in the control panel via a breakout Speakon 4 way panel connector. This means that the extra 10 amps I need for the new element is not running through the control panel - I was concerned that it would overload the control panel at over 32 amps with both elements on. See pictures below. I have since made the extra element modification to the boil kettle as well.