Double Dog Brewing - New brewery build

The Homebrew Forum

Help Support The Homebrew Forum:

This site may earn a commission from merchant affiliate links, including eBay, Amazon, and others.

leedsbrew

Landlord.
Joined
May 15, 2009
Messages
631
Reaction score
5
I have decided to upgrade the MKI brewery to something a bit more substantial/permanent in the garage. For the past 16 months of AG brewing (34 AG batches and counting! :D) I ave been using the tried and tested burco/picnic cooler equipment. It has been a workhorse and I think I've managed to knock out some cracking pints (1267 of them! :D) but I reckon the time has come for a ground up refit!

I plan on using the reclaimed space in my garage (reclaimed as I've just done 4 trips to the tip and got rid of a load of **** I didn't realise I had!)

IMG_0554.jpg


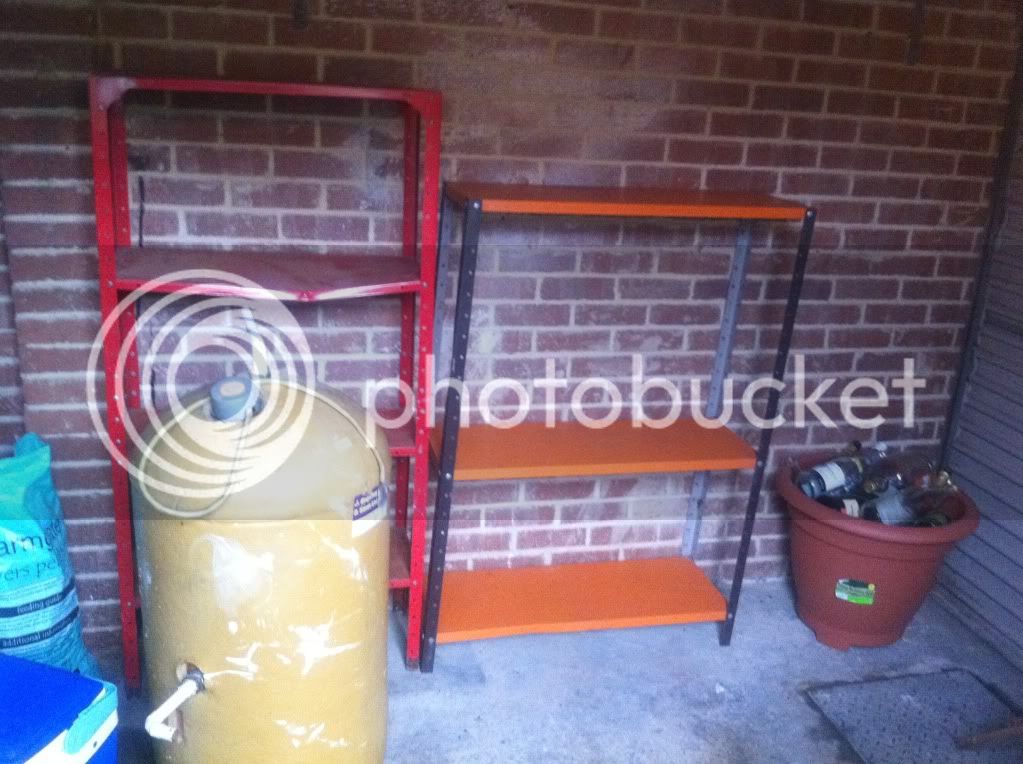
this area will be the site of the new build. I figured being next to the roller door would lend some ventilation. The racking may or may not form part of the build, I haven't decided yet!

IMG_0557.jpg

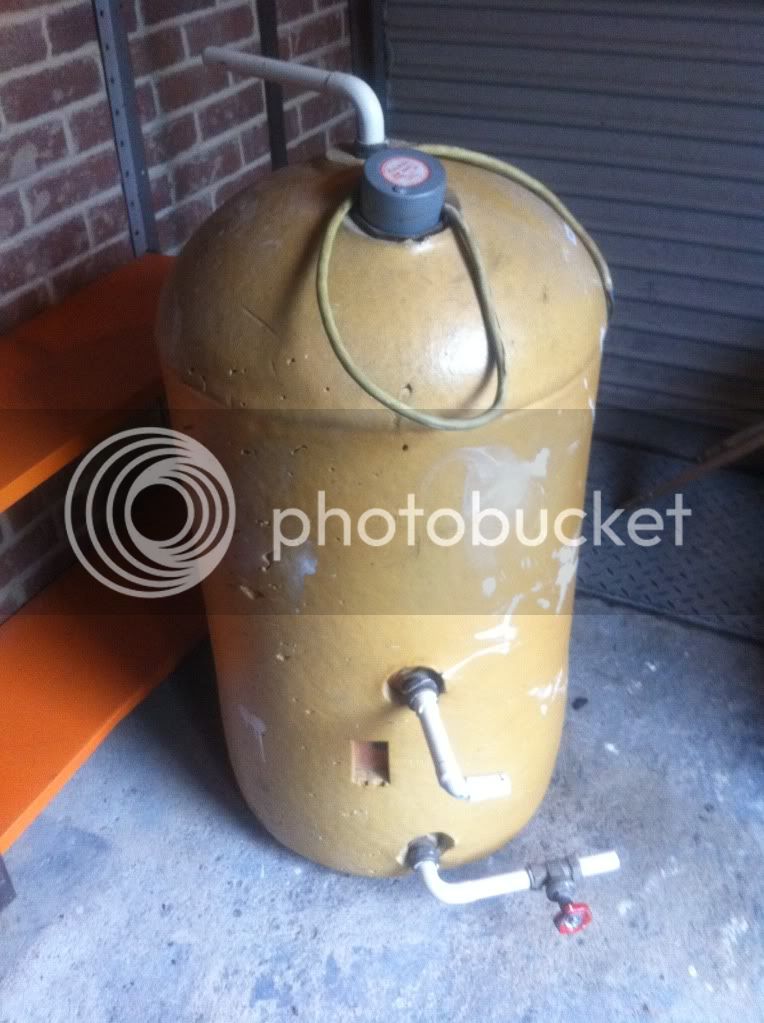
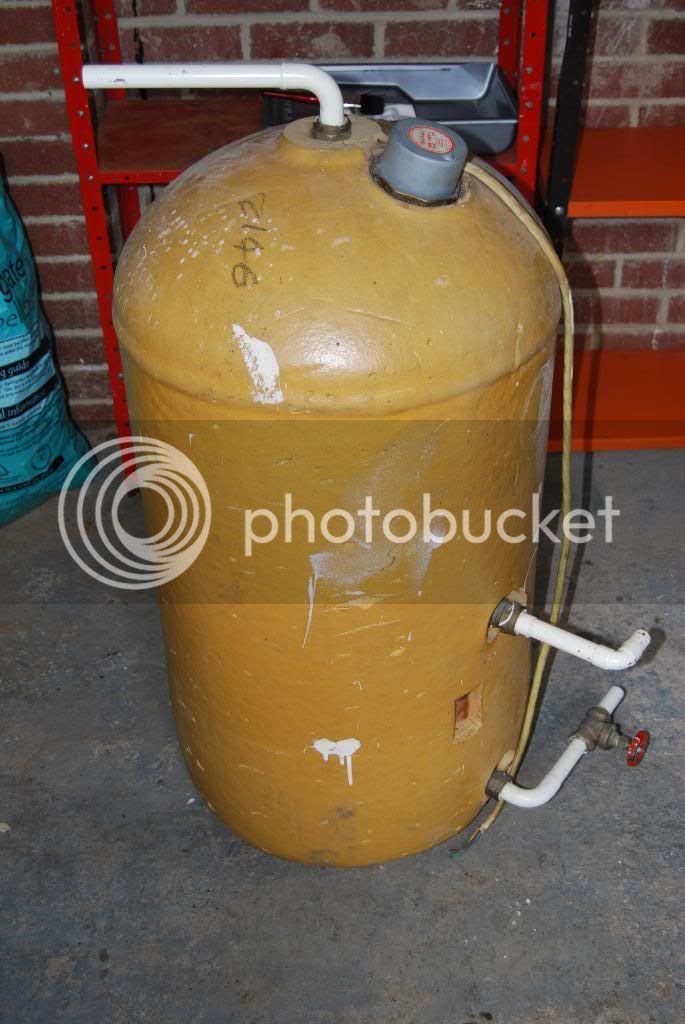
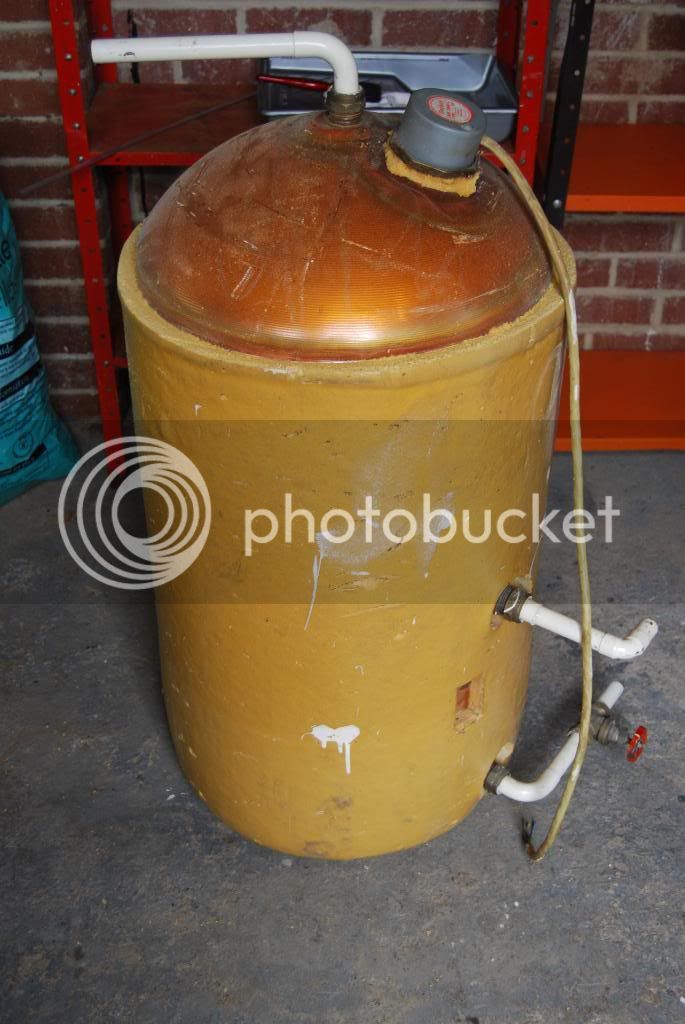
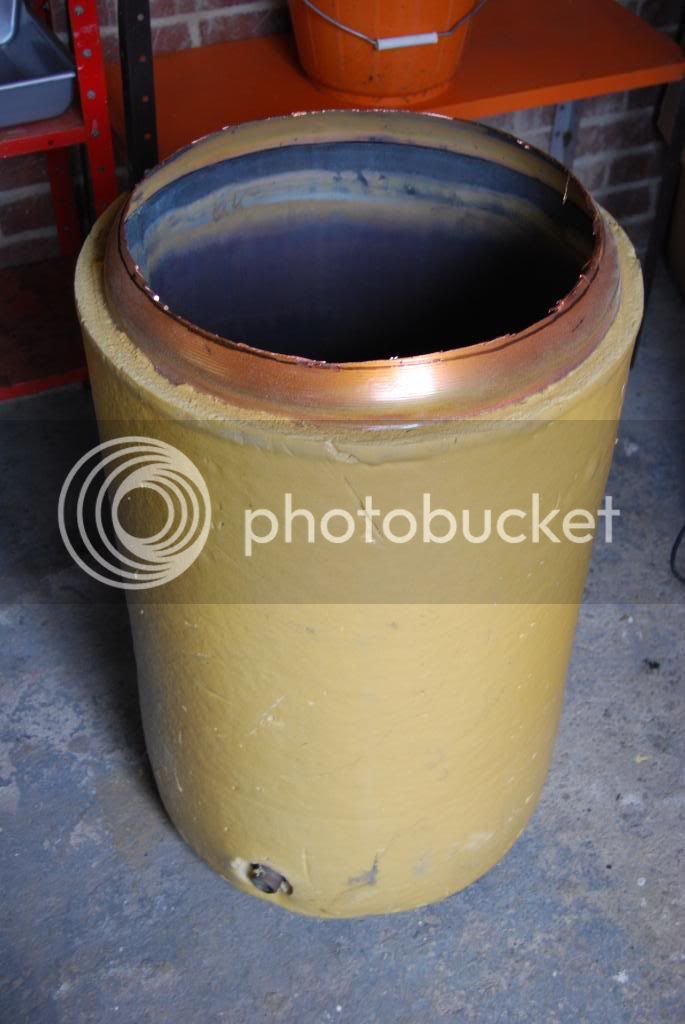
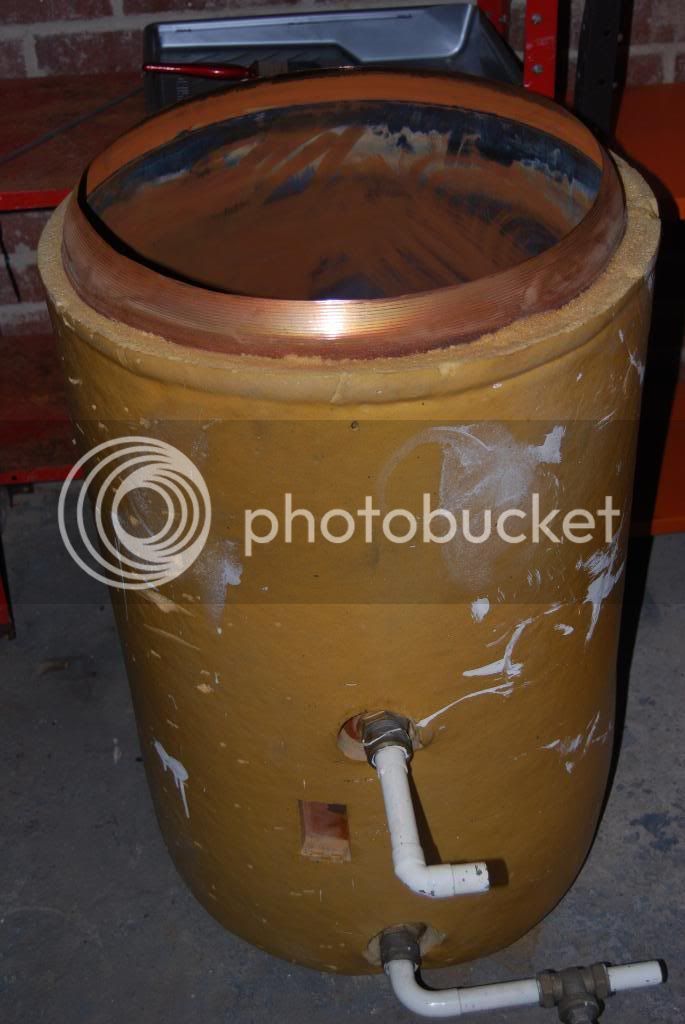
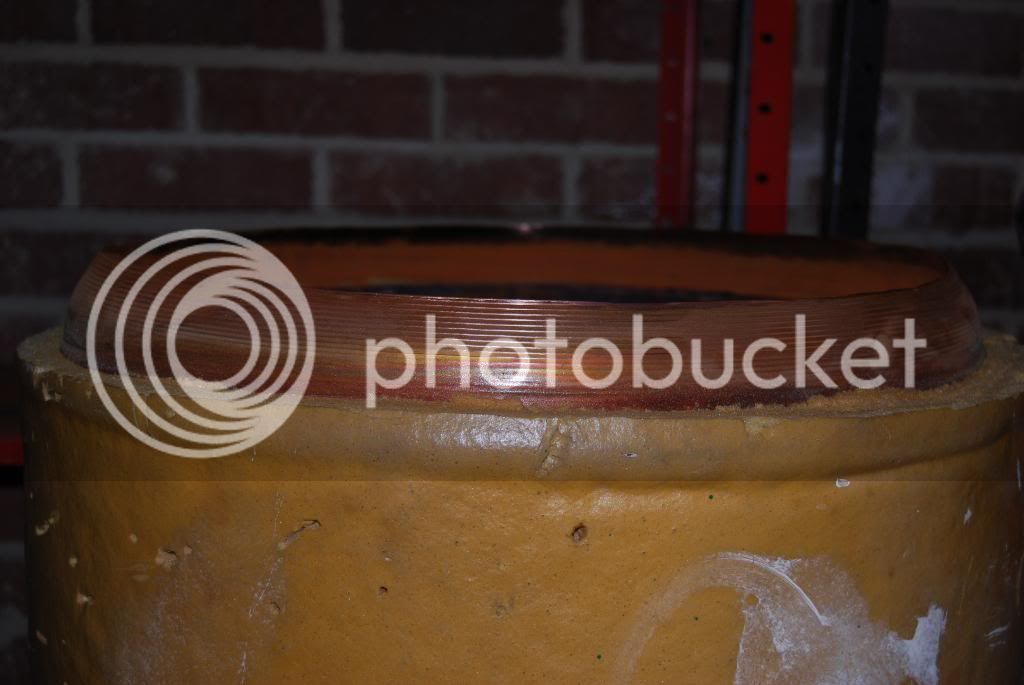
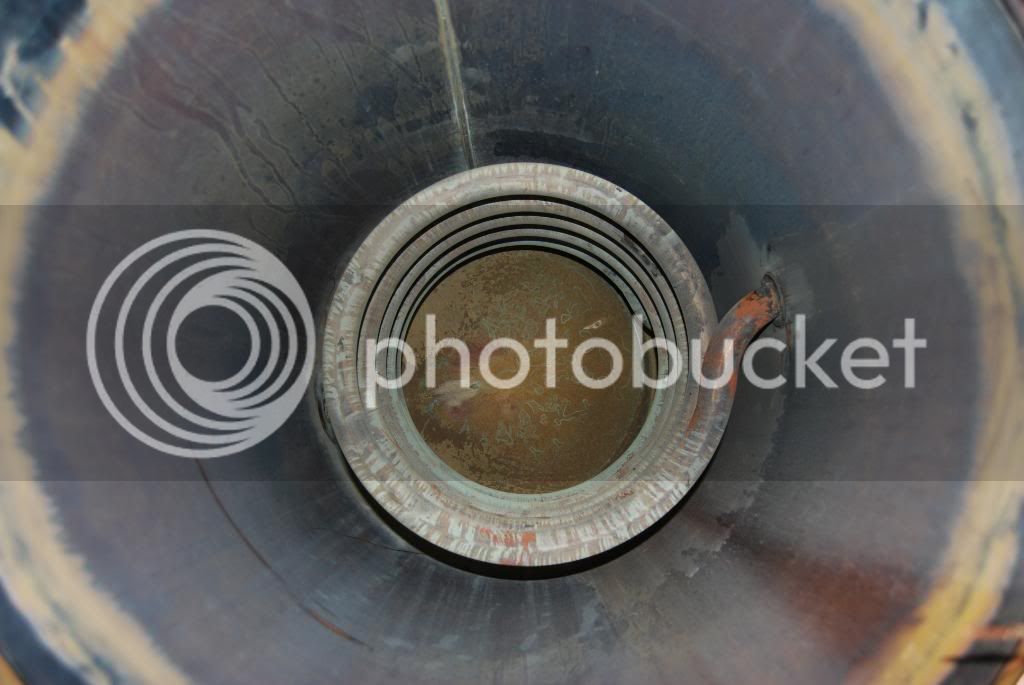
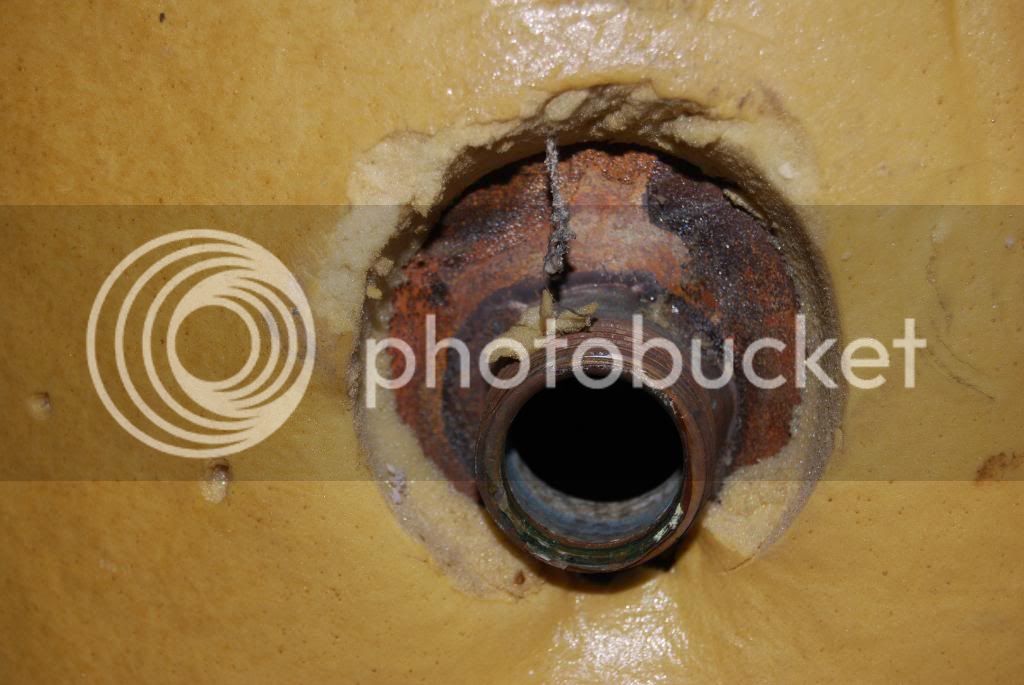
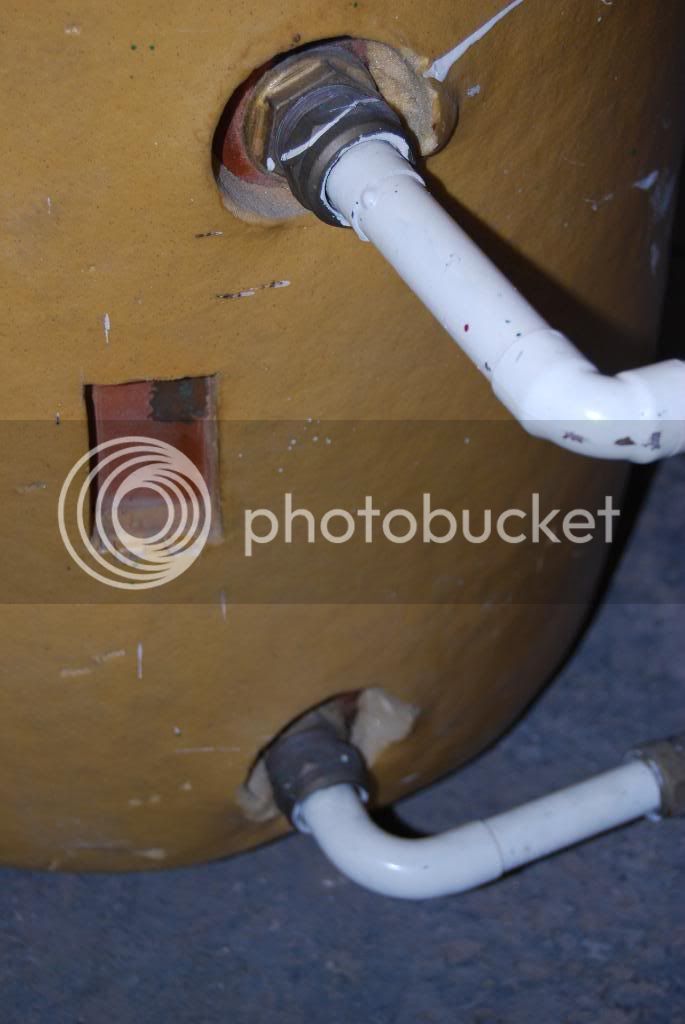
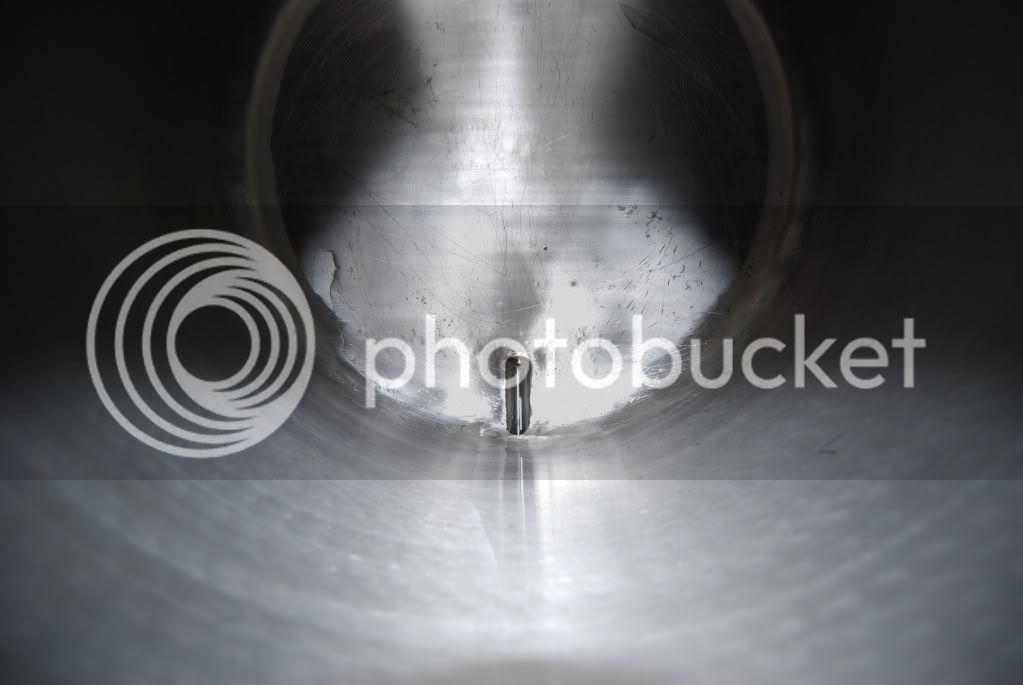
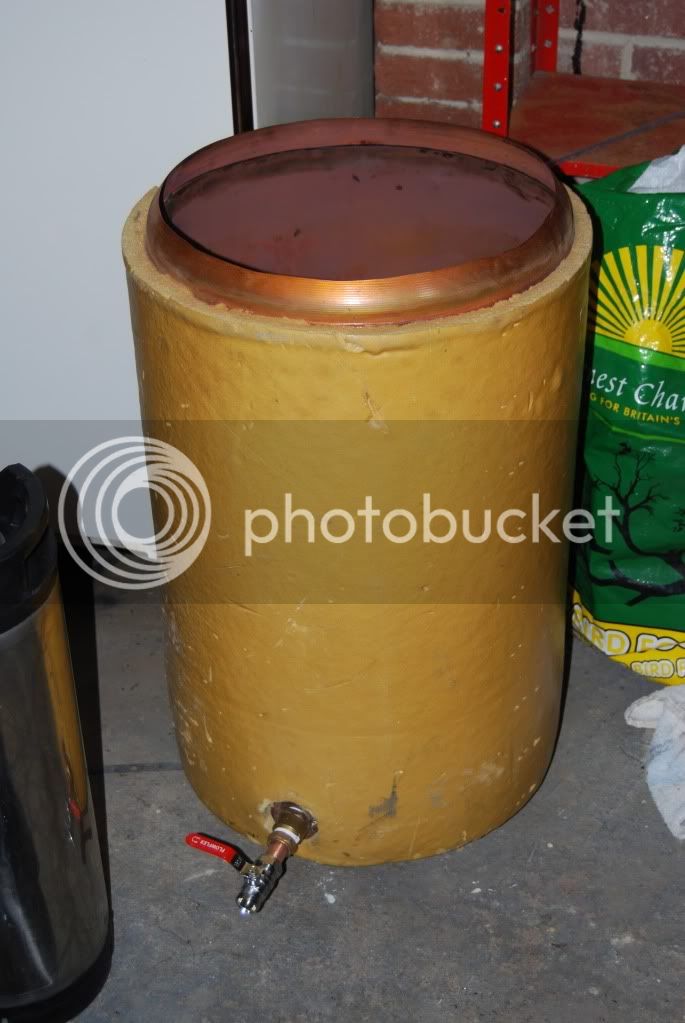
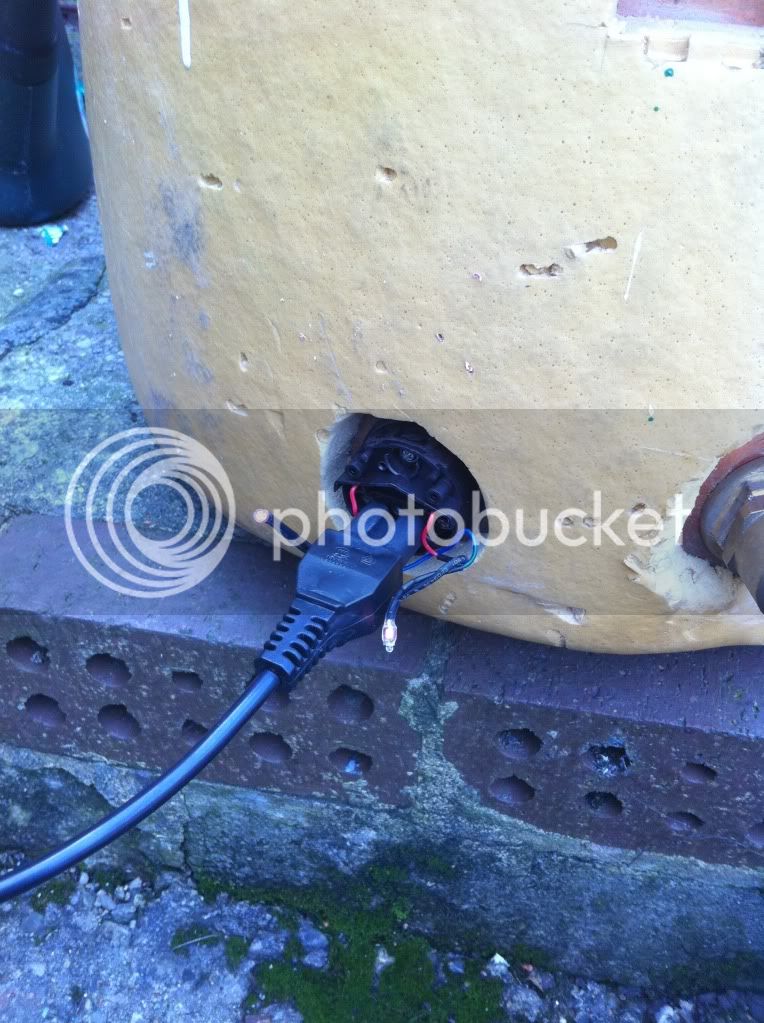
here is the future HLT. £24 from flebay! Not bad I reckon. It is a 900mm x 450mm 118L job. Going to get cracking installing a new element and cutting the top off in the next few days!

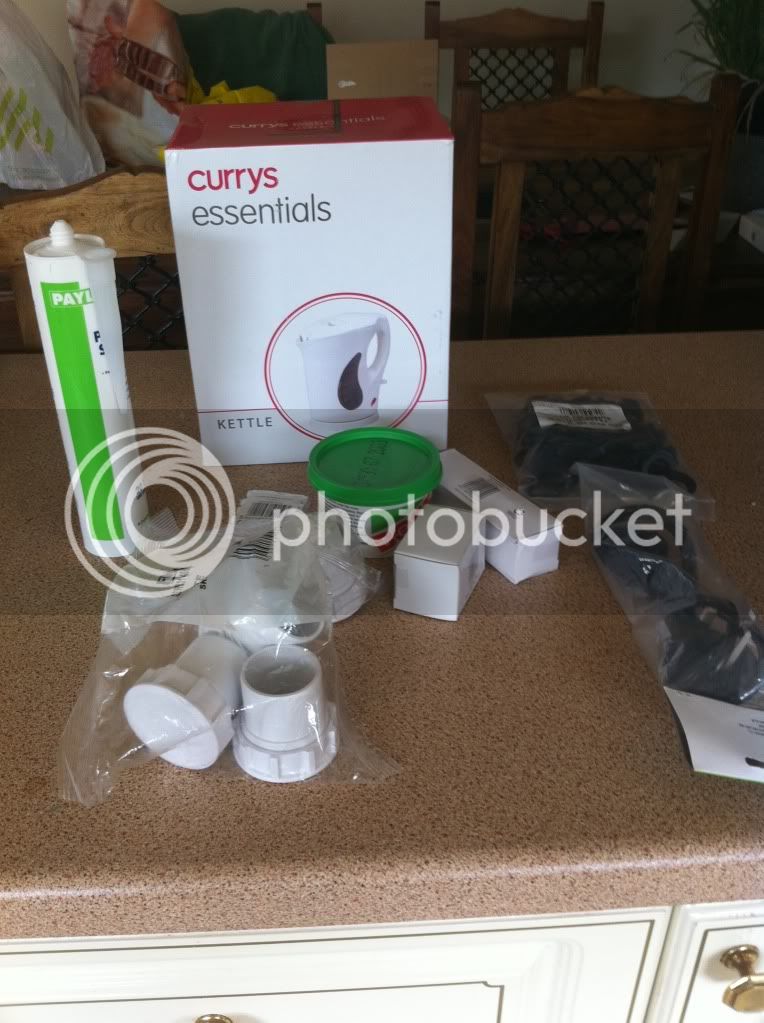
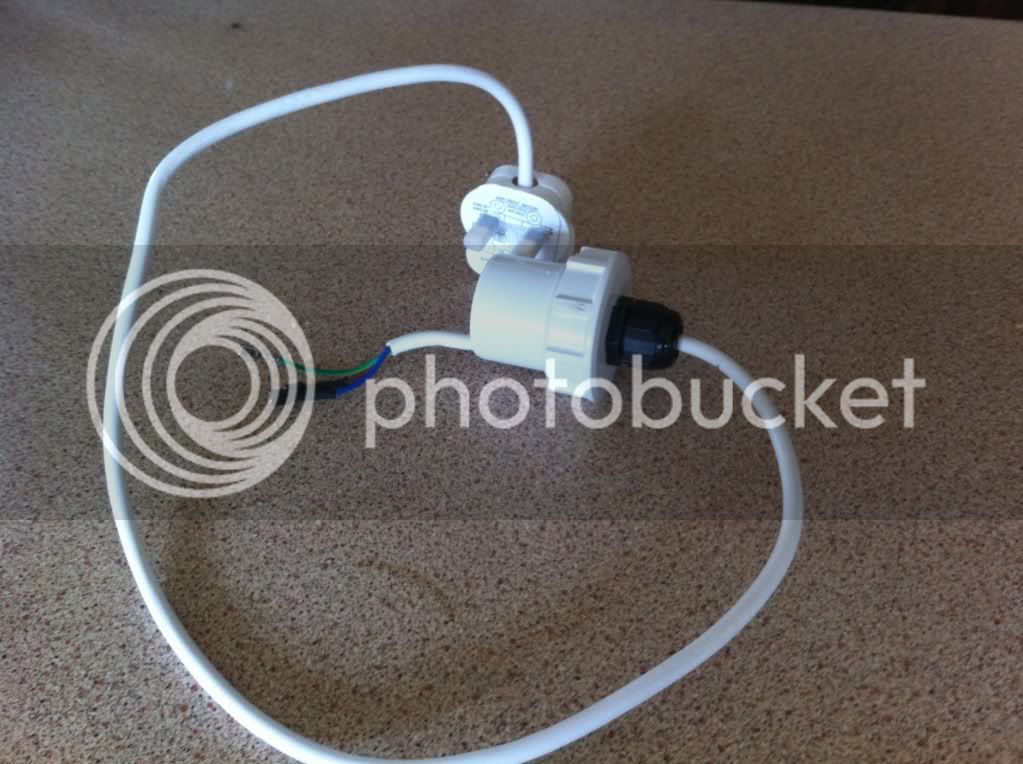
no photo of it but I also got a STC-1000 temp controller to get my fermenting fridge up and running

IMG_0561.jpg

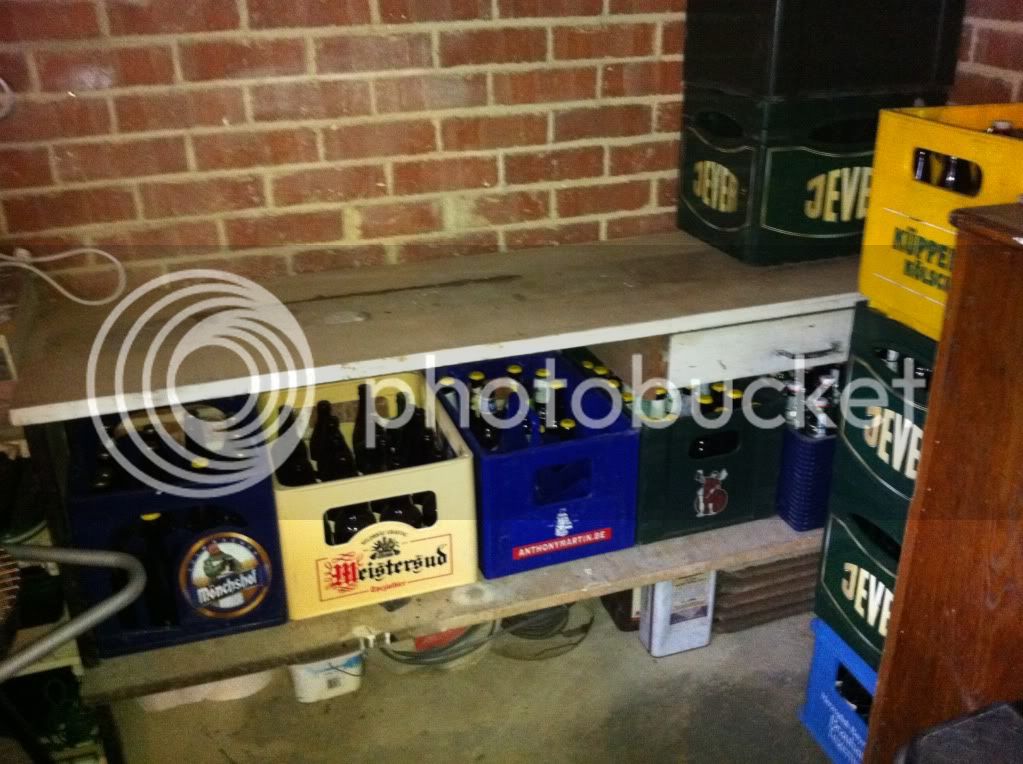
Here is the bottle store at the other end of the garage! Sorry about the crappy iphone pics, nikon if flat!


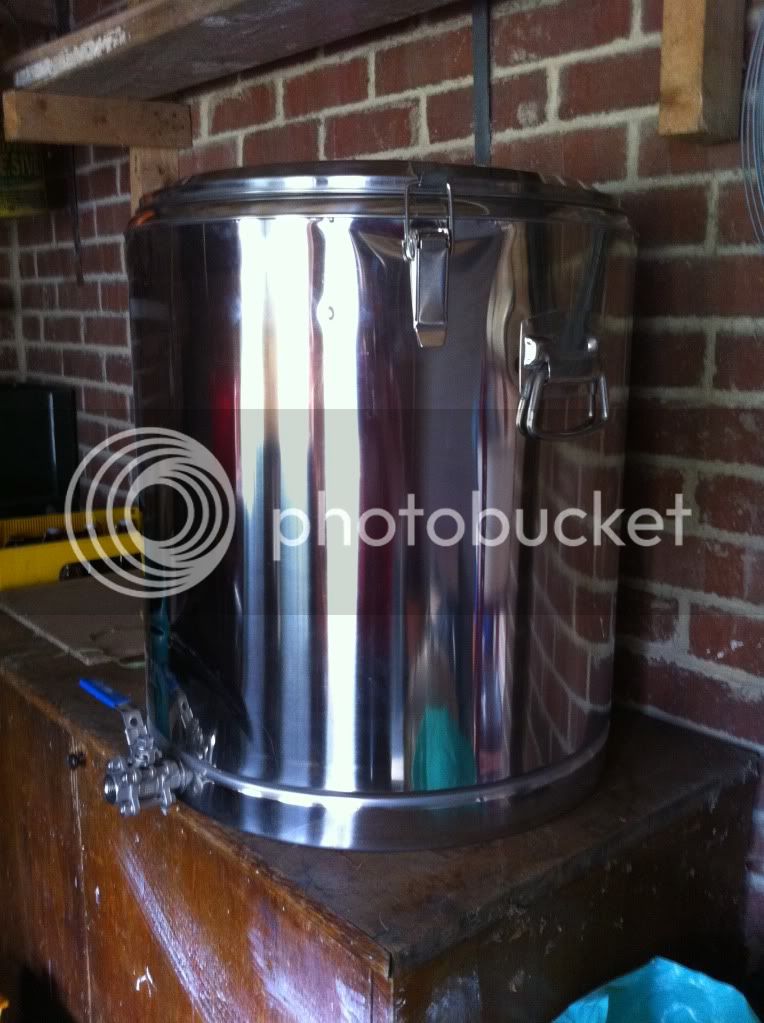
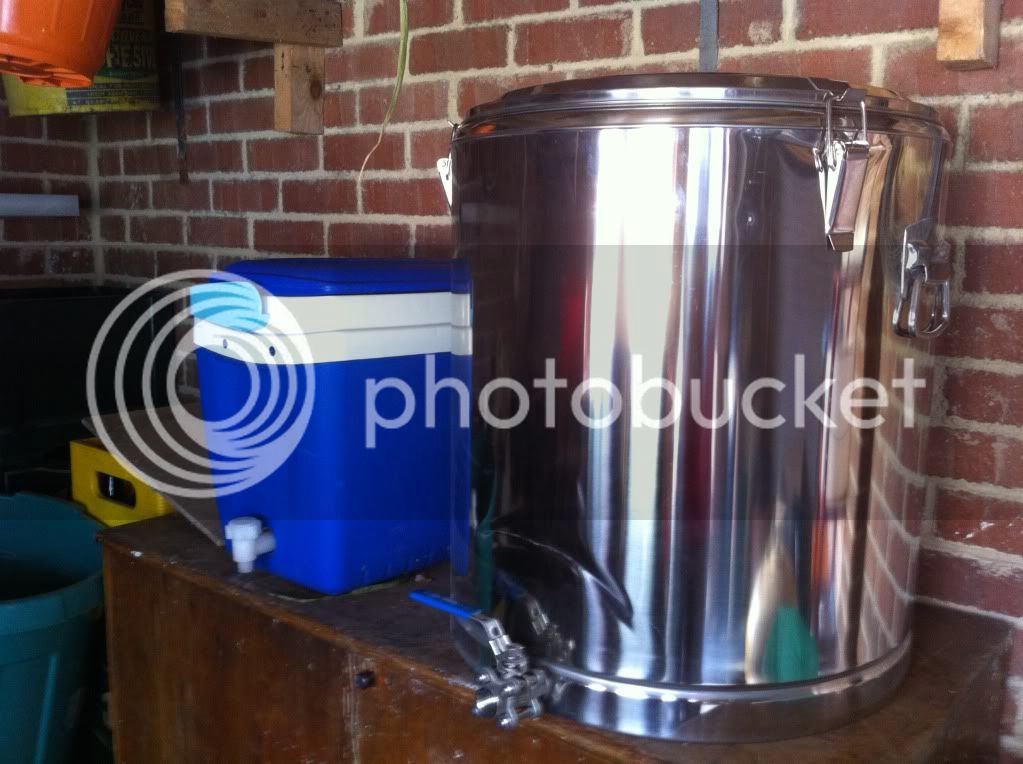
The idea is for a 2 tier system. HLT gravity fed to the mash tun (80L thermo pot), followed by a 100L stock pot boiler on the same level with a little solar pump to do the recirculation of the mash and pumping of wort to boiler! A HERMS system will finish it all off with a bow! :D

more to follow in the coming days/weeks!


LB..........out
 
Just sealed the wall where the brewery is going with a silicone based sealant/water replant to stop the chalky dust that keeps coming from the mortar, and also to protect it from the steam that will be generated from the HLT/kettle

:D
 
As a "kitchen brewer" I have to say I'm jealous!
No doubt you know what you're doing and will end up with a nice set-up. Wouldn't fancy trying to support your HLT on that red shelving though :shock:
Are you going to run a water supply out there? A bar area on the cards too?
Looking forward to seeing how this turns out.
 
hope the upgarde goes well and make sure all those pics get posted. I have to repaint my garage and try and get the floor sealed too, spillages are an **** on concrete.
 
Nice one LB!

'Reclaimed space' ... damn, I wish I could do that ... every bit of space I create is 'reclaimed' by the missus!

Good luck with it!
:cheers:
 
Little update

Hopefully my new 80L mash tun should be winging it's way to me from MD :D :D :D :D

DSCF0023.jpg


Even though she does have a sad face, I can't wait to get her tucked up in the new brewery!

And this little bad boy turned up the other day


stc1000.jpg


It's heading for either the less than cosmetically wonderfull fridge currently earmarked for my fermentation fridge.....or...........one of the ones I've send very nice emails for on my local freecycle :pray: :pray: :pray: :pray: :pray:


LB
 
highwayman said:
Your getting there LB :thumb:

Cheers matey!

Going to be getting a 100L pot come pay day. I want one of MD's 'hop hammer' hop stoppers but it'll wait till he's operational again in Oct!

I've been looking for the link to your brewery build post but can't seem to find it! (woods and trees propably!) Any chance of the link matey?

:D

LB
 
Well thanks to MD my new 80L mash tun arrived yesterday!

photo.jpg


I didn't realise how big it would be! It's bloody awesome!

tun2.jpg


bit bigger than my old brupacks one! :D Got it a bit cheaper cos of the dint on the front. It looks alot worse in the photos cos of the light reflecting. In reality its more of a scuff! :D
 
Brilliant :thumb:

Those tuns are the mutts nuts and you really cant beat having a dedicated place to brew imo :cool:
 
Found some time today to crack on with the HLT today.

DSC_1004.jpg

Here she is when I started

DSC_1005.jpg

And a few minutes later :D. The cladding came off real easy. I used a hand saw to go round the tank where I wanted the lagging to come away then made some vertical cuts in the foam that was to come off. After that it was simply a case of using a screwdriver to peel the foam off.

DSC_1008.jpg

Five minuted with the angle grinder and thi swas the result. A bit of a hack job cos the grinding disk was shot to **** :evil:

DSC_1012.jpg

Out came the file and some wet & dry and she is a smooth as a baby's bum :D (if not straight! :? )
DSC_1013.jpg


DSC_1007.jpg

It's not the cleanest of tanks inside but as you can see from one of the pics above the dark coating is a bit like a fine powder and comes away with a wipe. I'm gonna crack on and give it a good clean tomorrow.

DSC_1010.jpg

I think i've decided that this bottom hole is going to be where the sight gauge attaches. I was going to use it for the outlet tap but it's 1" male BSP and I don't want to faff around with a 90 deg elbow on it. I recon it will be easier to put in a 15mm tank connector.

When the coil comes out (aka when I get some new stilsons cos I can't find mine anywhere :evil: ) I'll probably be blanking off these holes until I sort out a thermo well :D
DSC_1011.jpg


I was lucky enough to get a tall fridge freezer on Leeds Freegle yesterday
DSC_1006.jpg


Gonna give it a good clean down tomorrow and maybe get on with making my temp controller for it! :D

More to follow!

LB..............out :D
 
Got a bit further on this weekend. I went over to Doncaster on Saturday morning to pick up a tank from George Beck.

DSC_1031.jpg


113L stainless steel, ex food industry tank. I had to give it a good clean out as it still had the remains of it's last product in, a very pungent syrup! :? Being the good hearted Yorkshire man he is, George threw a stand in the mix. It's a bit ropey, but nothing a good going over with a wire brush and some hammerite won't fix! :D :D :D

the stand is going to need a little bit of moding to accommodate the gas burner. I have decided to go gas as I really don't want to start hacking this tank apart, drilling holes in it as it is very well made.

The bottom is dished and drains out completely.

DSC_1034.jpg


all in all well chuffed with it!

DSC_1032.jpg

think i'm gonna have to wrap the HLT up in some shinny or it's gonna get jealous! :D :D

cheers

LB
 
had a few hours before work today so jumped in the car and got this little lot!

IMG_0613.jpg


this will be the 1st time I've butchered a kettle for the element so I was a bit unsure. I don't have a tosco near me so I used a curry's one. I only bought one so that if it was no good I didn't have to take the other one back! Now I have to go and get the second one! (it made sence at the time :oops: )

Its a little different to the tesco ones when you get the workings out. The black backing has some extra moulded bits (for the switch) that just needed taking off with the jr hacksaw.

IMG_0615.jpg

15 minutes later and I have a water tight element! :D :D I had to put in an extra rubber washed as the copper wall is thinner than the kettle so when the fixing screws were done up tight the element rotated freely in the hole.

IMG_0616.jpg

slung in the kettle lead to illustrate it! :D


LB

I decided to use a moulded kettle lead rather than the spade connectors that came with the kettle. I'm going to re use that for wiring up my digital temp controller! yorkshire thrift and all that! :D

I'm going to fix a shroud round the elements like this one. I put the unused cable in just for the picture! :D It's a shame, the kettle lead I got from homebase (£4 ish) has a moulded plug on so I'm gonna have to cut it off and re wire a normal one on when the cable is through the gland! Oh well, more tinkering! :D

IMG_0617.jpg
 
My ASDA elements were a bit loose so I ground about 3mm off the threaded fixing on the element side to make it pull together tighter. ;)

BB
 
leedsbrew said:
I'm going to fix a shroud round the elements like this one. I put the unused cable in just for the picture! :D It's a shame, the kettle lead I got from homebase (£4 ish) has a moulded plug on so I'm gonna have to cut it off and re wire a normal one on when the cable is through the gland! Oh well, more tinkering! :D

IMG_0617.jpg

I like the shroud for the elements how havre you made that?

:cheers:

AG
 
Good stuff LB :thumb:

What's the top diameter of the HLT now, just that some Tesco's have stainless steel trays for under a fiver and would make a cracking lid, they measure a tad over 14inches.

When I converted my cylinder I cut below the shoulder, so it won't fit my HLT :oops:
 
graysalchemy said:
I like the shroud for the elements how havre you made that?

:cheers:

AG


Cheers mate, it is from screwfix HERE

Its an access plug for waste water pipes. I drilled out an 18mm hole in the cap and fitted the cable gland.
The pipe is 40mm so a little too small to go over the element back as it is. I plan on using plastic cement to fix the threaded part onto a piece of silicone sealant tube then attach it to the tank. :thumb:


LB
 
Back
Top